FriendlyARM NanoPC T3
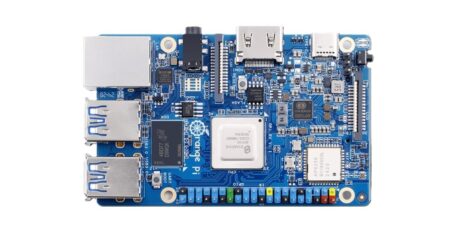
The NanoPC-T3 is a single-board computer designed and developed by FriendlyARM Company. It uses the Samsung Octa-Core Cortex-A53 S5P6818 SoC. Compared to the NanoPC-T2, the NanoPC-T3 is equipped with additional interfaces and ports, along with a more powerful SoC. Its dynamic frequency scales from 400MHz up to 1.4GHz. The NanoPC-T3 has an 8G eMMC on-board flash, audio jack, video input/output interfaces, built-in WiFi, Bluetooth, and a Gbps Ethernet port. In addition, the NanoPC-T3 has a power management chip, onboard porcelain antenna, and serial debug port.
Other features include two camera interfaces: a DVP camera interface and a MIPI-CSI interface, and four video interfaces: HDMI 1.4A, LVDS, parallel RGB-LCD interface, and MIPI-DSI interface. It has RTC interface pins, two USB 2.0 Host ports, and an additional two onboard via an external interface using an 8 or 9-pin header pin cable.

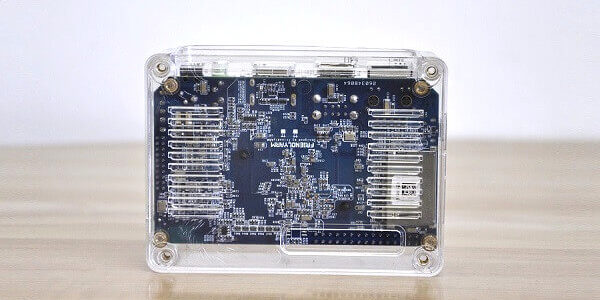
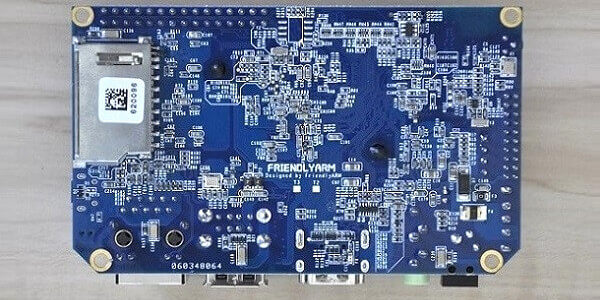
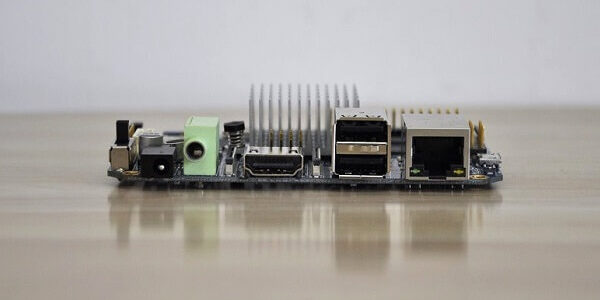
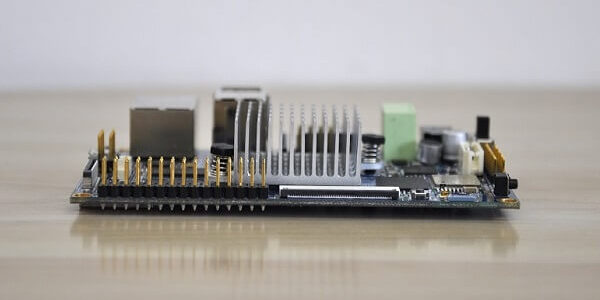
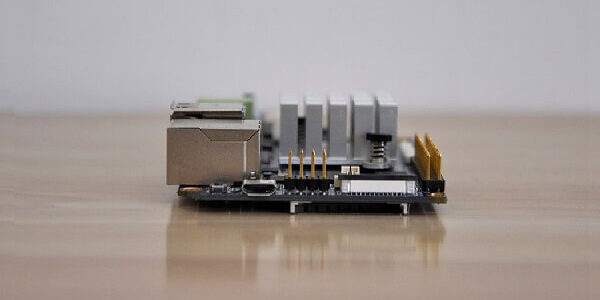
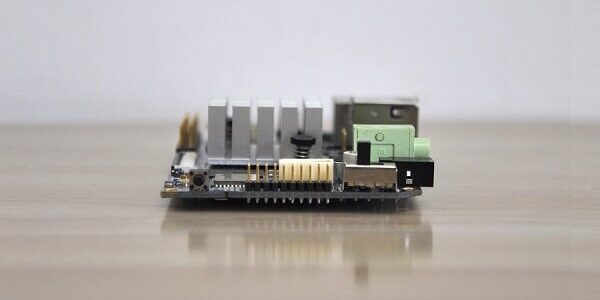
NanoPC-T3 | Rear View


NanoPC-T3 specifications
- SoC: Samsung S5P6818 octa-core Cortex A53 processor @ up to 1.4GHz
- GPU: Mali-400MP
- System Memory: 1 GB 32bit DDR3 RAM
- Storage: 8GB eMMC flash, 1x SD card slot
- Connectivity: Gigabit Ethernet (RTL8211E) 802.11 b/g/n WiFi, Bluetooth LE 4.0 (Ampak AP6212) with on-board chip antenna and IPX antenna connector.
- Video Output / Display I/F: 1x HDMI 1.4a, LVDS, MIPI DSI, parallel RGB LCD
- Audio I/O: HDMI 1.4a, 3.5 mm audio jack, on-board microphone
- Camera interfaces: 1x DVP interface, 1x MIPI CSI
- USB: 2x USB 2.0, 1x Micro USB 2.0 OTG port, 2x USB 2.0 host ports via 8-pin header
- Headers: 30-pin GPIO header, 8-pin header for power signals, reset and LED 1-2
- Debugging: 4-pin header for serial console
- U-Boot : Boot selection button (SD card / eMMC)
- 1x Reset button, 1x power
- 2x user LEDs
- RTC Battery header
- Power Supply: DC 5V/2A
- Dimension: 100 x 60 mm (6-layer PCB)
NanoPC-T3 Overview
Accessories
The NanoPC-T3 board is currently sold for a retail price of $60. If you need extra accessories, such as a case or WiFi Antenna, it will cost you an additional few extra bucks. If you’re planning in buying a Heatsink this board comes with two mounting holes that provide tight surface contact for efficient heat conductivity, so I personally recommend buying it.
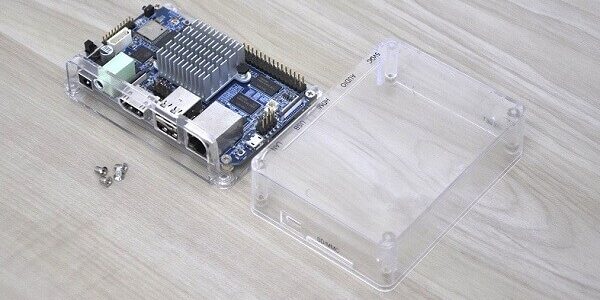
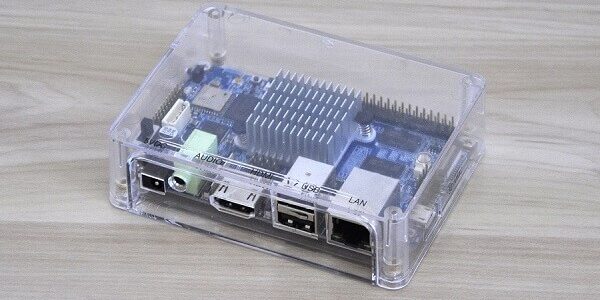
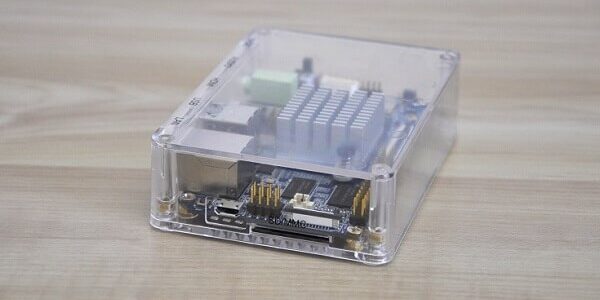
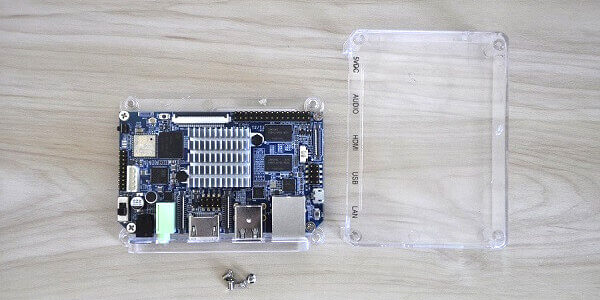
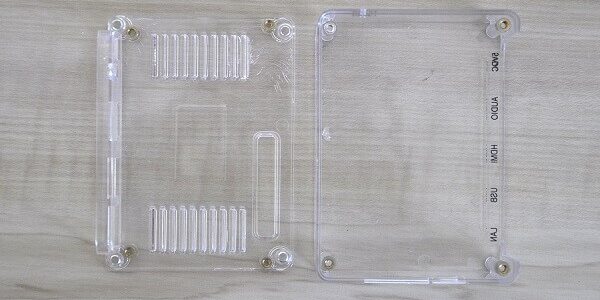
The NanoPC-T3 case is composed of two separate parts made of transparent acrylic material, with built-in metal inserts for mounting the board and the upper case cover. to make the product more user-friendly, the company added printed on box labels with the interface descriptions.
Now, for the problems. The case design, in general, was good, but I didn’t understand why additional venting slots were not added above the Heatsink to get the heat out more quickly, opposed to the lower case part that did have venting slots. In addition, the upper cover didn’t have any slots/holes for the GPIO header, on-board USB Host, LVDS, LCD RGB-LCD, camera DVP, and MIPI-DSI cables. The power, reset and u-boot button was positioned in such a way that the user needs to remove the upper cover of the case in order to gain access to use them, where the correct design is designing housing that allows the user to operate all functions externally, without opening or removing any cover.
FirendlyARM offers an aluminum-made passive Heatsink with a pair of mounts that attaches to two holes in the PCB and provides decent cooling, but it’s highly recommended adding a 30 mm fan on top of it. The problem was with the case height, that was not enough for adding a fan and closing the case upper cover, so again, you will need to keep the case open without the upper cover. Alternatively, you can also replace the Heatsink or just build a better case.
The NanoPC-T3 Inside the Case
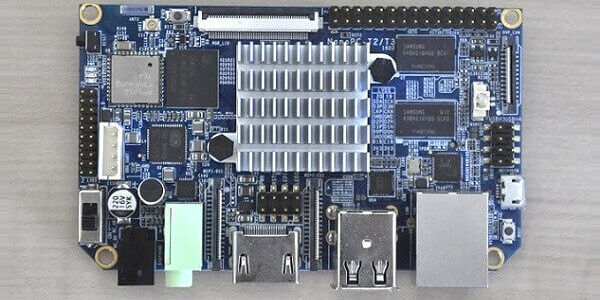
A Closer Look at the NanoPC-T3
- RGB LCD
- GPIO
- DVP Camera
- TF Card Socket (On the Back)
- RTC Battery Interface.
- USB Host x2 (Onboard Interface)
- Micro USB
- Boot selection button
- Ethernet LAN
- USB Host x2
- MIPI-CSI
- HDMI 1.4a
- MIPI-DSI
- Headphone jack
- Power DC Input
- Power Switch
- LVDS
- LED 1-2
- Reset Button
- On-board Antenna
- Power Button
- IP ANT (external antenna interface)
- WiFi & BT
- 8GB eMMC
- Debug UART
- AXP228 PMU (Power Management Unit)
- Microphone
- Reset/PWR/LED1-2 Pin-out
- RTL8211E
- 1x 512Kb RAM
- 1x 512Kb RAM
- Samsung SP56818 SoC (CPU + GPU: Mali 400MP).
FirendlyArm NanoPC T3 Board Layout
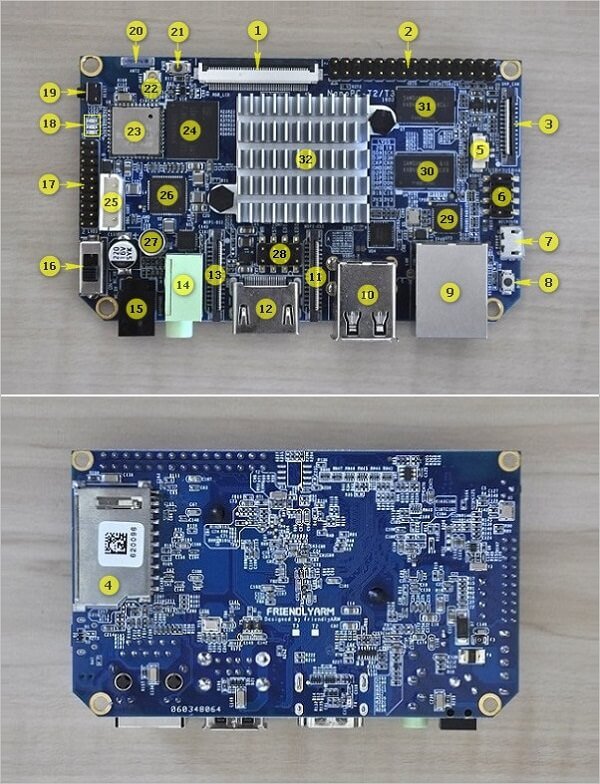
NanoPC-T 3 | Full Board View
Hardware
The hardware platform is based on the same S5P6818 Octa-Core Cortex-A53 Samsung 64-bit processor operating at clock frequency between 400 MHz Up to 1.4 GHz equipped with a Mali 400MP GPU which is also used in the previous NanoPi M3 board. For most computing tasks such as internet surfing, running office suite, streaming video this board provides a smooth and good experience, just don’t expect the hardware to run heavy games.
A few significant changes in this model are the additional 8GB eMMC flash, Manual power switch, boot selection button, on-board Power switch, RTC Battery connector, and the microphone. Just as with the M3 model, FriendlyArm also included an on-board external USB Host interface to be used with an 8 or 9 pins header cable which provides two additional ports by using a special 9 pin cable or PCB type USB Host adapter (Shown in the photo below).
Software Support
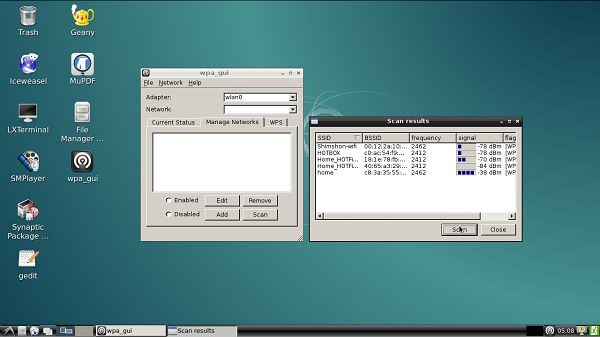
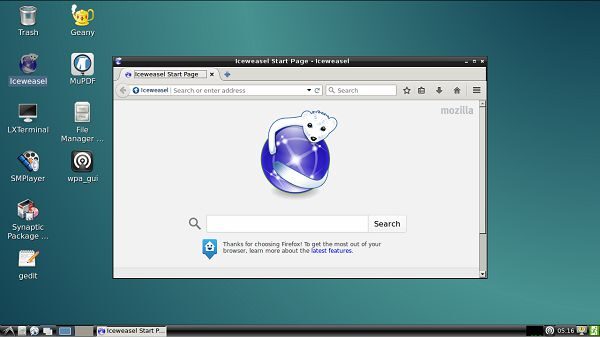
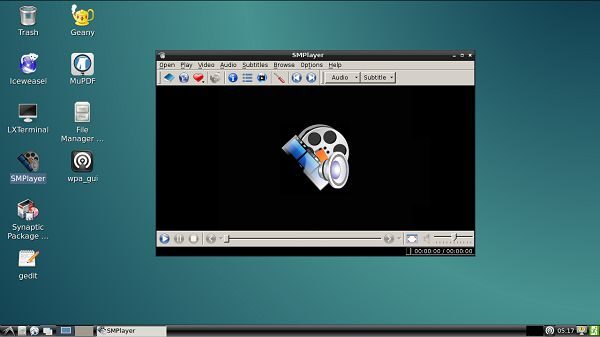
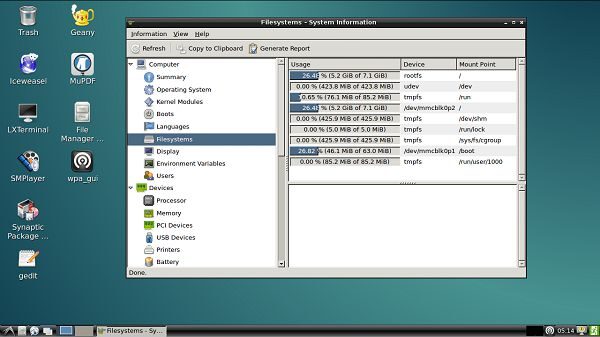
Because FriendlyARM uses a relative less popular SoC for single board computer applications, made by Samsung, so image selection is pretty limiting, and includes three types: Android lollipop, Debian Jessie and Ubuntu Core. After playing with Debian Jessie and Android Images, the general impression is that the system worked well and stable.
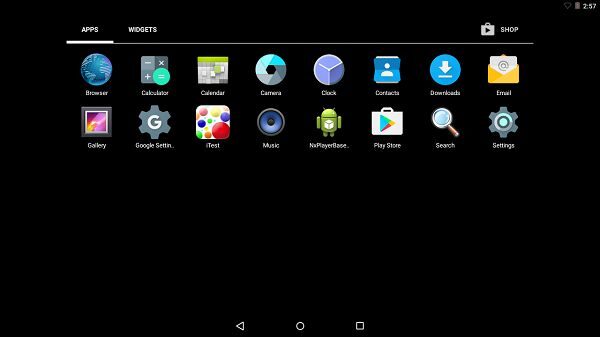
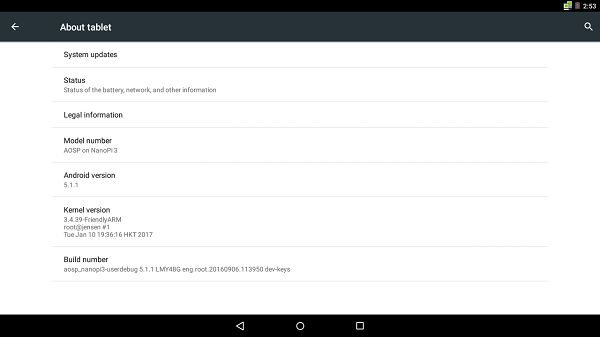
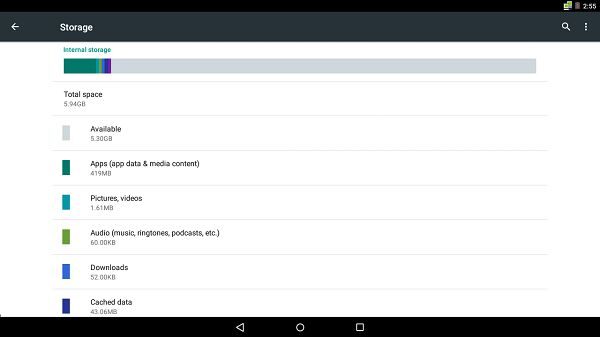
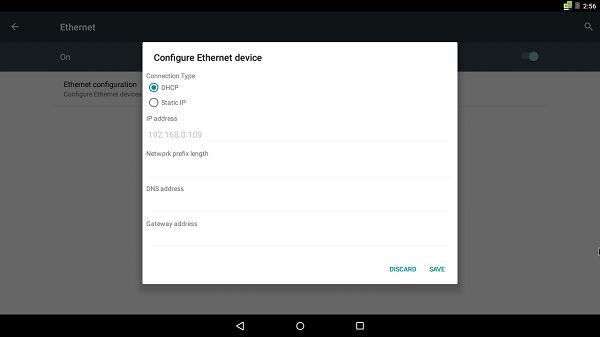
Android 5.x Lollipop | Screenshots
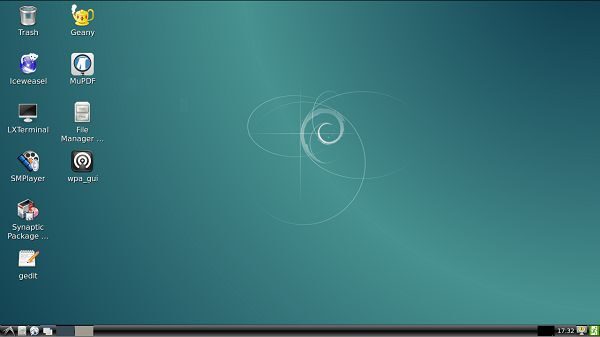
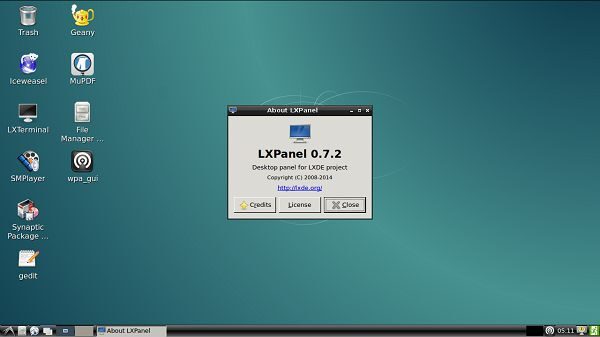
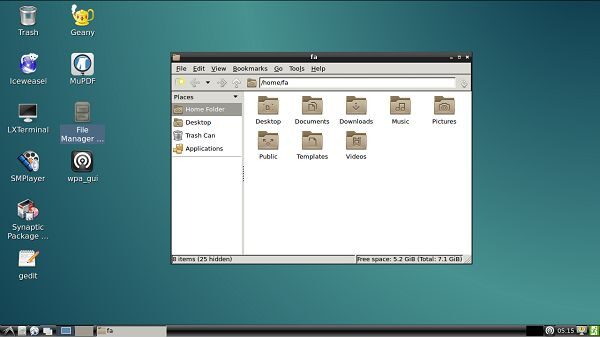
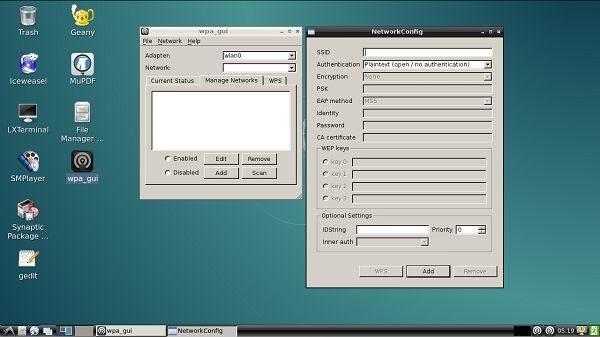
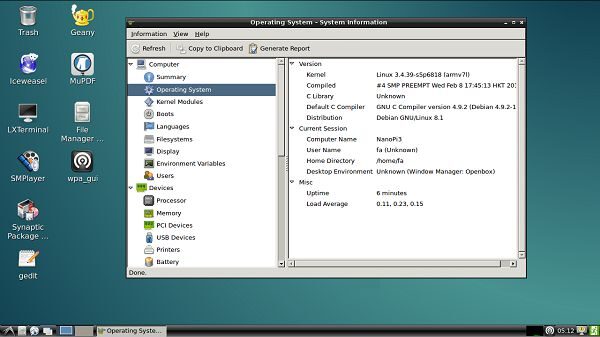
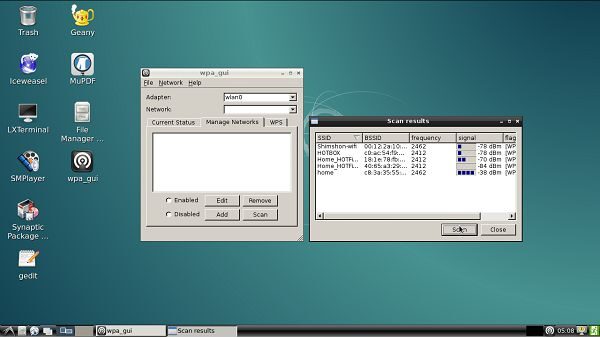
Debian Jessie | Screenshots
Performance & Benchmarks
The Nano PI T3 is based on the 64-bit Samsung S5P6818 Octa-Core Cortex-A53 SoC that provides an excellent performance power consumption ratio. According to system information under Debian OS (32-Bit), each core operates at frequencies ranging from 400MHz up to 1.4 GHz.
# Display system information

fa@NanoPi3:/$ lsb
No LSB modules are available.
Distributor ID: Debian
Description: Debian GNU/Linux 8.7 (jessie)
Release: 8.7
Codename: jessie


# Display CPU information

fa@NanoPi3:/$ lscpu
Architecture: armv7l
Byte Order: Little Endian
CPU(s): 8
On-line CPU(s) list: 0-7
Thread(s) per core: 1
Core(s) per socket: 4
Socket(s): 2
CPU max MHz: 1400.0000
CPU min MHz: 400.0000


# Displaying interfaces

fa@NanoPi3:~$ lsmod
Module Size Used by
rfcomm 31894 4
nx_vpu 351787 0
vr 147271 0
bnep 11277 2
hci_uart 14824 1
btbcm 5132 1 hci_uart
bluetooth 385978 25 bnep,btbcm,hci_uart,rfcomm
bcmdhd 604191 0
cfg80211 460198 1 bcmdhd
compat 24079 6 bnep,cfg80211,bcmdhd,hci_uart,rfcomm,bluetooth
Operation: Burning Images
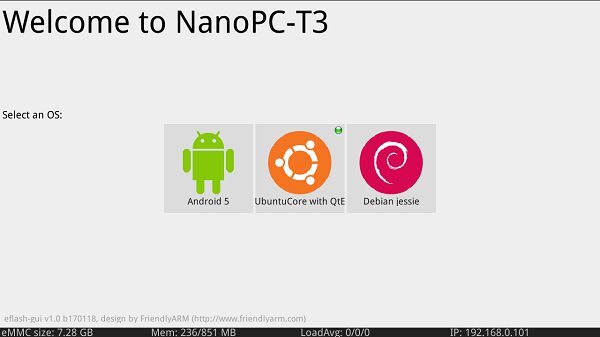
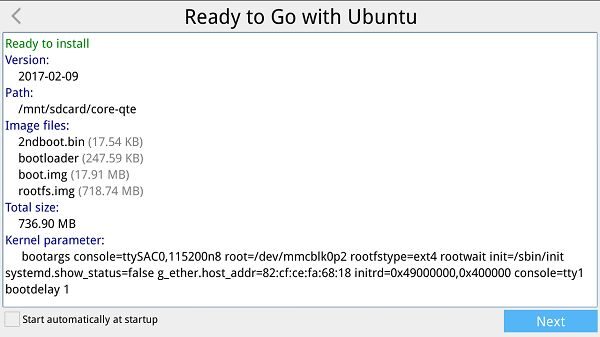
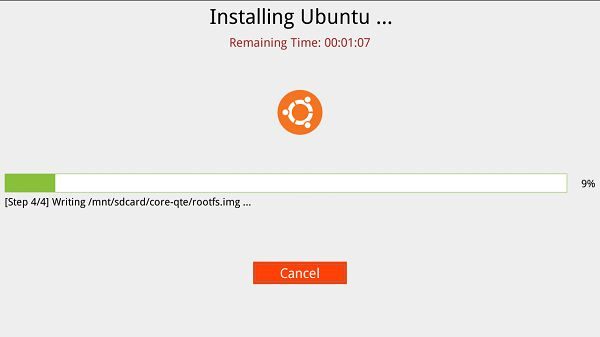
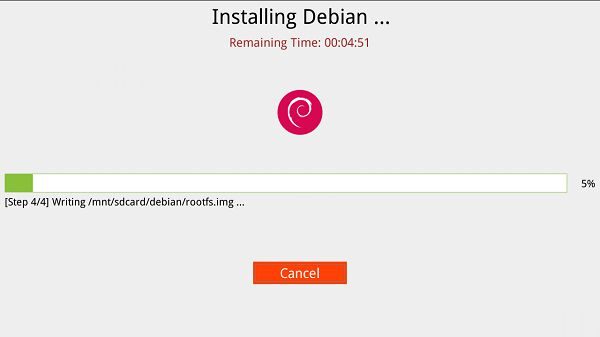
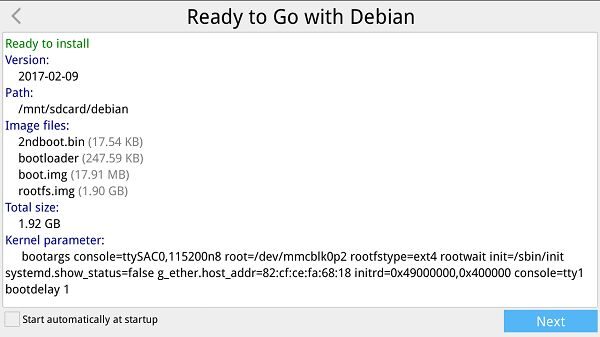
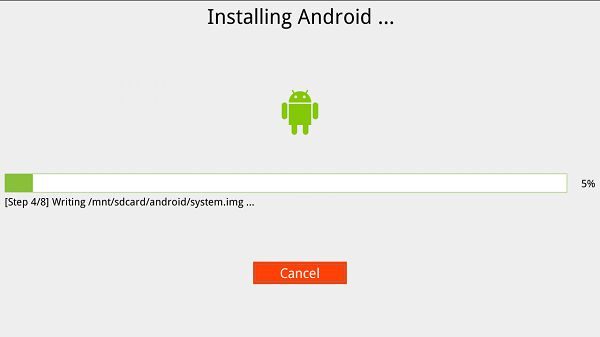
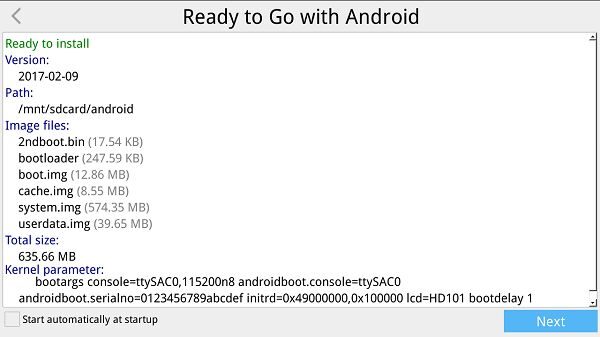
The process of loading images from the Micro SD card is very simple. You have two main tools ‘SDFormatter’ and ‘Win32Disk Imager’ for formatting the media card and writing images. If you want to write the images to the 8GB eMMC you will need to use the ‘eflasher’ Tool which is similar to the Raspberry Pi NOOBS operating system installer, that does it almost automatically through a GUI. There you select the preferred OS and the installation wizard does the rest of the job, without any special how to technical knowledge or skills on the user side.
e-flasher | Screenshots
Network Throughput Test
In this test, one system must act as a server, while the other acts as a client. In this case, I ran iperf-3.1.3 (win64) as a server on a Windows 7 workstation and the NanoPi T3 was the client.
Step 1 – Finding out the Windows workstation & NanoPi T3 IP Address
- CMD For Windows: ipconfig
- CMD For Linux: # ifconfig
Step 2 – Running ssh service on the NanoPi T3
sudo service ssh start
Step 3 – Installing PUTTY ssh client and connecting to the NanoPi T3
Step 4 – Downloading the latest ipref3 (Windows OS):
Download Link: https://iperf.fr/iperf-download.php
Step 5 – Setting the Windows Workstation in Server mode (port: 45678)
From Windows Command line running: iperf3 -s -p 45678
Step 7 – Installing ipref3 package on the NanoPi T3
sudo apt-get install iperf
Step 8 – Running Tests from the NanoPi T3 on target IP (Windows Station):
Test #1: Testing a single TCP connection between two nodes

- Parameters:  TCP port 45678 , test duration time=60 sec


fa@NanoPi3:~$ iperf -c 192.168.0.103 -p 45678 -fM -t 60
------------------------------------------------------------
Client connecting to 192.168.0.103, TCP port 45678
TCP window size: 0.02 MByte (default)
------------------------------------------------------------
[  3] local 192.168.0.101 port 59833 connected with 192.168.0.103 port 45678
[ ID] Interval       Transfer     Bandwidth
[  3]  0.0-60.0 sec  9826414590 MBytes  163759286 MBytes/s


Test #2: Testing a single UDP connection between two nodes

- Parameters:  UDP port 45678 , test duration time=60 sec

fa@NanoPi3:~$ iperf -c 192.168.0.103 -fM -t 60 -u -p 45678
------------------------------------------------------------
Client connecting to 192.168.0.103, UDP port 45678
Sending 1470 byte datagrams
UDP buffer size: 0.16 MByte (default)
------------------------------------------------------------
[  3] local 192.168.0.101 port 54813 connected with 192.168.0.103 port 45678
[ ID] Interval       Transfer     Bandwidth
[  3]  0.0-60.0 sec  7.50 MBytes  0.12 MBytes/sec
[  3] Sent 5351 datagrams
[  3] WARNING: did not receive ack of last datagram after 10 tries.
Final Words
In terms of hardware, the NanoPC-T3 is definitely a good high-performanceboard, that can be used also as a workstation / Mini PC to run Android and Debian Linux. As for software support, the user is limited only to three types of OS. FriendlyARM could have done a better job and provided more OS images.
Pros / Cons:
Pros
- High performance (Octa-Core Processor)
- A wide selection of onboard interfaces
Cons
- 1GB RAM
- Limited software support (Linux, Ubuntu Core, Android).
Company Links:
- Company Page: https://www.friendlyelec.com/
- Forum: http://www.friendlyarm.com/Forum/
- Facebook: https://www.facebook.com/FriendlyARM.Community/


