NanoPi M4V2 Review
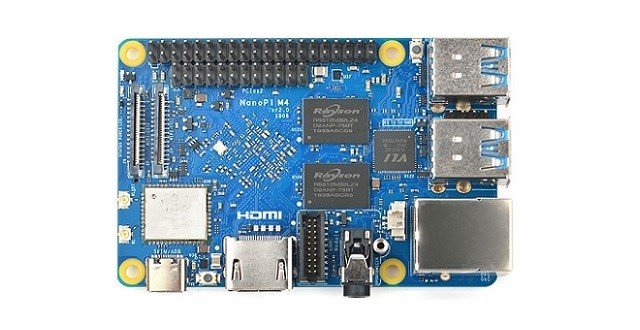
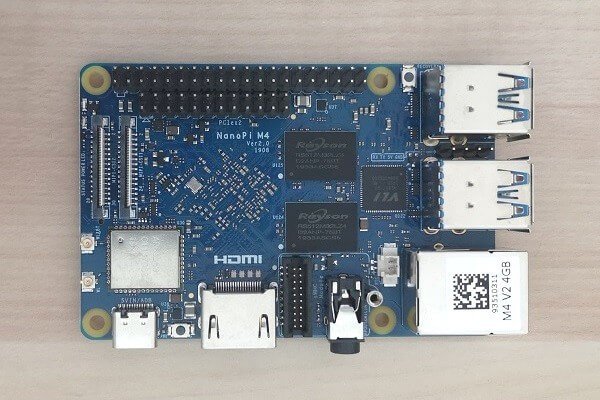
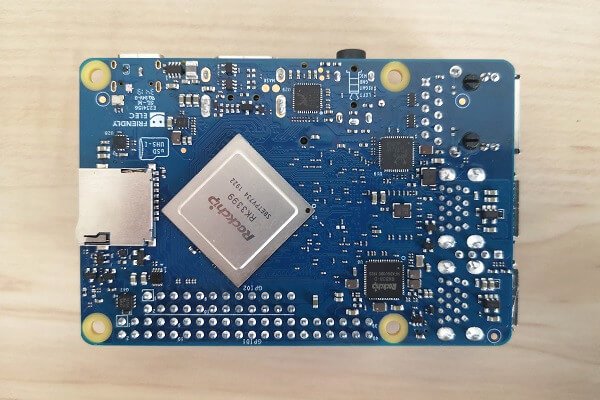
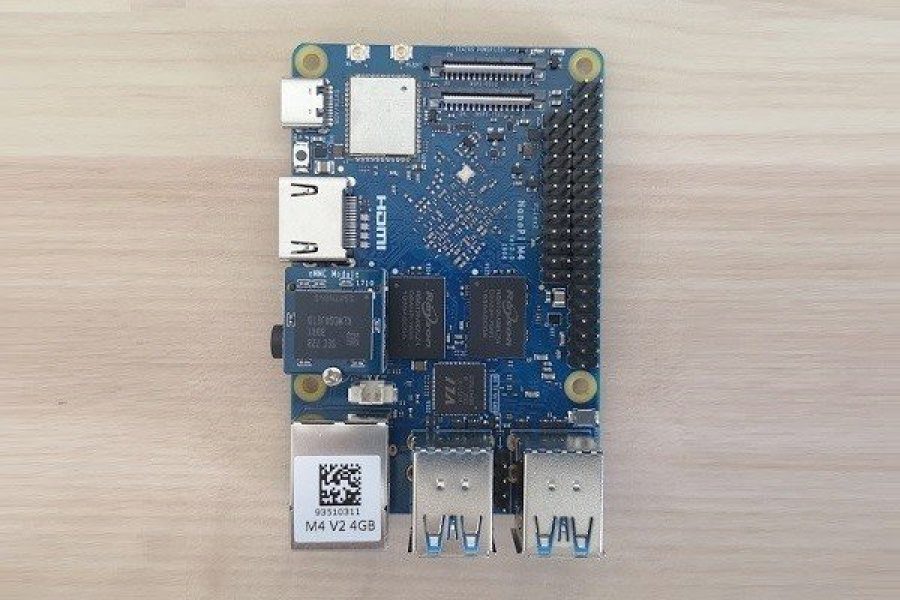
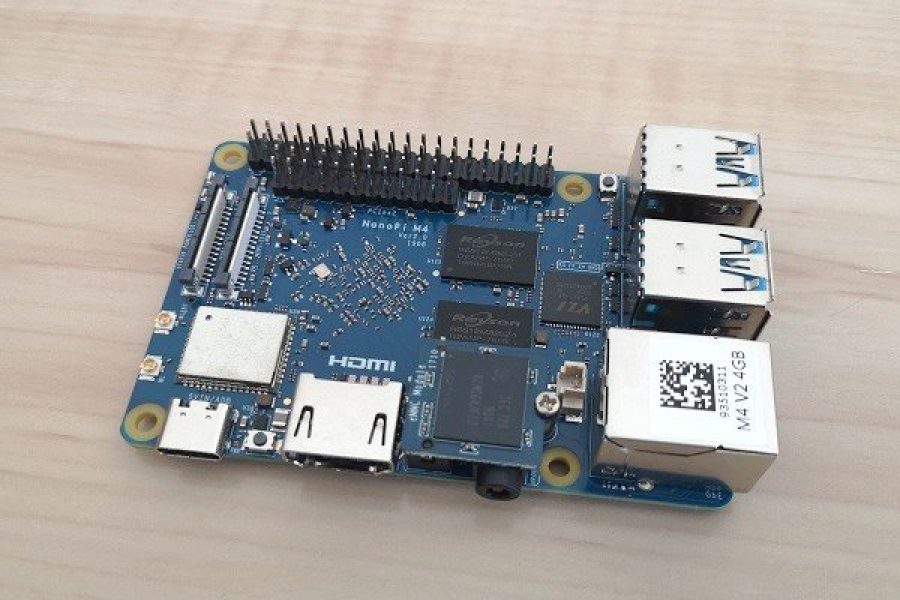
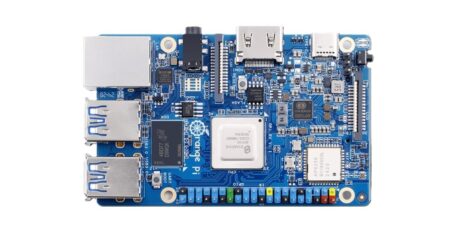
Following the FriendlyElec previous launch of the Nano Pi M4 comes a new and improved board called the Nano Pi M4V2 that has a few new features and tweaks worth checking out. First, the board comes with a total of 4 GB RAM LPDDR4 RAM, setting the 4 GB RAM as the main industry-standard starting with the latest launch of the Raspberry Pi 4 SBC series.
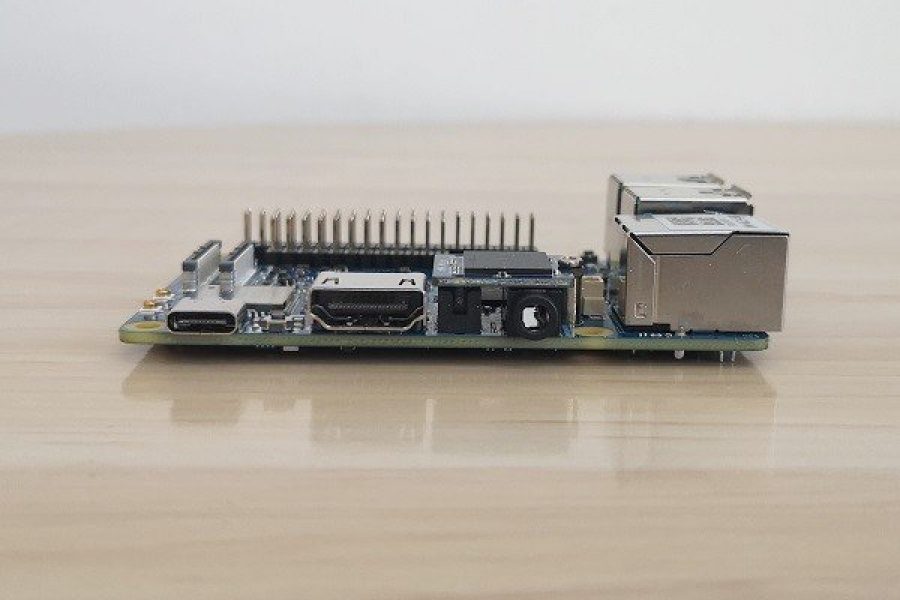
FriendlyElec company team also added a built-in onboard on/off power button that didn’t exist in the older M4 model. In addition, the headphone port now supports both microphone and audio output functionality. And lastly, the eMMC module now comes with a thread to secure the eMMC module inside the socket.
Benchmarking, Testing, Insights, System Memory
- eMMC Module
- USB Interfaces
- Network Throughput Test
- Stress Test: CPU, Memory, I/O
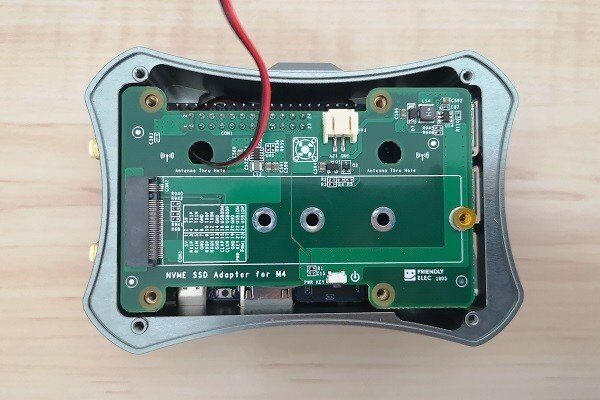
- NVMe SSD Adapter Preview
- NVMe SSD Benchmarks
Part 1: Unboxing
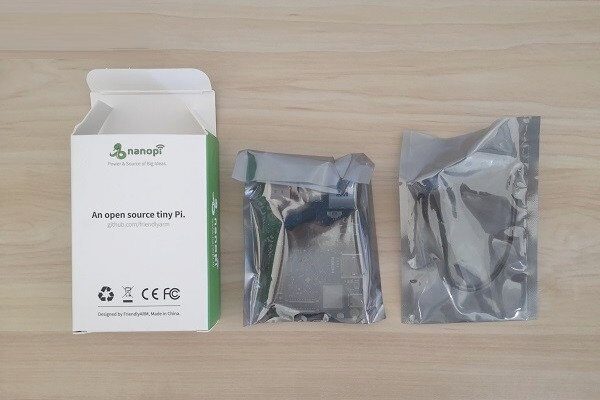
NanoPi M4/V2 Package
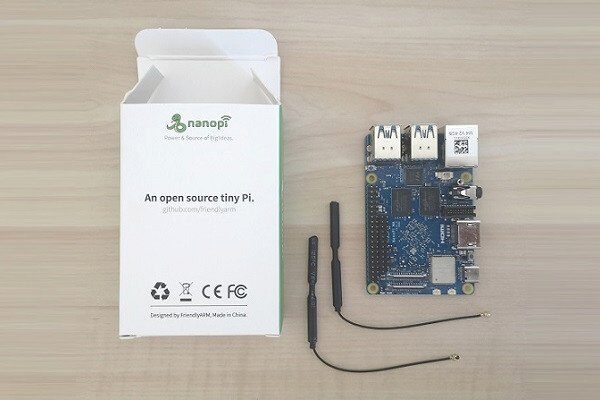
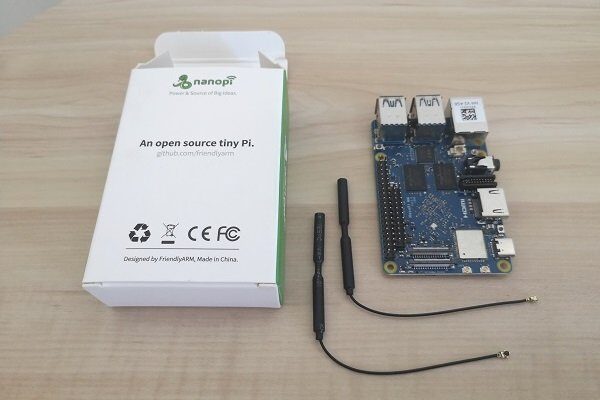
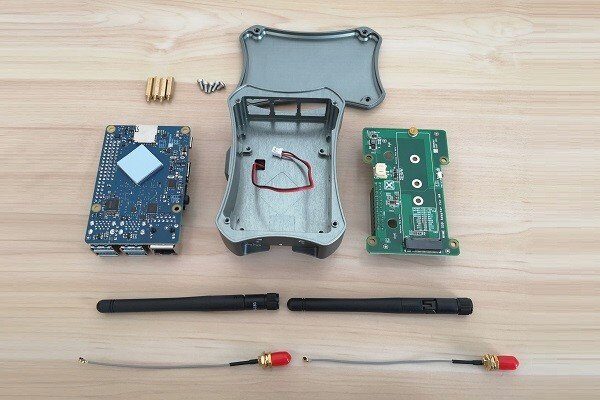
NanoPi M4V2 | Package Contents (Basic Package)
Items:
- x2 Wi-Fi Wire Antennas
- x1 NanoPi M4V2
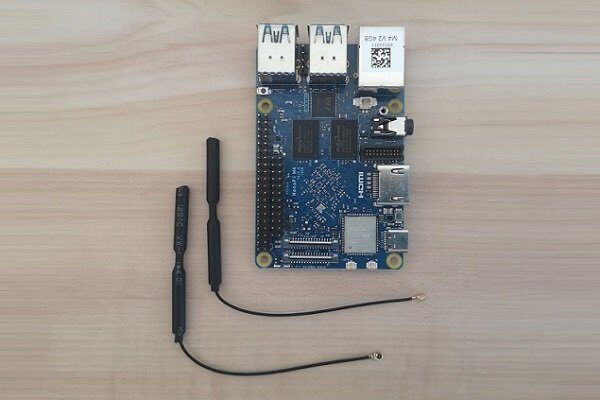
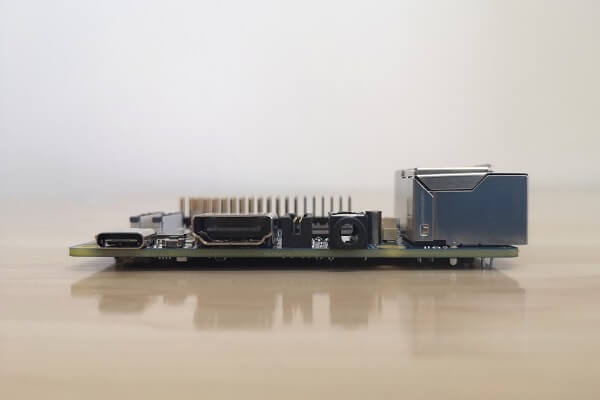
NanoPi M4/V2 | Full view
Part 2: Metal Case Kit Thoughts
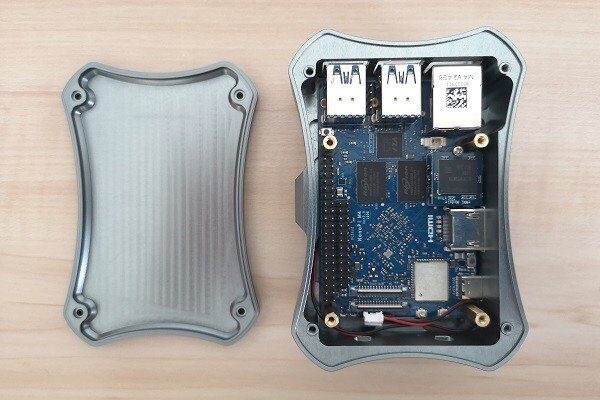
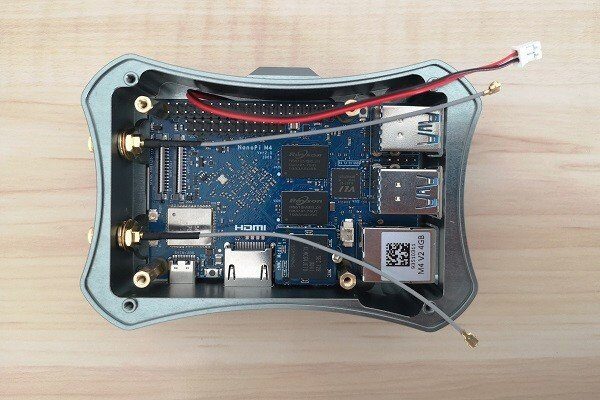
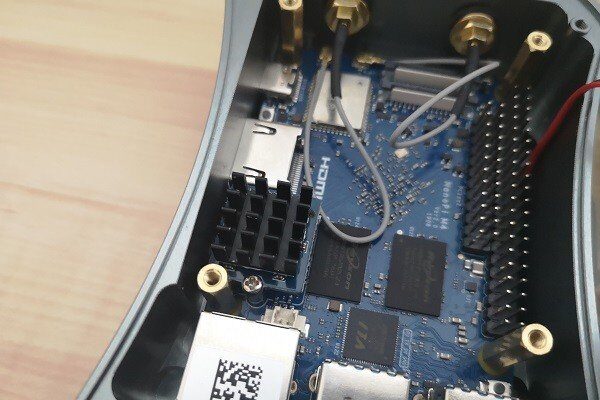
Because the Nano M4V2 has some new design changes but has the same dimensions and exact interfaces, including ports, the metal case will fit perfectly well for both boards. The standard edition of the case kit also includes a V2 NVMe SSD Adapter that allows you to expand your storage option to up to 1TB of space and beyond.
If you don’t need it, you can use a micro SD card to boot the OS system files, which will load slower in terms of read-write performance. The best recommendation is to buy a 32GB/64GB eMMC flash module to store your system files and most likely you will be left with few extra gigabytes of free storage space to install and run apps.
The Good
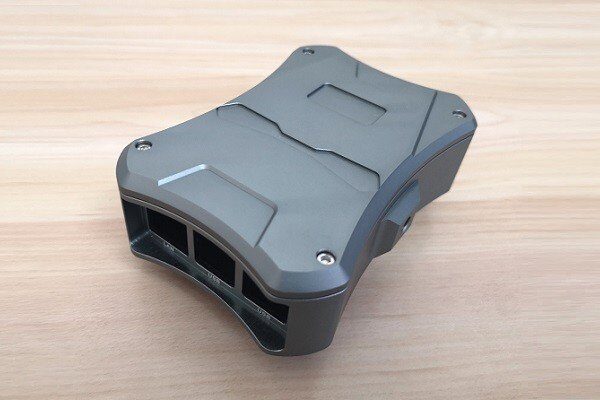
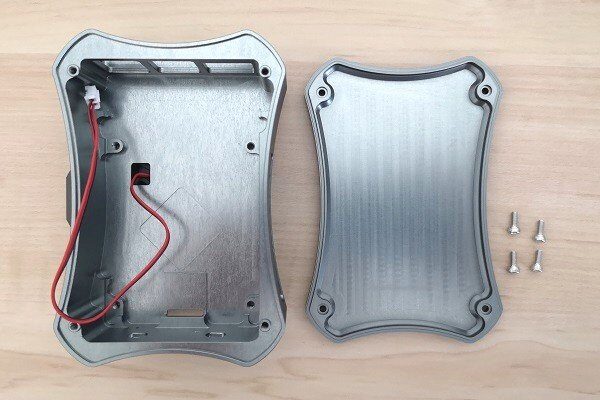
In terms of build quality, the case is superb. The case is beautifully crafted and made completely from aluminum alloy material machined in the CNC manufacturing process. The case comes with all the screws needed to assemble the board inside, including one thermal pad for the main chip. When the board is assembled, the case envelope functions as a giant Heatsink, improving cooling and lowering the CPU temperature. In my opinion, the case is a must-have accessory worth buying as the RK3399 chip tends to heat fast with relatively high temperatures starting from 50C+ in idle mode.
The Bad
Now, for some issues, I found the design. For example, the case fan was positioned at the bottom of the case instead of the top cover where the extra heat can get much faster. Also, the silicon legs of the case give the fan about ~1 mm space between the surface upon which the case is positioned and the fan, which most likely interferes with airflow and again would not disperse the extra warm air very effectively.
If you decide to buy the case kit keep in mind that the case was originally designed for the NanoPi M4 that doesn’t have a power on/off button. The NanoPi M4V2 is more problematic because the company added a power button but for some reason position it on top of the PCB instead on the side which makes it a lot easier to design a case for it.
The bottom line, if you are planning to keep the board powered on 24/7 it will not become an issue. If you do plan on turning it off, the only solution that comes in my mind is buying a USB Type C cable with a built-in power button that should make life a lot simpler.
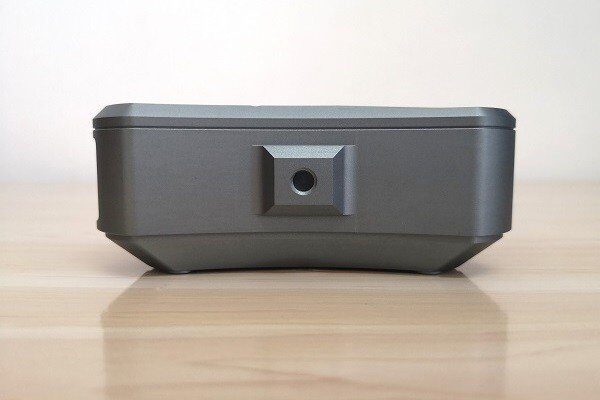
NanoPi-M4/V2 Metal Case
NanoPi-M4/V2 Metal Case [Standard]
Part 3: Benchmarking, Testing, Insights
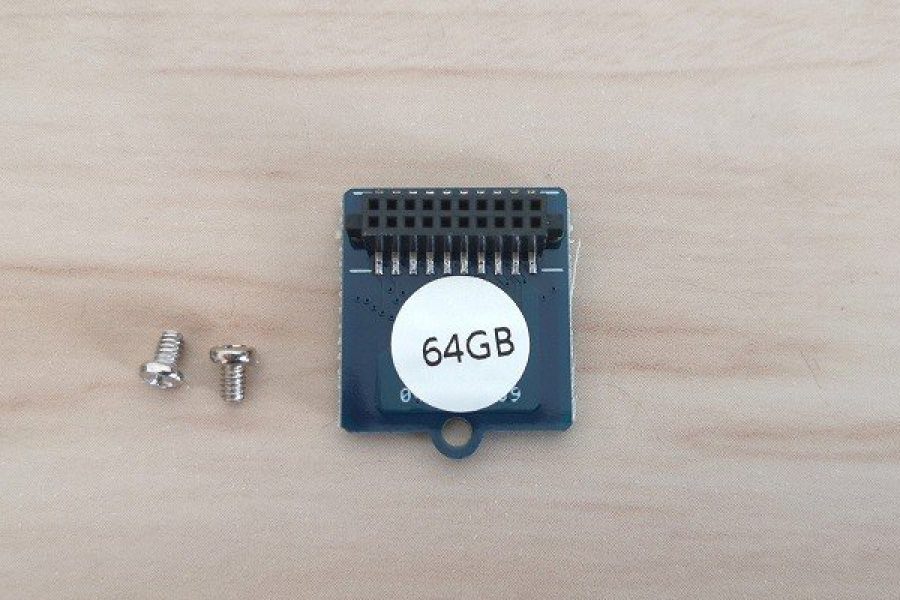
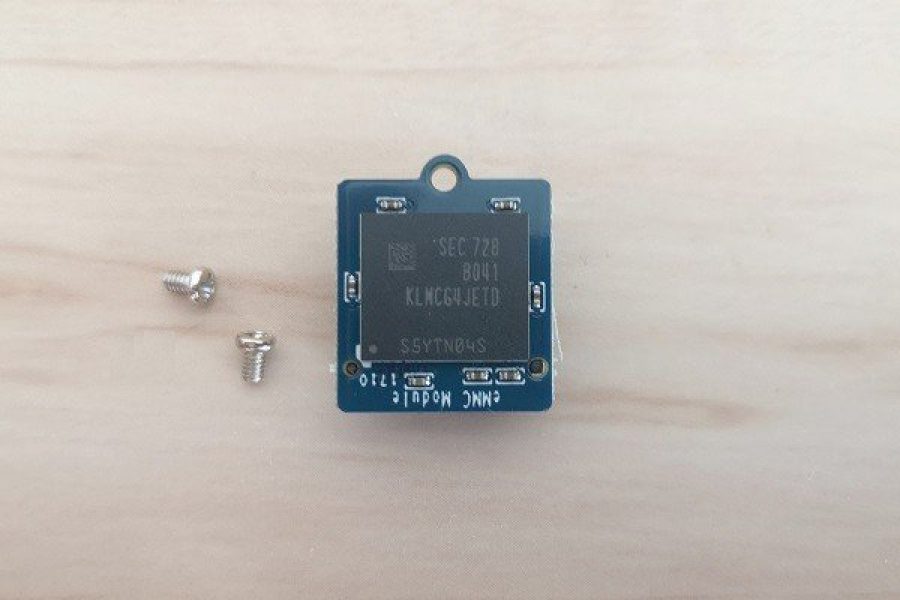
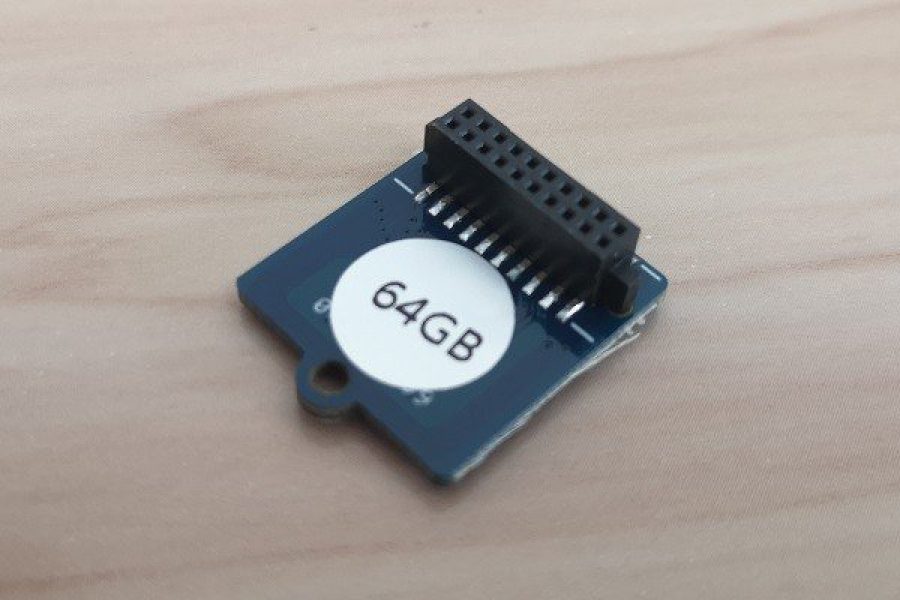
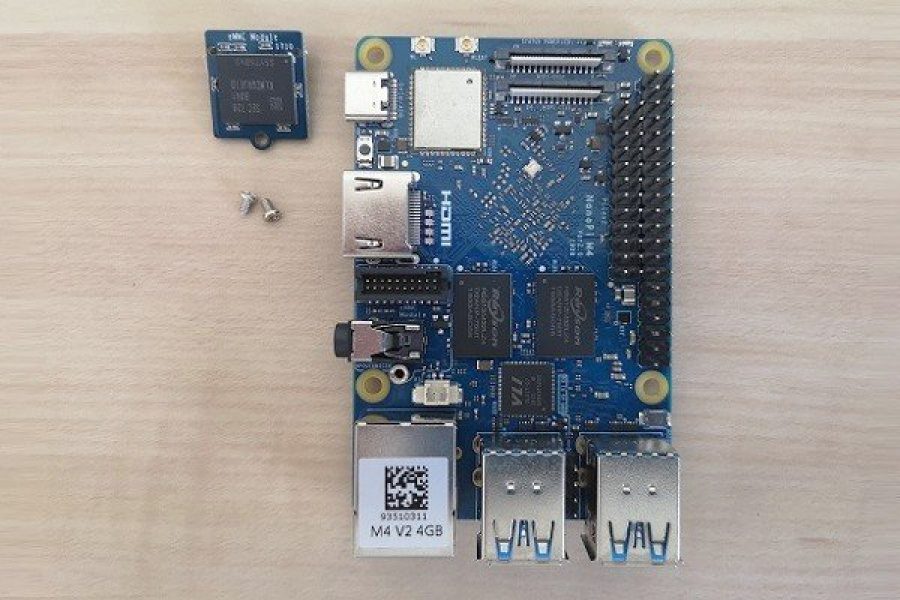
NanoPi M4V2 eMMC
Improvement Tip
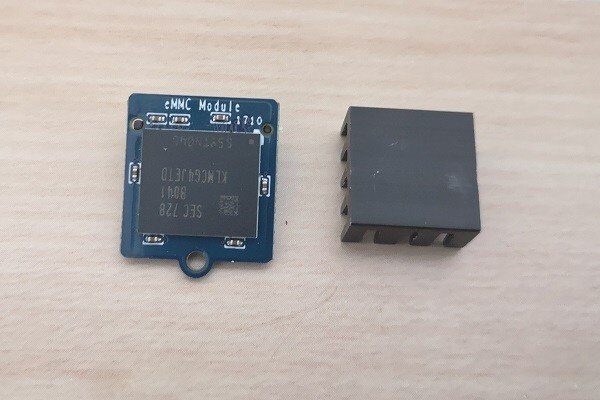
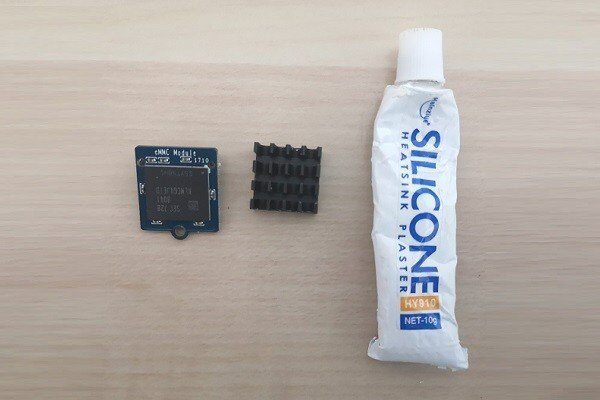
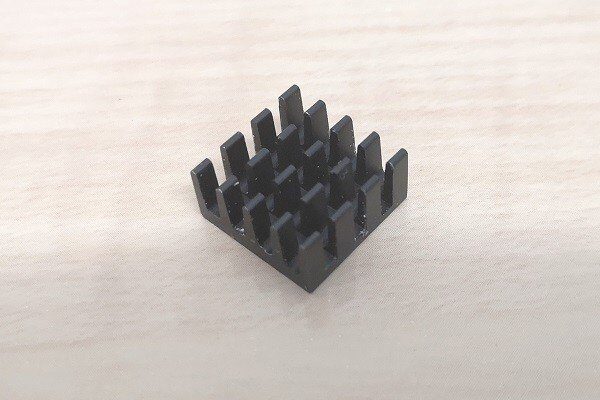
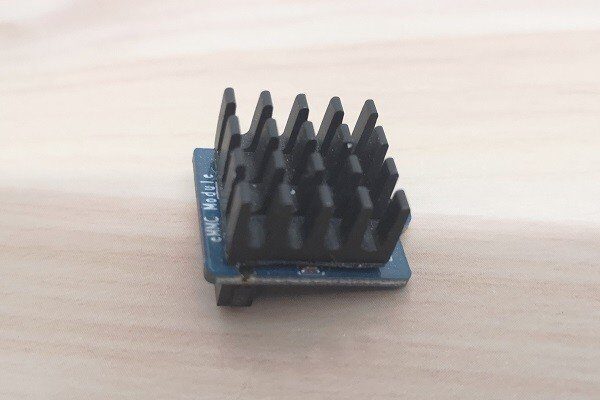
If you decide to buy the eMMC module keep in mind that the chip comes without a Heatsink. It would not hurt to buy a squared shaped Heatsink with dimensions of 14 mm (L) x 7 mm. (H) To improve cooling efficiency and attach it to the chip using a thermal adhesive.
NanoPi M4V2 eMMC | Adding Heatsink
Nano Pi M4 eMMC | Assembly
Benchmarking 64 GB eMMC (Read/Write Speed)
Testing write speed
$ sudo dd if=/dev/mmcblk1 of=tempfile bs=1M count=1024; sync
1024+0 records in
1024+0 records out
1073741824 bytes (1.1 GB, 1.0 GiB) copied, 15.1246 s, 71.0 MB/s
Clearing Cache and testing read speed
$ sudo /sbin/sysctl -w vm.drop_caches=3
vm.drop_caches = 3
$ sudo dd if=tempfile of=/dev/mmcblk1 bs=1M count=1024
1024+0 records in
1024+0 records out
1073741824 bytes (1.1 GB, 1.0 GiB) copied, 13.659 s, 78.6 MB/s
USB Interfaces
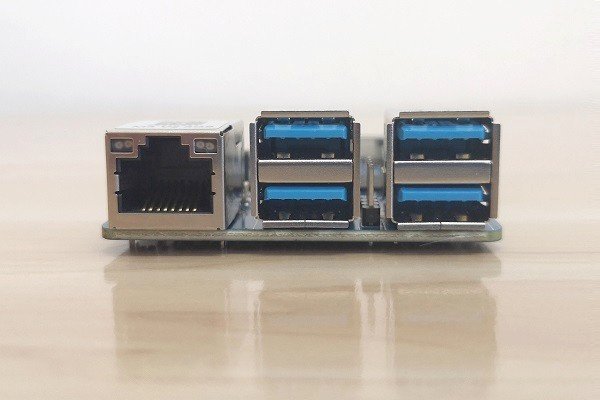
The NanoPi M4V2 comes with a total of four USB V3.0 host ports. For testing read/write storage media performance I formatted a Kingston DataTraveler (DT50) 32 GB USB Drive to the Ext4 file system and randomly picked one of the USB host ports for this test.
Testing write speed
$ sudo dd if=/dev/sda1 of=tempfile bs=1M count=1024; sync
1024+0 records in
1024+0 records out
1073741824 bytes (1.1 GB, 1.0 GiB) copied, 27.9745 s, 38.4 MB/s
Clearing Cache and testing Read Speed
$ sudo /sbin/sysctl -w vm.drop_caches=3
vm.drop_caches = 3
$ sudo dd if=tempfile of=/dev/sda1 bs=1M count=1024
1024+0 records in
1024+0 records out
1073741824 bytes (1.1 GB, 1.0 GiB) copied, 44.4602 s, 24.2 MB/s
Network Throughput Test
To check general transfer speeds I connected two SBCs through a router with gigabyte Ethernet ports and ran a few tests to gain some insights on how the NanoPi M4V2 performs when connecting to a LAN.
- Test Tool: iperf3
- Type of test: Bidirectional network throughput between two SBCs.
Connected Devices:
| No. | Devices | Interface | Chip |
| 1 | NanoPi M4V2 | Gbps Ethernet | Unknown |
| 2 | NanoPi K1 Plus | RTL8211E-VB-CG |
NanoPi M4V2 (Client Mode)
$ iperf3 -c 192.168.1.109 -i -t 20 -p 2000 -w 40k
Connecting to host 192.168.1.109, port 2000
[ 4] local 192.168.1.229 port 56830 connected to 192.168.1.109 port 2000
[ ID] Interval Transfer Bandwidth Retr Cwnd
[ 4] 0.00-10.00 sec 837 MBytes 702 Mbits/sec 0 41.0 KBytes
– – – – – – – – – – – – – – – – – – – – – – – – –
[ ID] Interval Transfer Bandwidth Retr
[ 4] 0.00-10.00 sec 837 MBytes 702 Mbits/sec 0 sender
[ 4] 0.00-10.00 sec 837 MBytes 702 Mbits/sec receiver
NanoPi K1 Plus (Server Mode)
$ iperf3 -s -p 2000
———————————————————–
Server listening on 2000
———————————————————–
Accepted connection from 192.168.1.229, port 56828
[ 5] local 192.168.1.109 port 2000 connected to 192.168.1.229 port 56830
[ ID] Interval Transfer Bandwidth
[ 5] 0.00-1.00 sec 82.8 MBytes 695 Mbits/sec
[ 5] 1.00-2.00 sec 83.0 MBytes 696 Mbits/sec
[ 5] 2.00-3.00 sec 83.1 MBytes 697 Mbits/sec
[ 5] 3.00-4.00 sec 83.3 MBytes 699 Mbits/sec
[ 5] 4.00-5.00 sec 85.8 MBytes 720 Mbits/sec
[ 5] 5.00-6.00 sec 83.5 MBytes 701 Mbits/sec
[ 5] 6.00-7.00 sec 85.7 MBytes 719 Mbits/sec
[ 5] 7.00-8.00 sec 82.6 MBytes 693 Mbits/sec
[ 5] 8.00-9.00 sec 83.0 MBytes 696 Mbits/sec
[ 5] 9.00-10.00 sec 82.9 MBytes 695 Mbits/sec
[ 5] 10.00-10.01 sec 1.07 MBytes 693 Mbits/sec
– – – – – – – – – – – – – – – – – – – – – – – – –
[ ID] Interval Transfer Bandwidth
[ 5] 0.00-10.01 sec 0.00 Bytes 0.00 bits/sec sender
[ 5] 0.00-10.01 sec 837 MBytes 701 Mbits/sec receiver
Stress Test: CPU, Memory (VM stress), I/O
- Test Tool: stress-ng
- Power supply unit: 5V 4A
- Watt Voltage Current Analyzer connected to the wall power socket.
- Test #1: stress-ng –cpu 4 –io 3 –vm 2 –vm-bytes 256M –tz –timeout 60s
- Test #2: stress-ng –cpu 4 –io 3 –vm 2 –vm-bytes 512M –tz –timeout 120s
- Test #3: stress-ng –cpu 4 –io 3 –vm 2 –vm-bytes 1024M –tz –timeout 180s
Test # 1
$ uptime
00:05:46 up 11 min, 3 users, load average: 0.01, 0.09, 0.06
$ stress-ng –cpu 4 –io 3 –vm 2 –vm-bytes 256M –tz –timeout 60s
stress-ng: info: [2530] dispatching hogs: 4 cpu, 3 iosync, 2 vm
stress-ng: info: [2530] cache allocate: using built-in defaults as unable to determine cache details
stress-ng: info: [2530] cache allocate: default cache size: 2048K
stress-ng: info: [2530] successful run completed in 60.55s (1 min, 0.55 secs)
stress-ng: info: [2530] cpu:
stress-ng: info: [2530] gpu-thermal 52.64 °C
stress-ng: info: [2530] soc-thermal 56.17 °C
stress-ng: info: [2530] iosync:
stress-ng: info: [2530] gpu-thermal 52.59 °C
stress-ng: info: [2530] soc-thermal 56.31 °C
stress-ng: info: [2530] vm:
stress-ng: info: [2530] gpu-thermal 52.78 °C
stress-ng: info: [2530] soc-thermal 56.70 °
Maximum measured peak wattage (W): 10.4W
Test # 2
$ uptime
00:09:53 up 16 min, 3 users, load average: 0.49, 1.08, 0.55
$ stress-ng –cpu 4 –io 3 –vm 2 –vm-bytes 512M –tz –timeout 120s
stress-ng: info: [2565] dispatching hogs: 4 cpu, 3 iosync, 2 vm
stress-ng: info: [2565] cache allocate: using built-in defaults as unable to determine cache details
stress-ng: info: [2565] cache allocate: default cache size: 2048K
stress-ng: info: [2565] successful run completed in 120.76s (2 mins, 0.76 secs)
stress-ng: info: [2565] cpu:
stress-ng: info: [2565] gpu-thermal 54.44 °C
stress-ng: info: [2565] soc-thermal 58.39 °C
stress-ng: info: [2565] iosync:
stress-ng: info: [2565] gpu-thermal 54.63 °C
stress-ng: info: [2565] soc-thermal 58.56 °C
stress-ng: info: [2565] vm:
stress-ng: info: [2565] gpu-thermal 54.17 °C
stress-ng: info: [2565] soc-thermal 58.65 °C
Maximum measured peak wattage (W): 11W
Test # 3
$ uptime
00:13:38 up 19 min, 3 users, load average: 1.62, 2.75, 1.46
$ stress-ng –cpu 4 –io 3 –vm 2 –vm-bytes 1024M –tz –timeout 180s
stress-ng: info: [2608] dispatching hogs: 4 cpu, 3 iosync, 2 vm
stress-ng: info: [2608] cache allocate: using built-in defaults as unable to determine cache details
stress-ng: info: [2608] cache allocate: default cache size: 2048K
stress-ng: info: [2608] successful run completed in 180.39s (3 mins, 0.39 secs)
stress-ng: info: [2608] cpu:
stress-ng: info: [2608] gpu-thermal 55.97 °C
stress-ng: info: [2608] soc-thermal 59.39 °C
stress-ng: info: [2608] iosync:
stress-ng: info: [2608] gpu-thermal 56.11 °C
stress-ng: info: [2608] soc-thermal 59.10 °C
stress-ng: info: [2608] vm:
stress-ng: info: [2608] gpu-thermal 55.83 °C
stress-ng: info: [2608] soc-thermal 59.95 °C
Maximum measured peak wattage (W): 11.1W
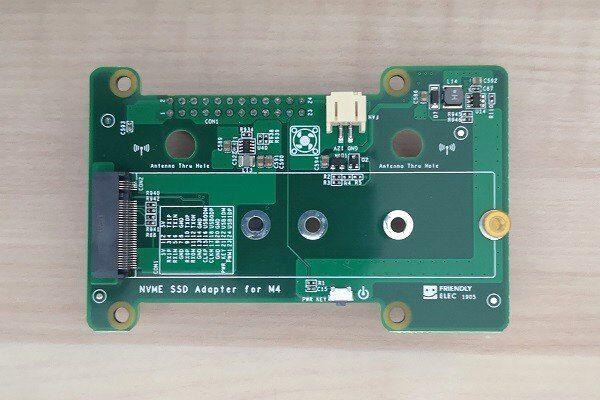
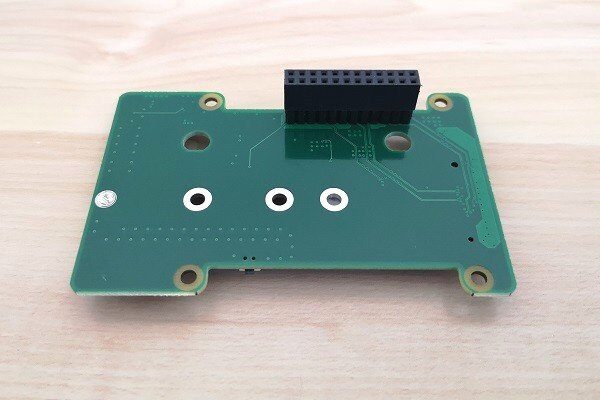
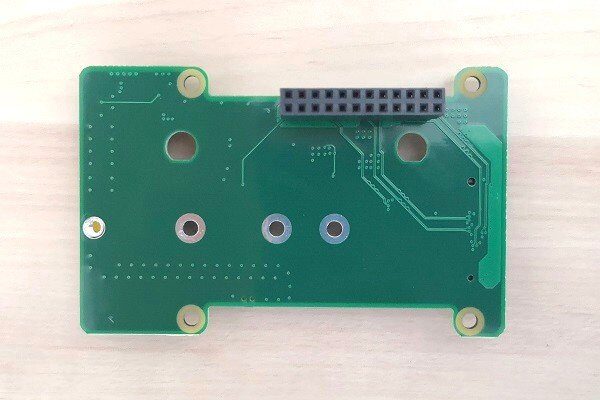
NVMe SSD Adapter
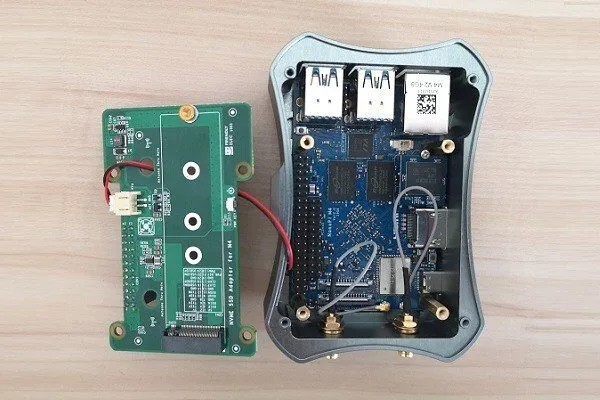
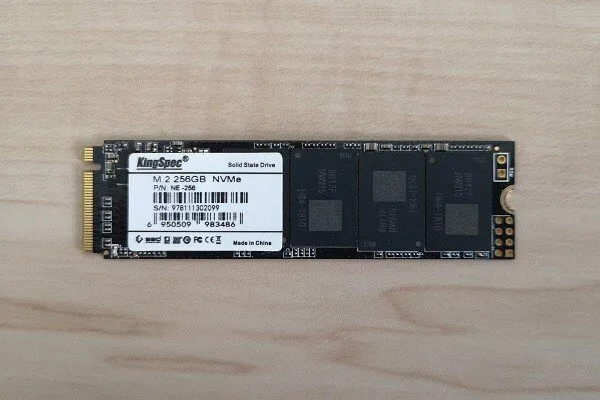
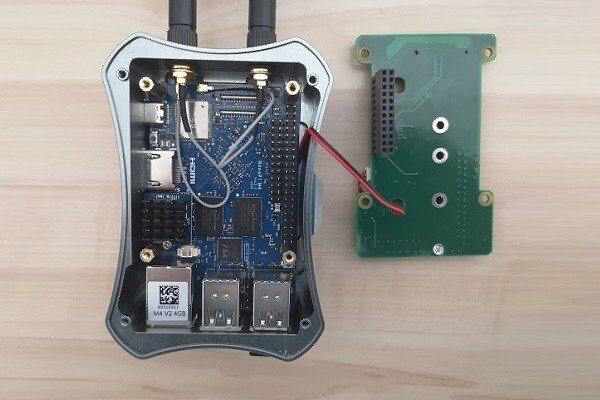
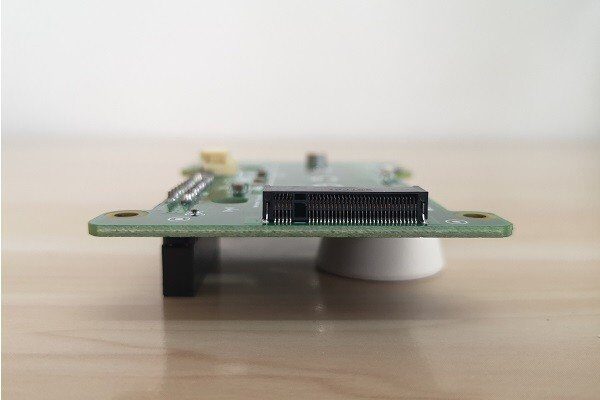
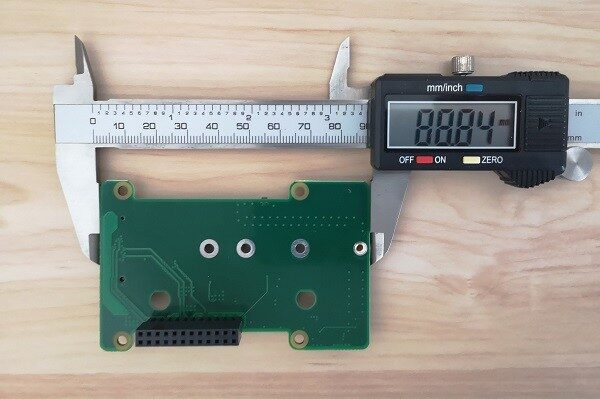
Another very nice accessory that is optional if you buy the metal case standard kit. This add-on extension board lets you increase your storage capacity up to 1TB and beyond by adding an SSD card that plugs into the adapter M.2 PCIe interface. In comparison to the eMMC storage option, you will most likely get improved read/write performance and enjoy a lot more space for installing apps just as you were using a standard desktop PC.
NanoPi M4/V2 NVMe SSD Adapter Preview
NVMe SSD Benchmarks
- OS: FriendlyDesktop (Ubuntu-based).
- Storage Media: KingSpec M.2 SSD 256GB
- Filesystem: Ext4
- Controller: SM2263XT (128GB-1TB)
- Interface: PCIe
- Sample Size: 1000 MiB
- Number of tested samples: 100
Test Results: 705.6 MB/s (read rate) / 314.3 (write rate).


Maximum power in wattage (W) measured during the test.

System Memory
FriendlyDesktop is a lightweight, low resource Ubuntu-based Linux distribution running under the LXDE desktop environment. It works well thanks to a low memory footprint that is very important for running applications on embedded platforms. According to the ‘Htop’ system monitoring tool from 3.7GB of RAM without running extra services in the background, except for ssh service, the operating system utilized approximately 333MB of RAM.

Final Words
Without a doubt, the NanoPi M4V2 is a very nice SBC. I’m very aware that I didn’t cover a few other features this board has to offer, such as Wi-Fi support, but from my personal tests, it worked flawlessly without problems. Overall, I like the product. My experience with Friendly Desktop distribution was ok, but in my opinion, it needs some tweaking. Armbian image worked very well for me, and I am probably going to stick with it. The bottom line, if you are willing to compromise and only use two Linux distributions plus Android 8.0 OS, it’s a very good product worth buying.

