NanoPi R6S Review
Part 1: Board Design, Build Quality, Case Design & Assembly
Design & Build Quality
In the design department, the NanoPi R6S comes with a few big improvements and changes compared to the previous NanoPi R5S board. The hardware changes are designed to improve user experience and performance, especially for FriendlyWrt (OpenWrt) users that use the board as a home mini router/switch solution. Regarding the build quality, we can say that the general quality is excellent, as with most, if not all, FriendlyElec products.
So What’s New Under the Hood?
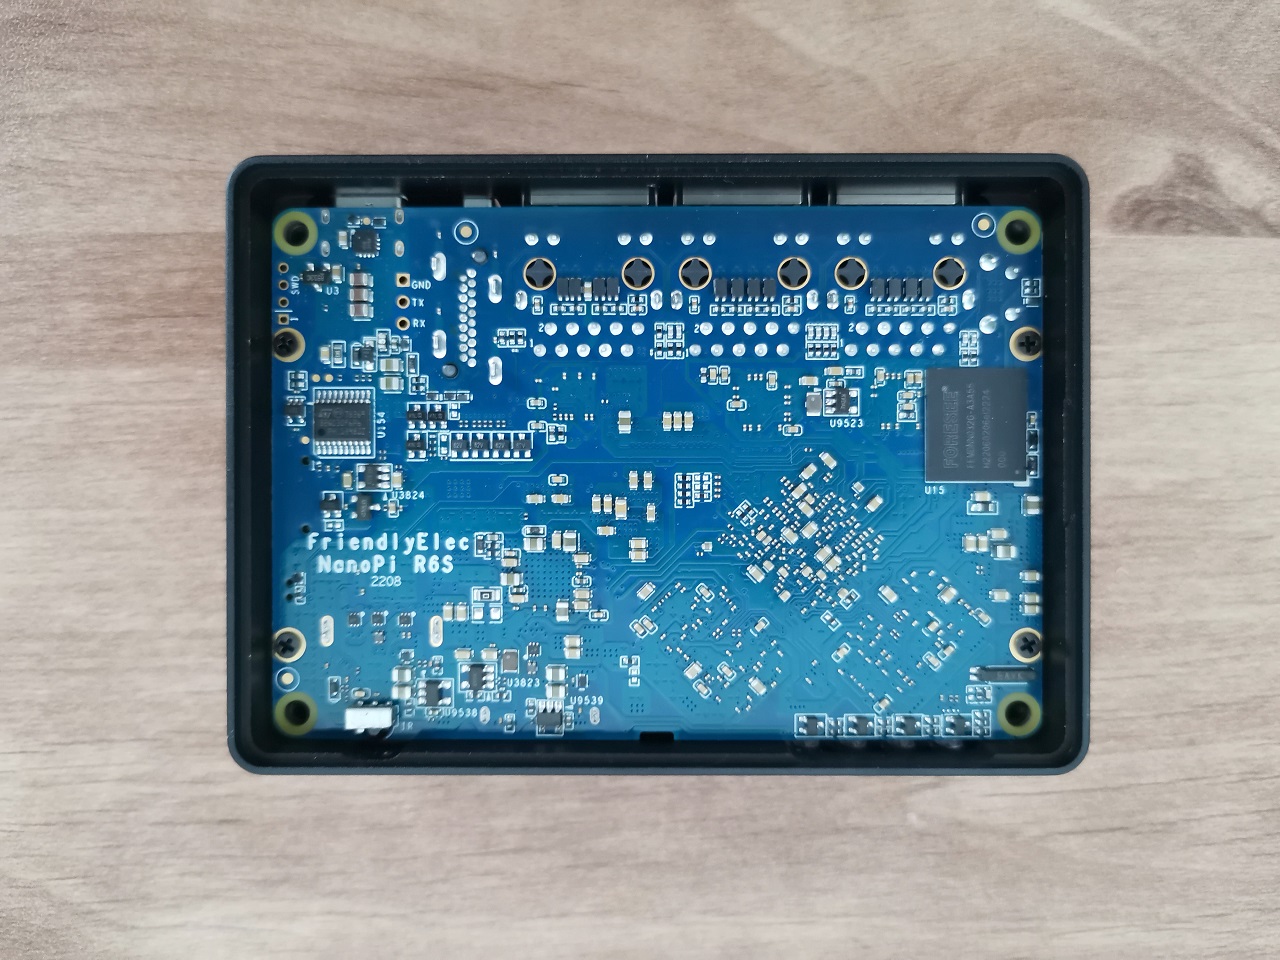
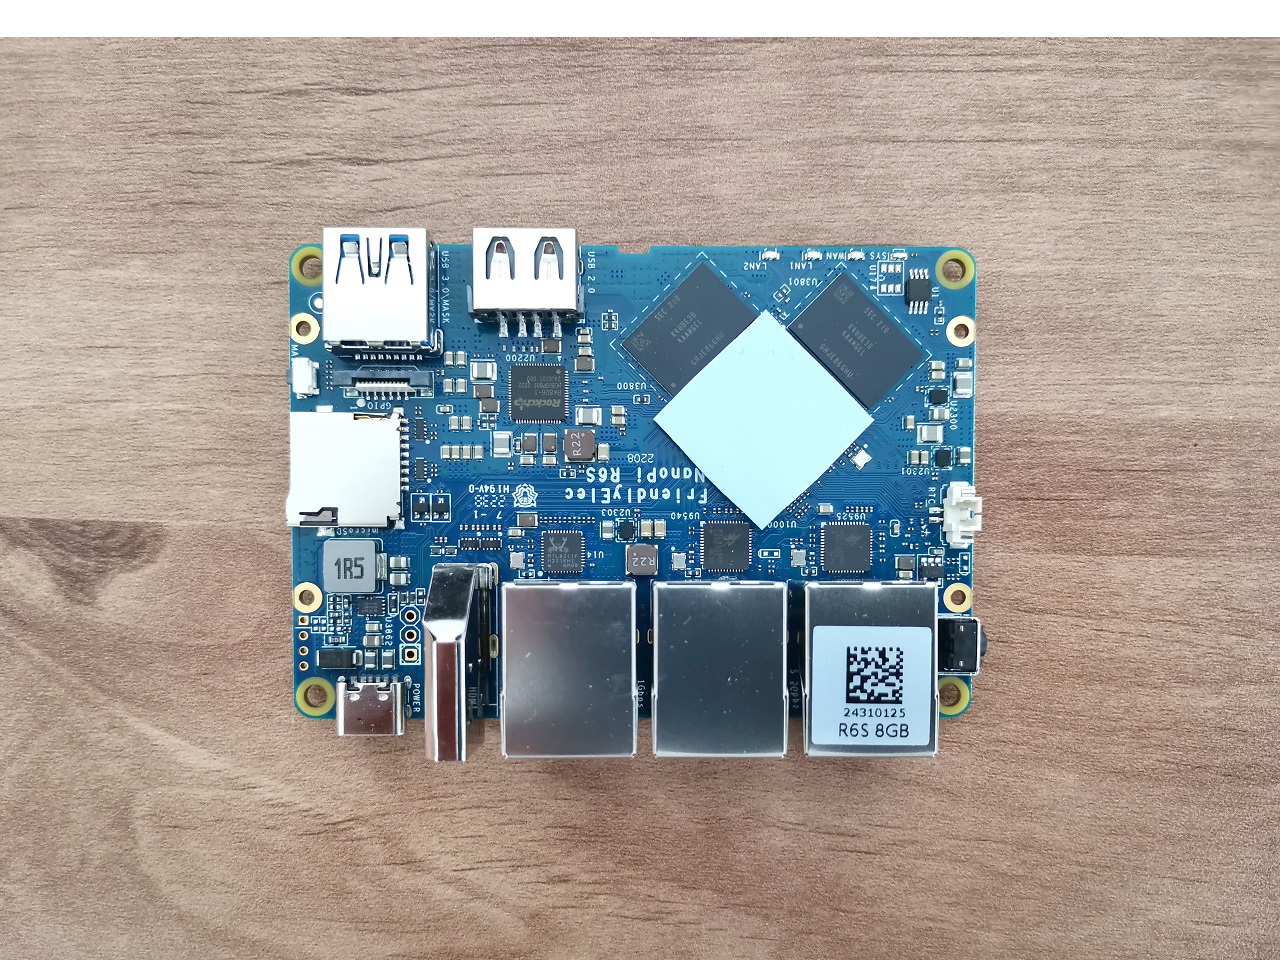
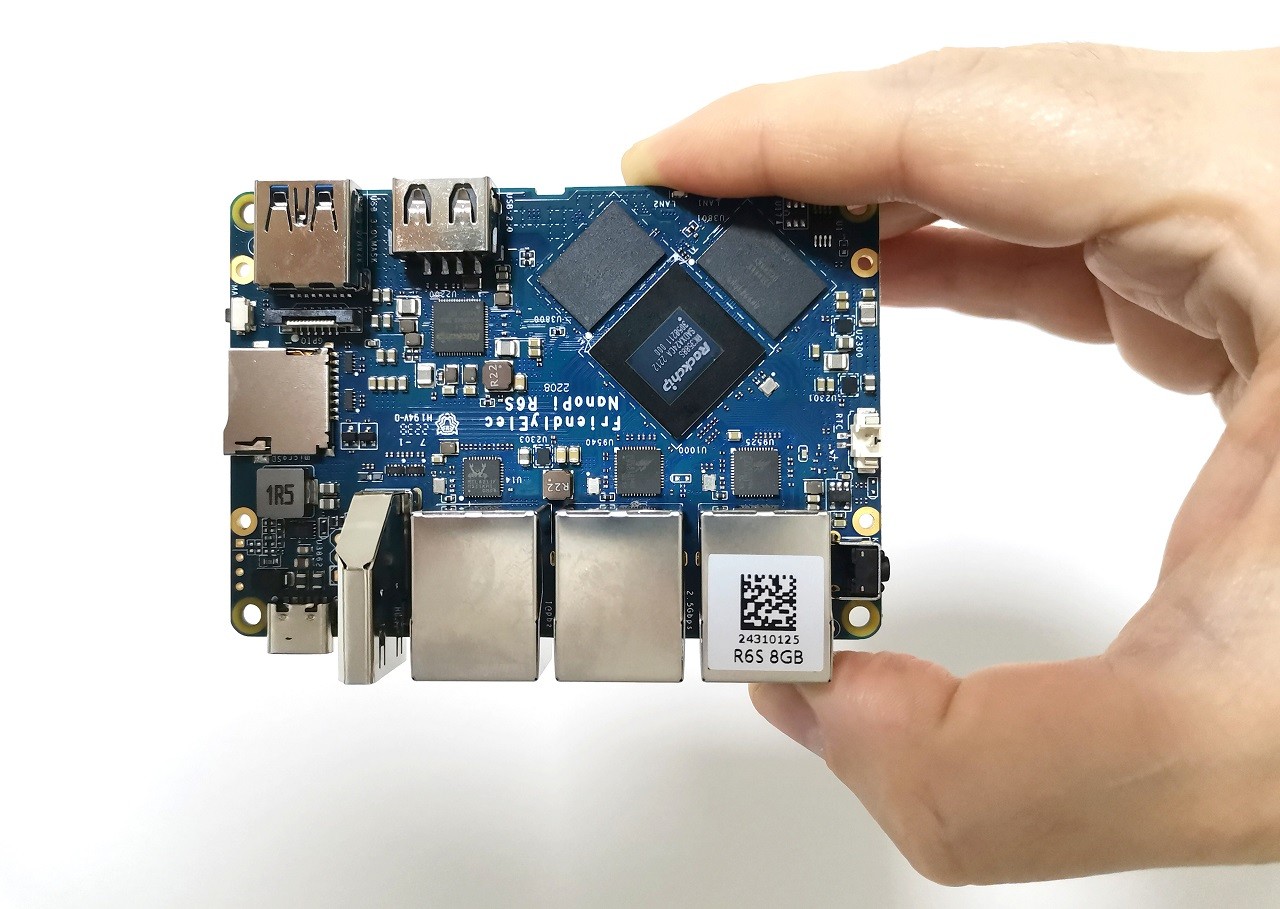
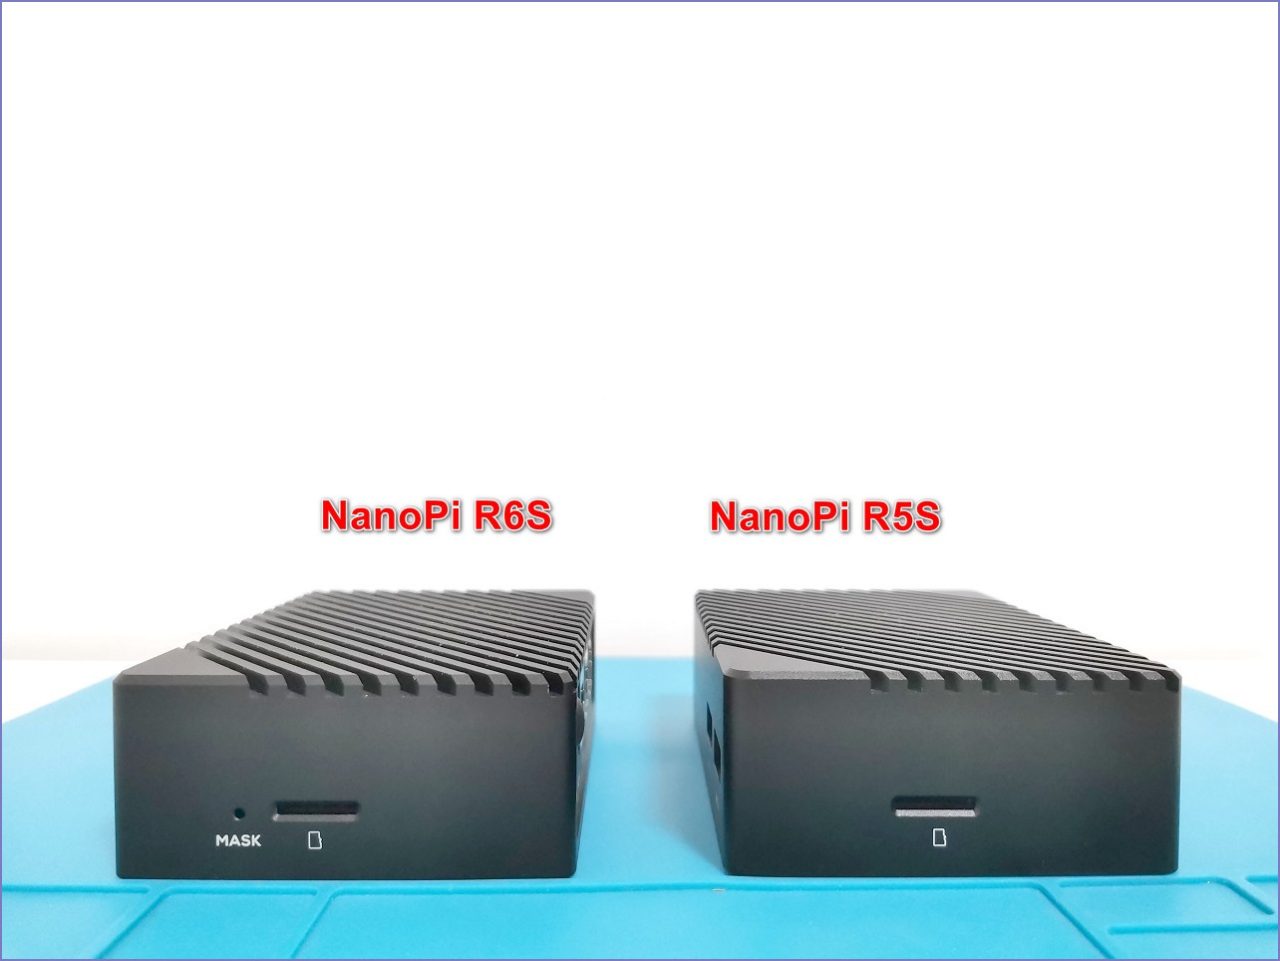
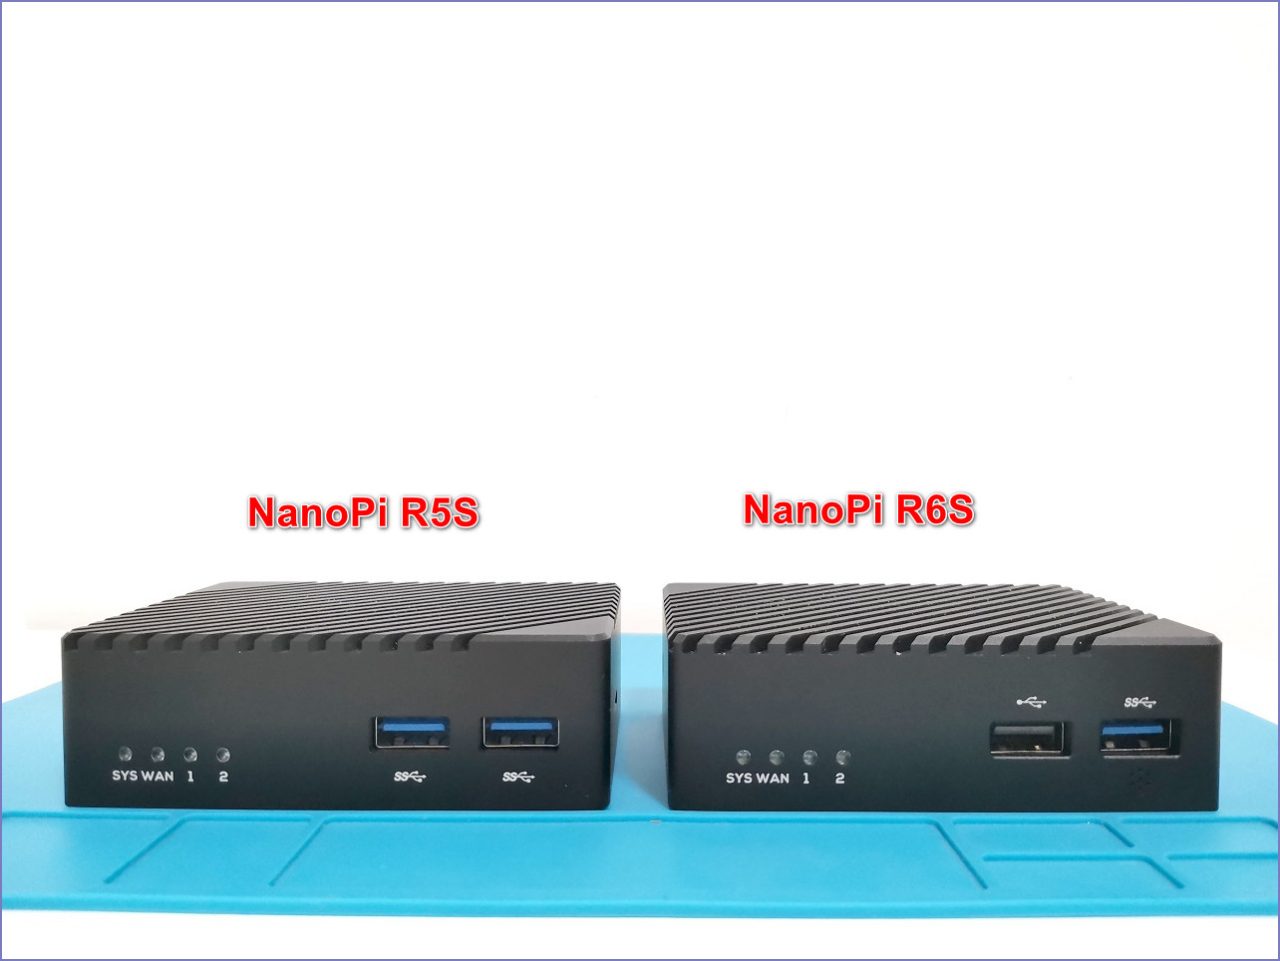
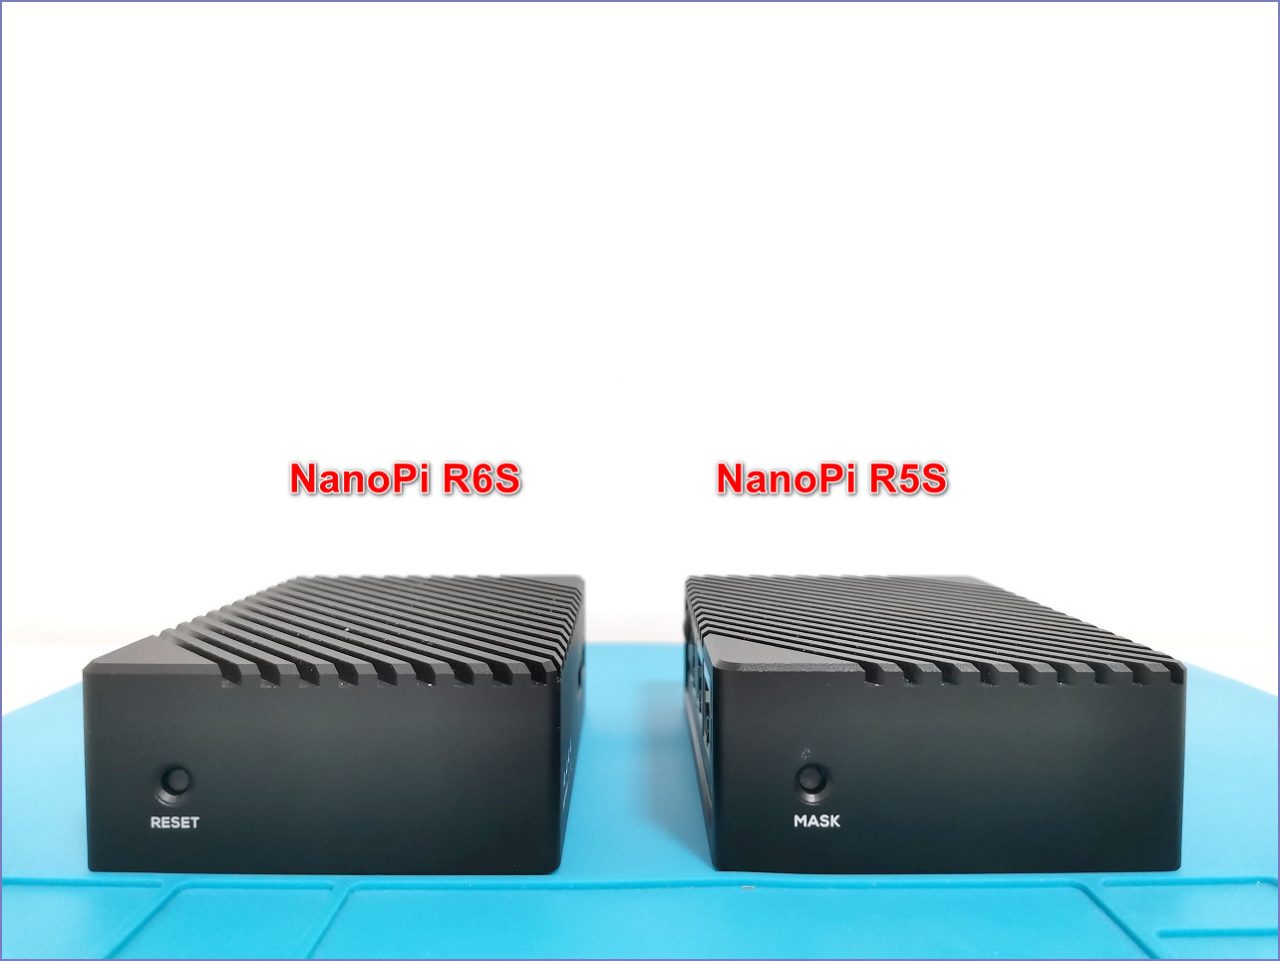
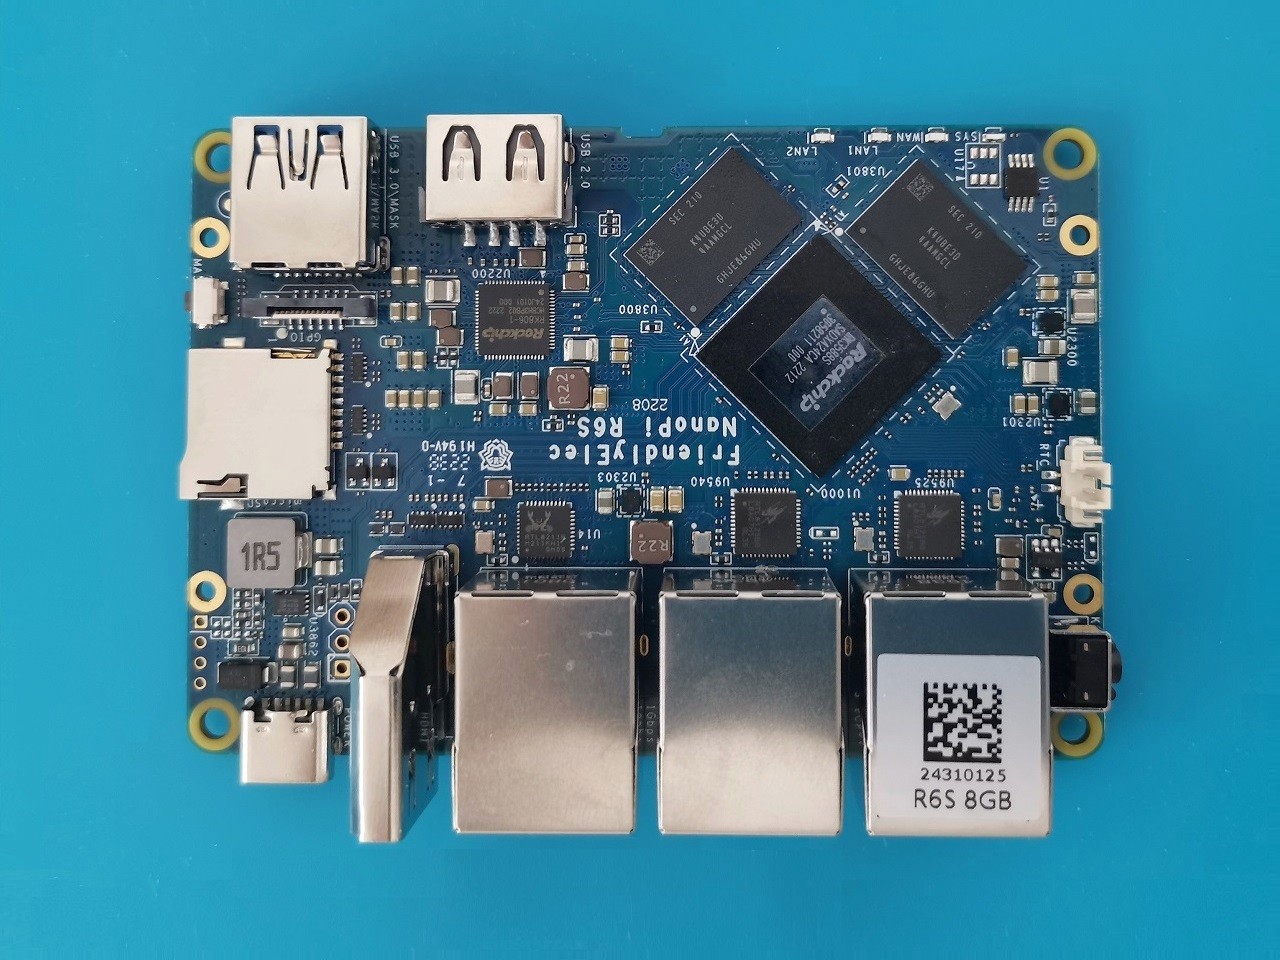
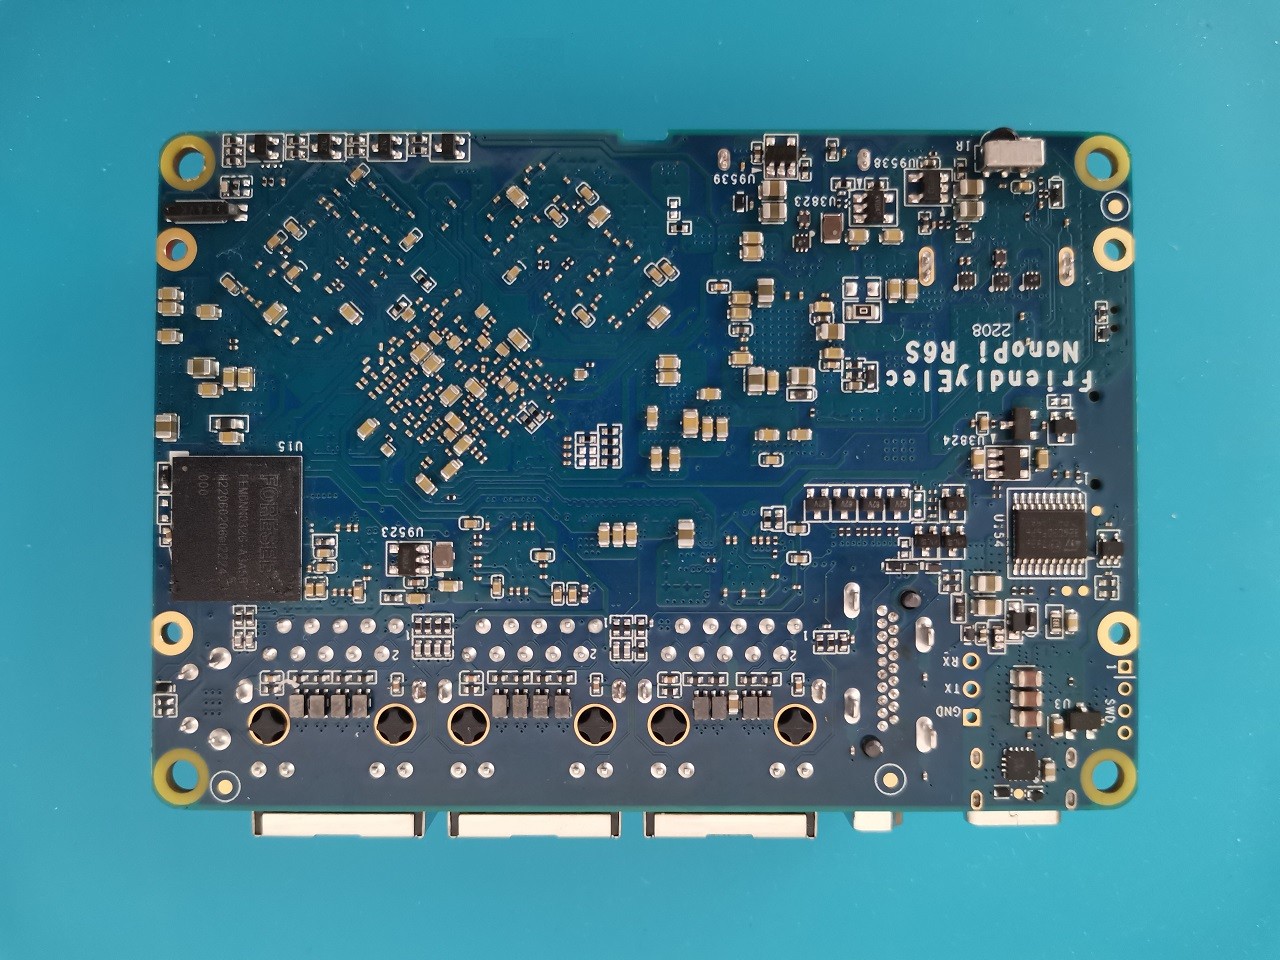
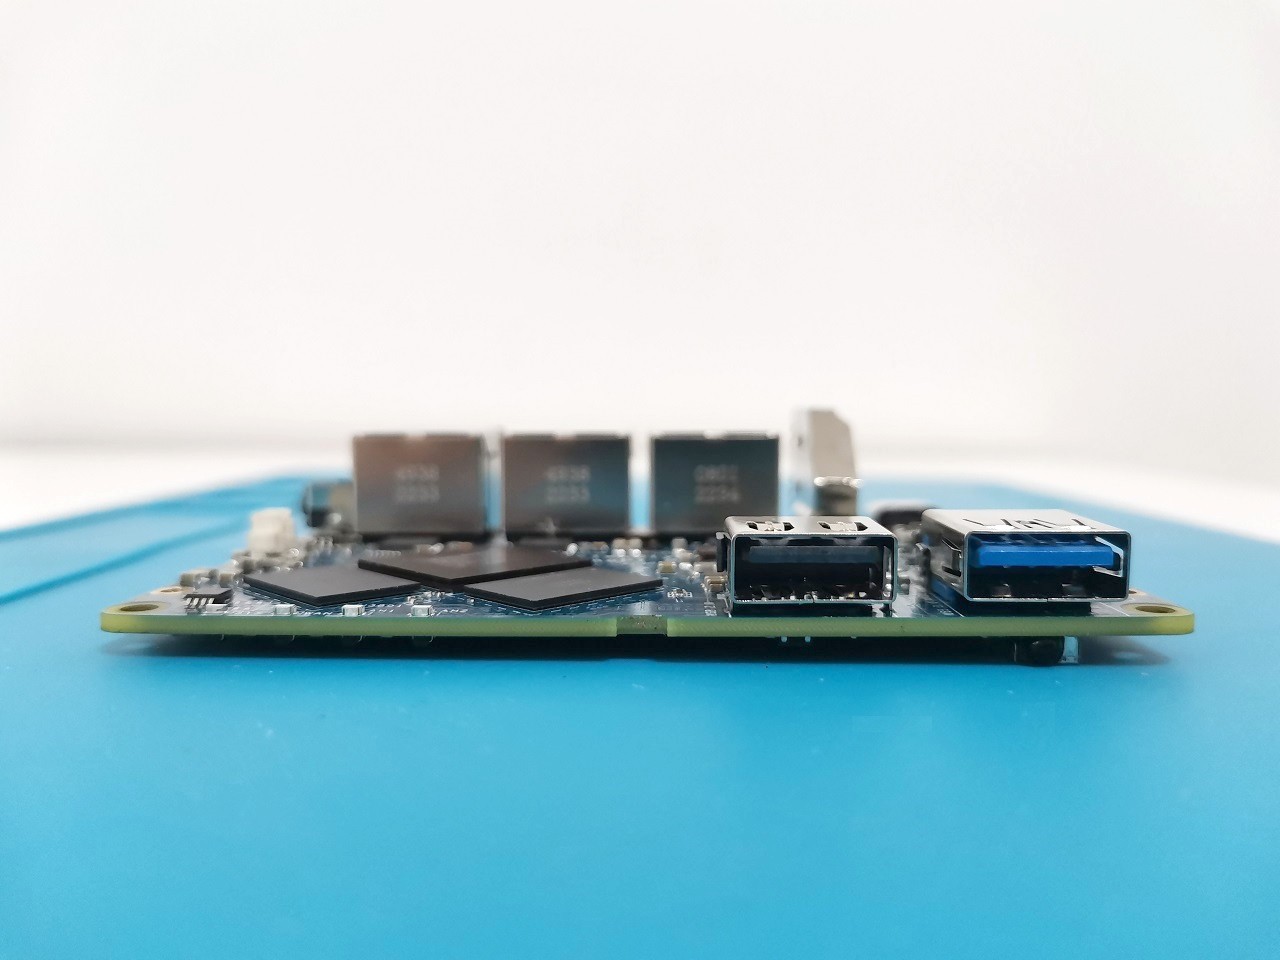
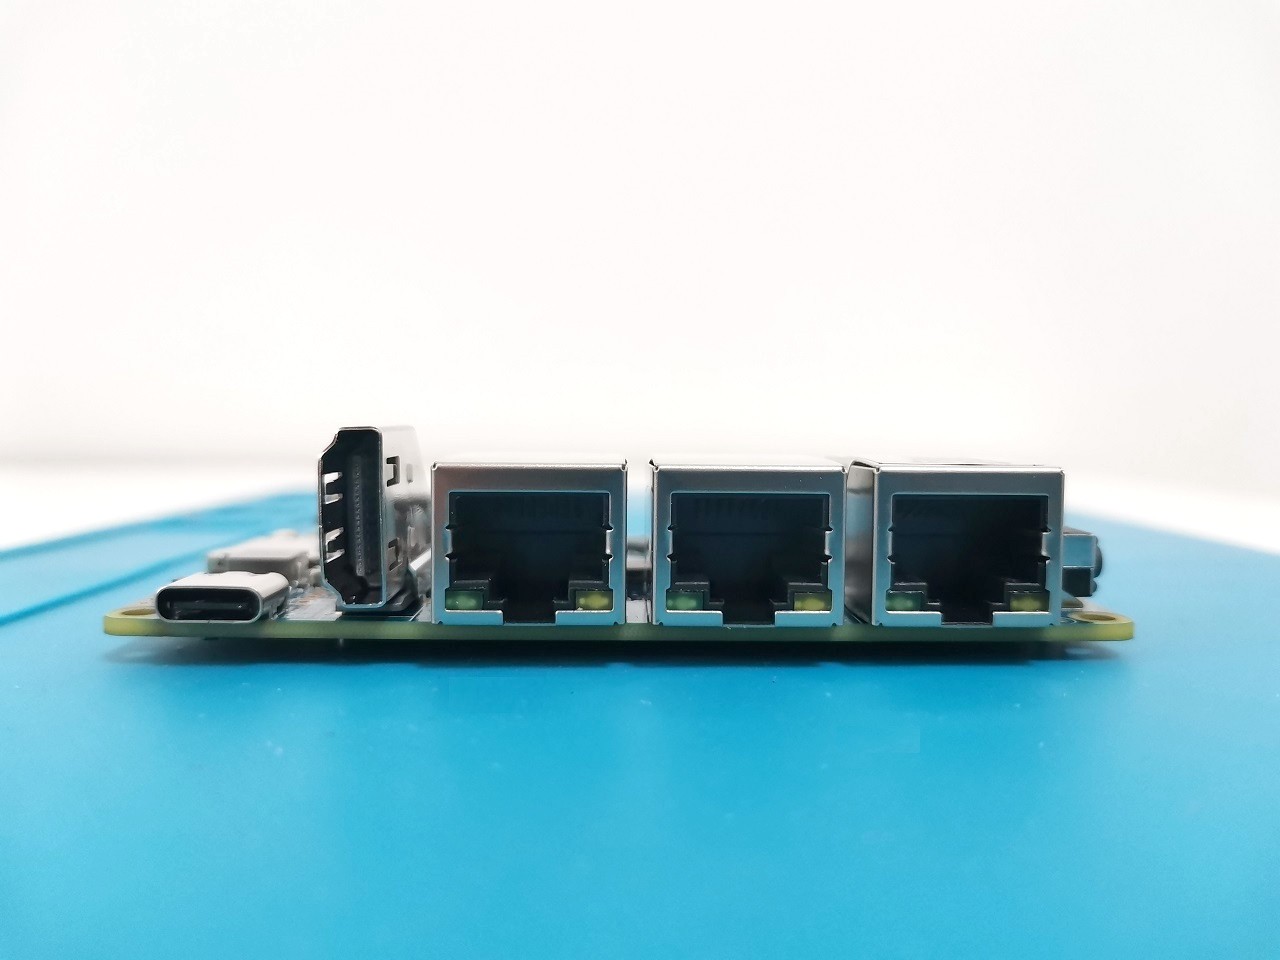
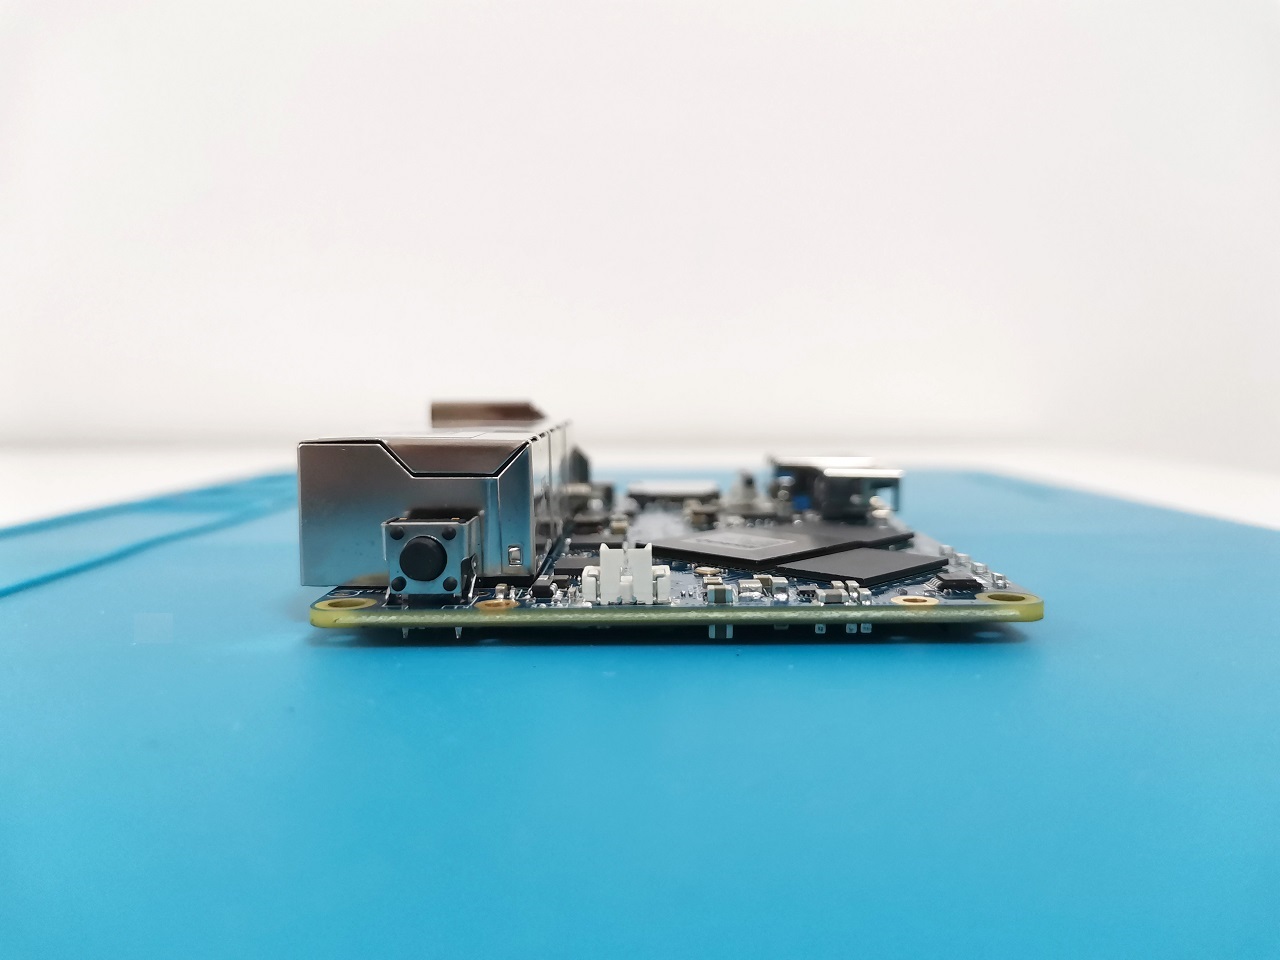
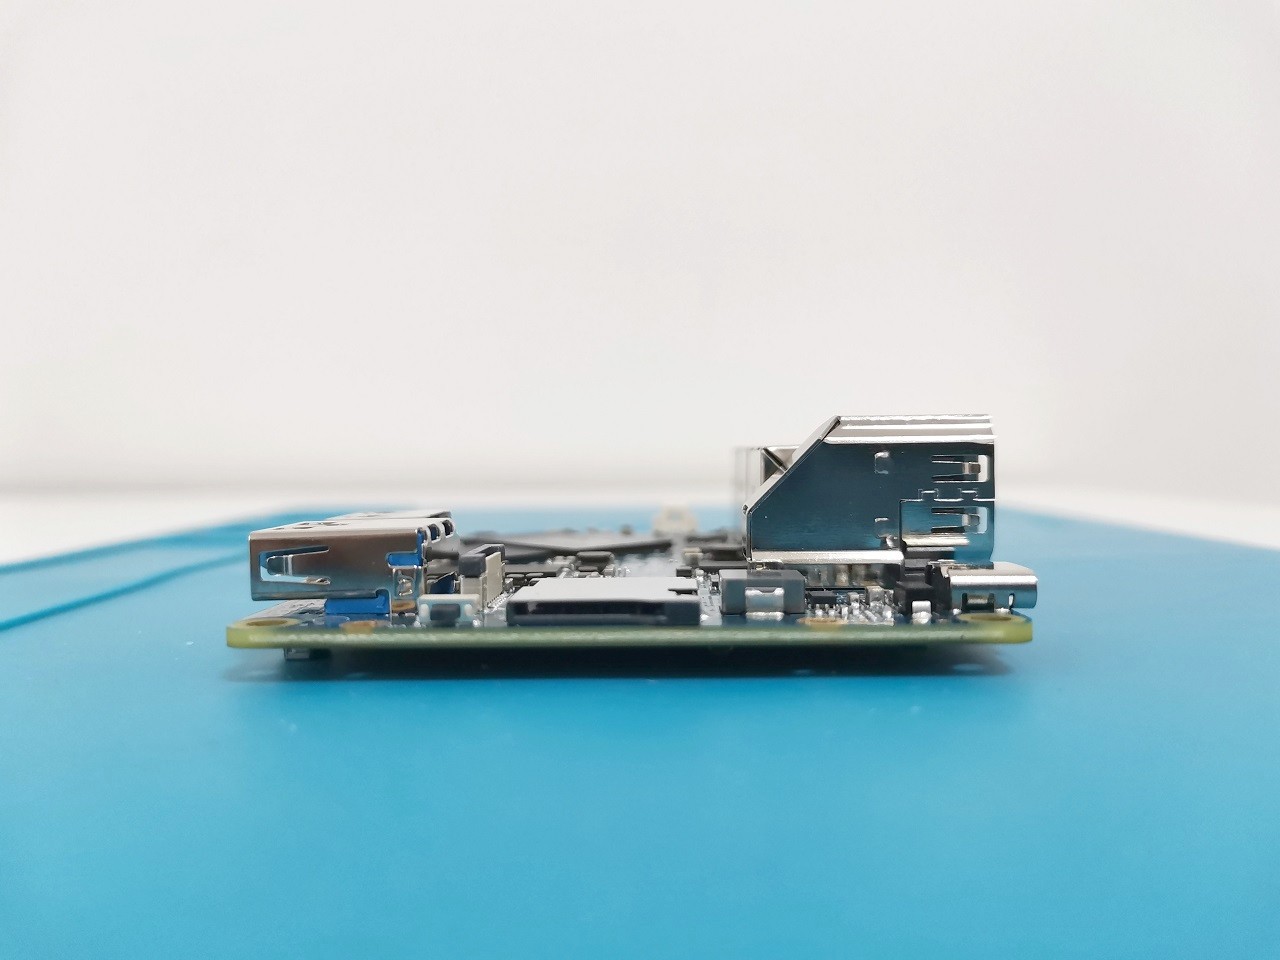
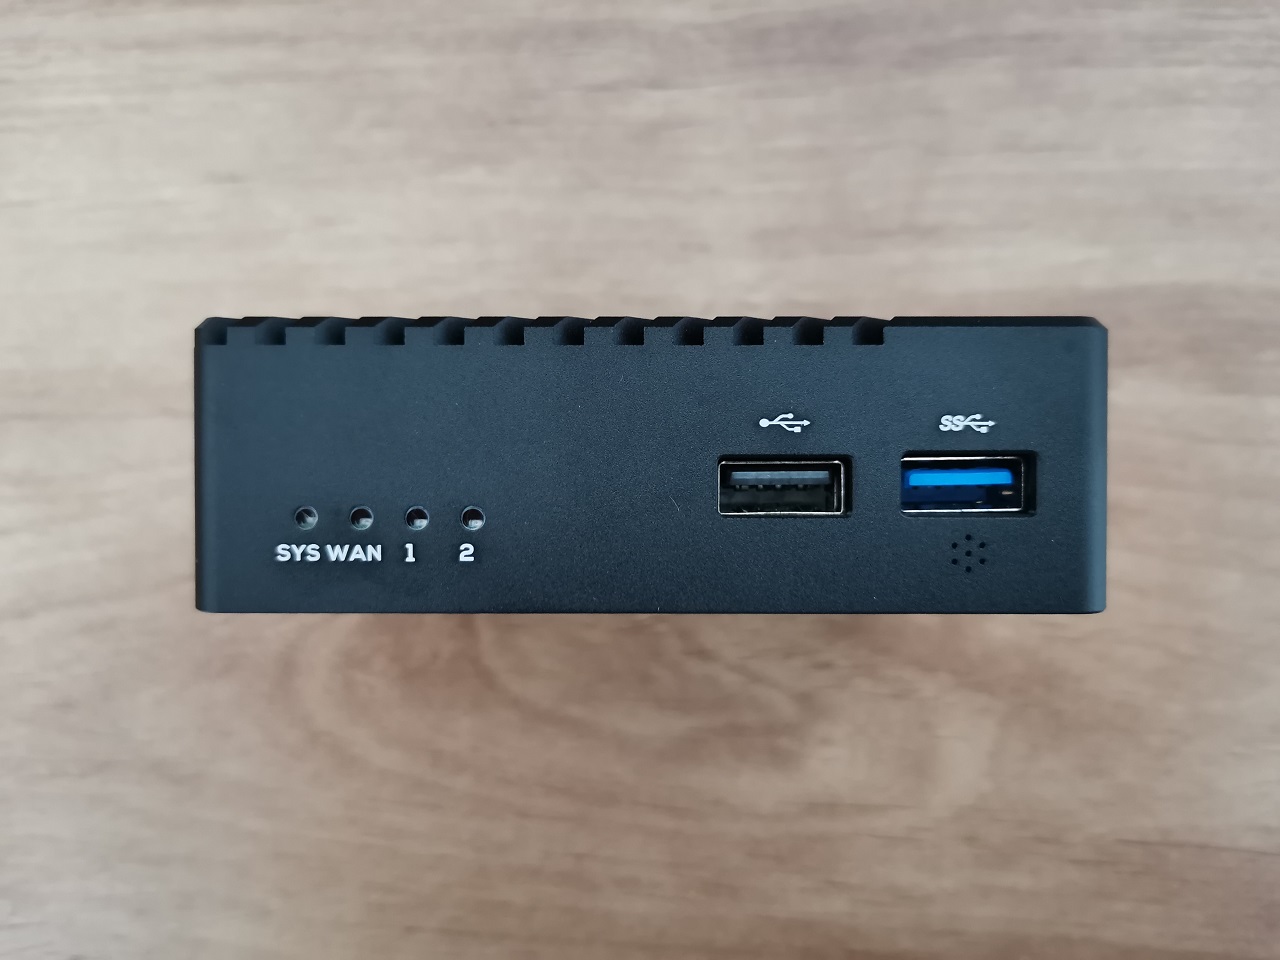
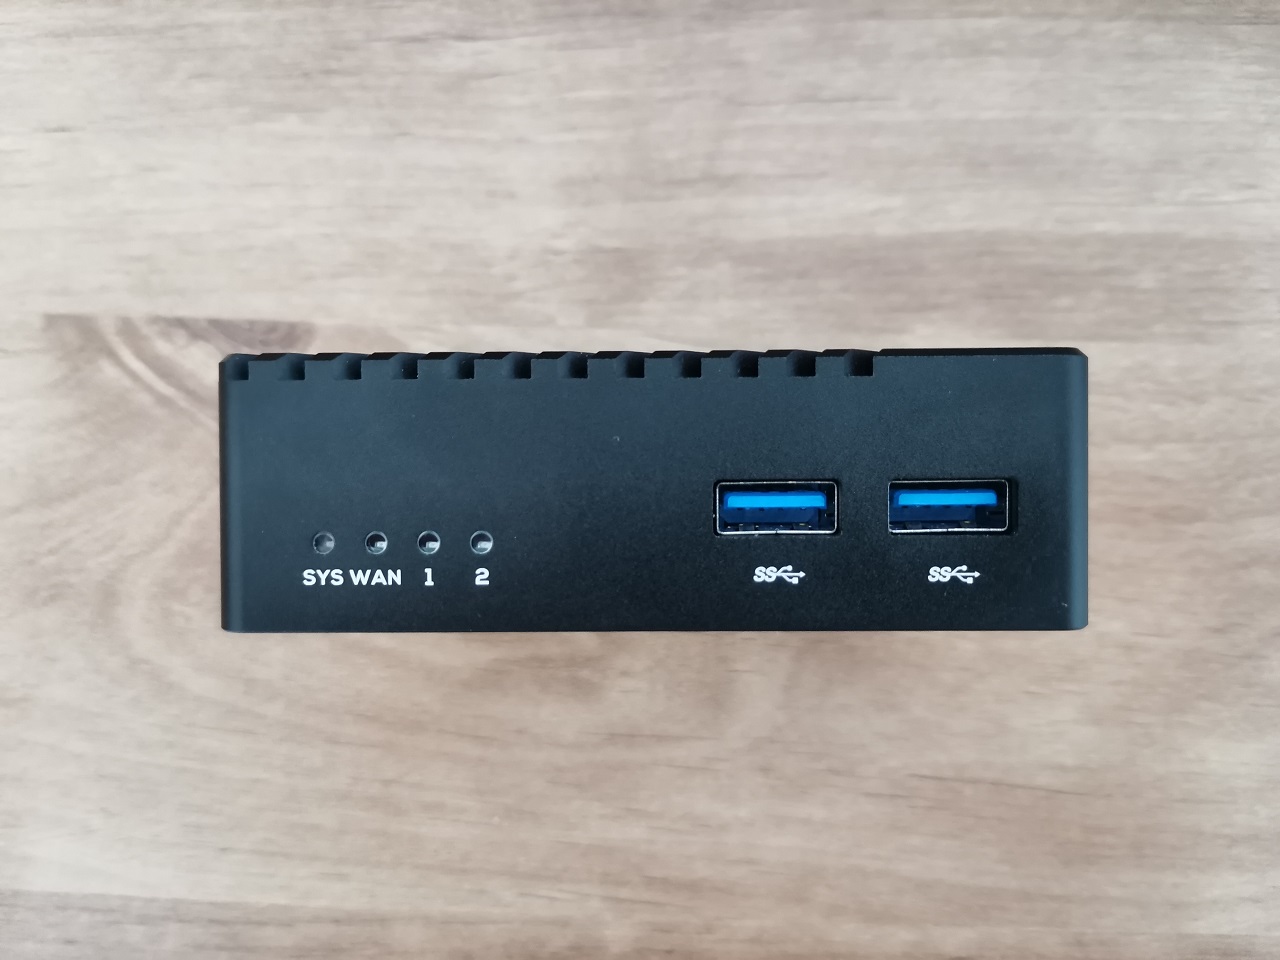
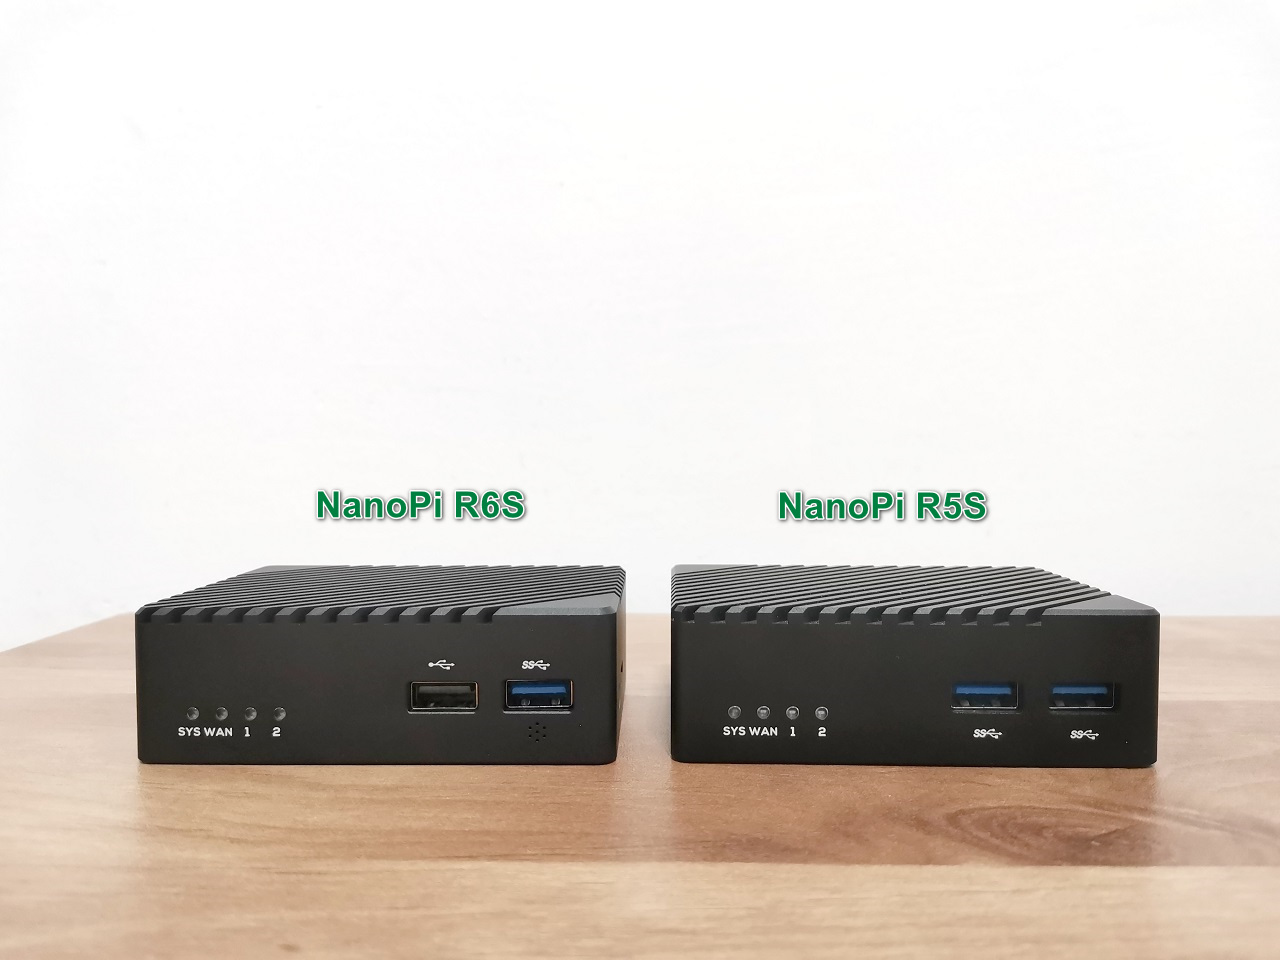
FriendlyElec’s design with the new NanoPi R6S board comes with a few upgrades. The new board got a new RK3588S Octa-core CPU with an 8GB RAM upgrade, which should impact performance and improve the ability of the hardware to handle multiple connections under FriendlyWrt OS. The company also ditched the M.2 NVME Socket in favor of a 32G eMMC flash Chip including an IR sensor (As shown in the photo below). A user reset button was also added, and instead of a pair of USB 3.0 hosts, the board comes with One USB 2.0 next to a second USB 3.0 Gen port.

Different Ethernet ports arrangement
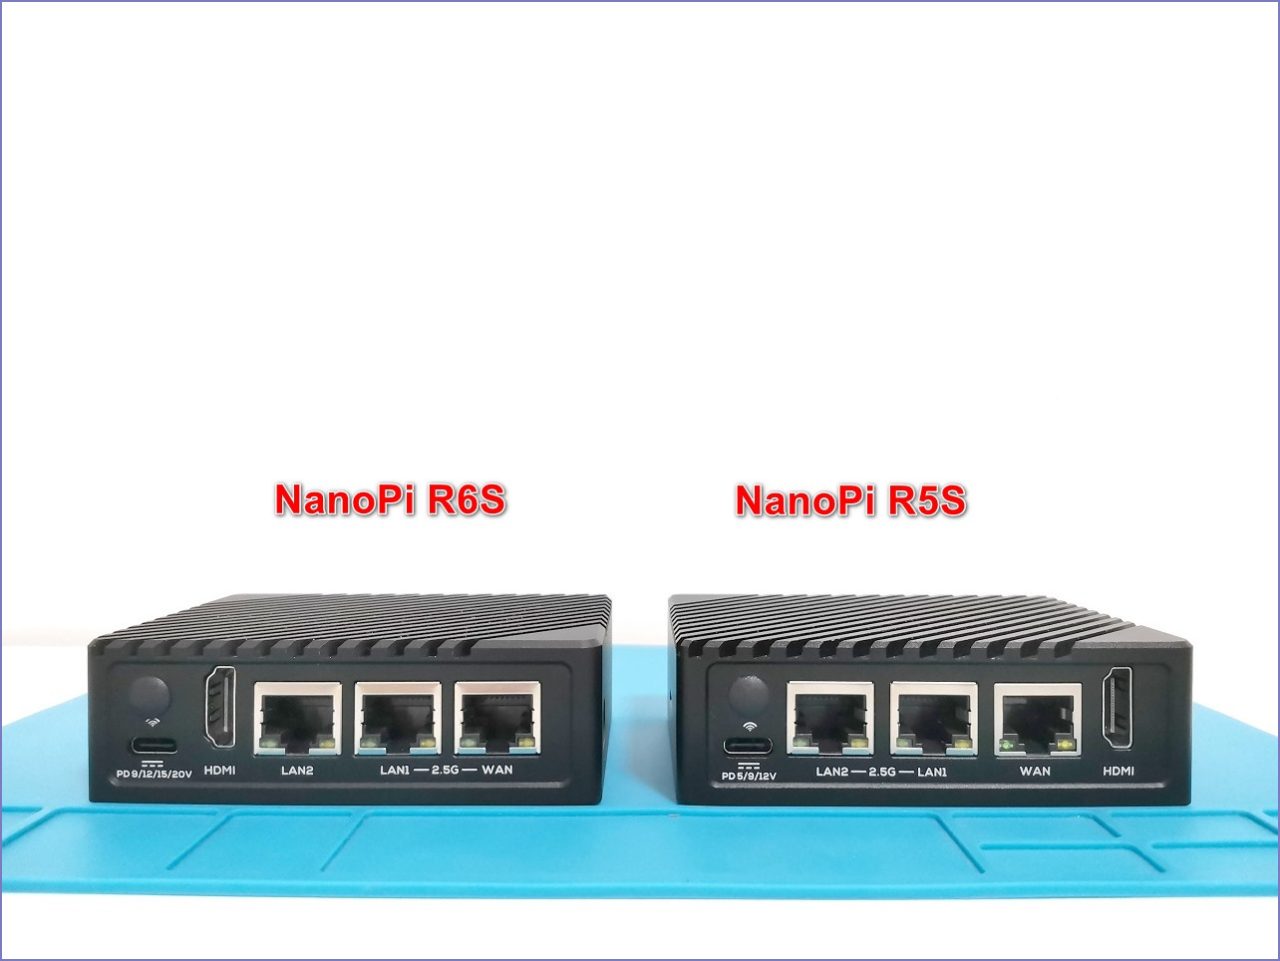
In the previous NanoPi R5S board, LAN 1 and 2 supported 2.5G, and the WAN was 1G type. In the newer NanoPi R6 design, both WAN and LAN1 ports are 2.5G supported.
Practically speaking, it doesn’t matter because you can always set your LAN to function as the WAN port and vice versa by configuring the VLAN settings inside FriendlyWrt (OpenWrt).
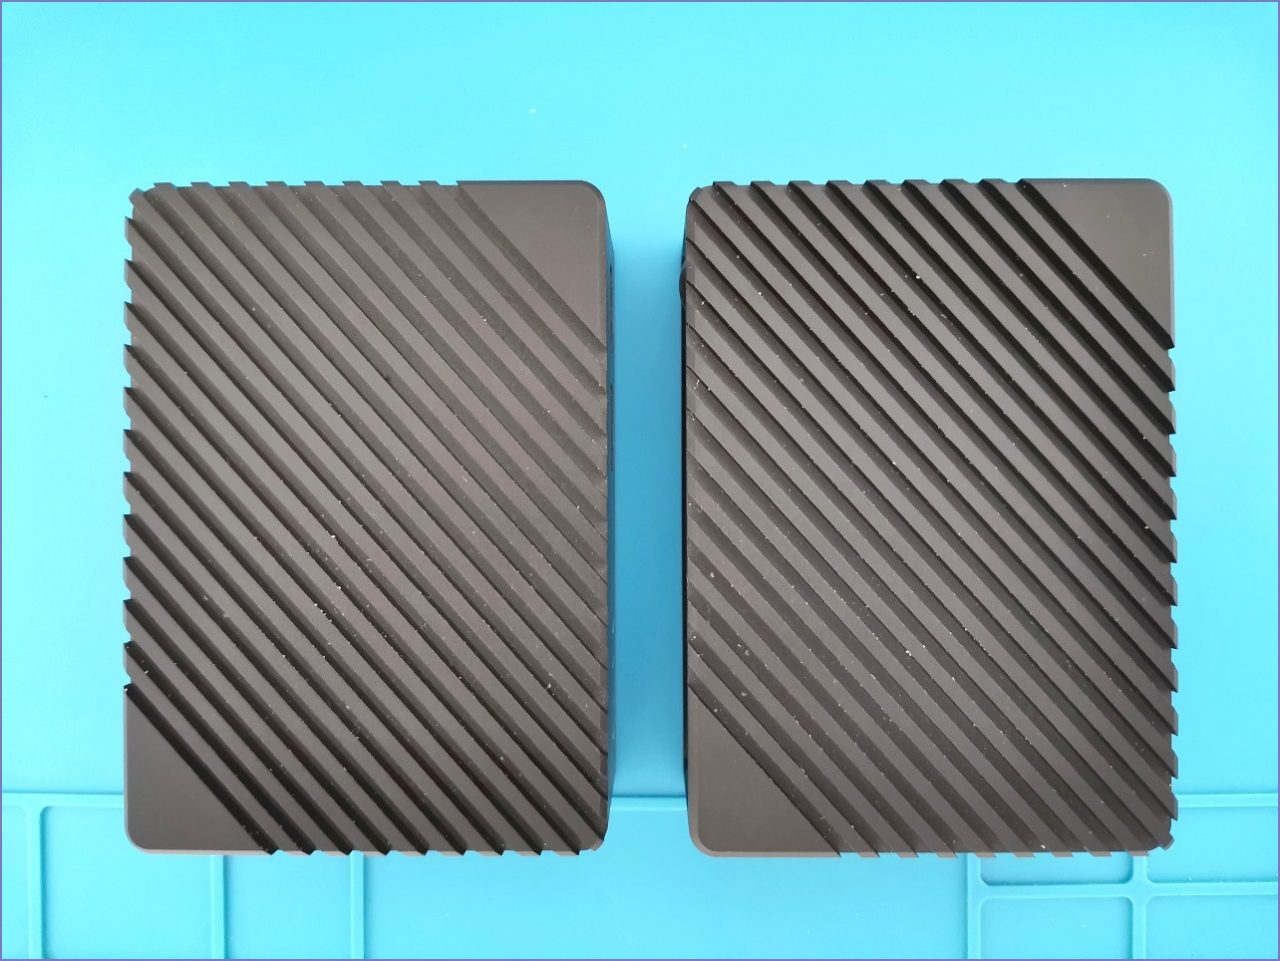
NanoPi R6S vs. NanoPi R5S
NanoPi R6S Board
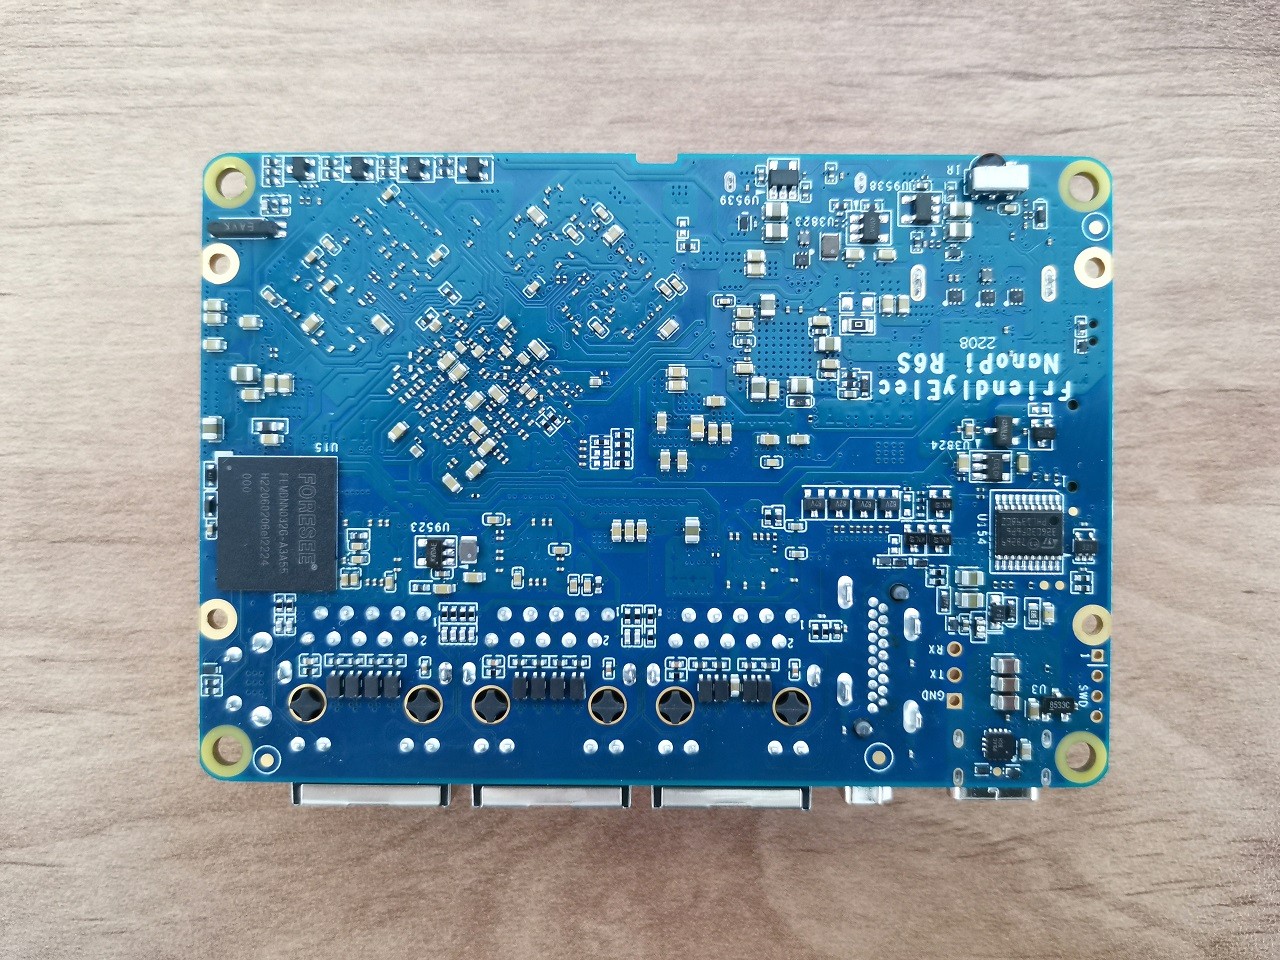
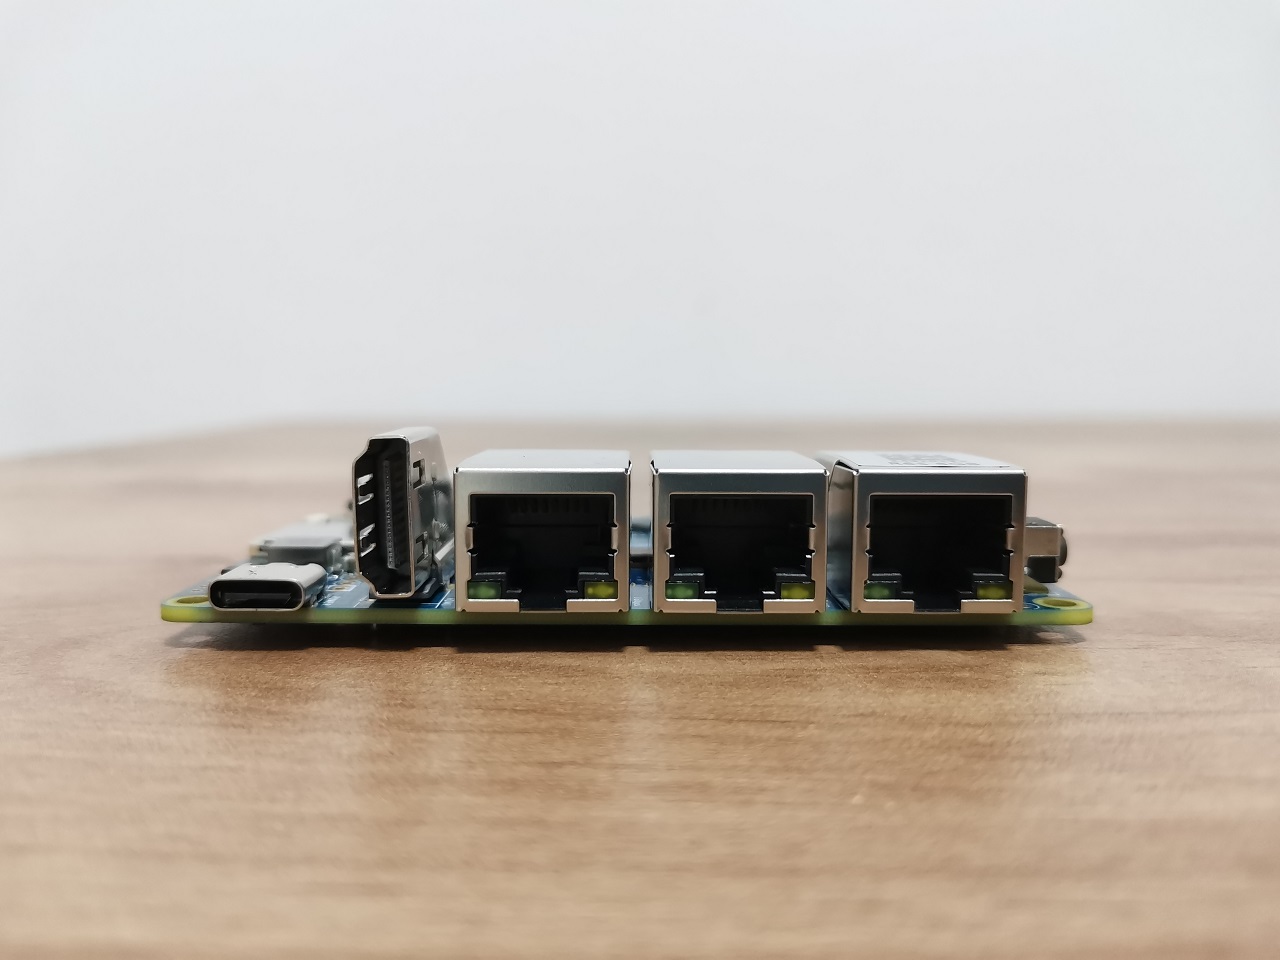
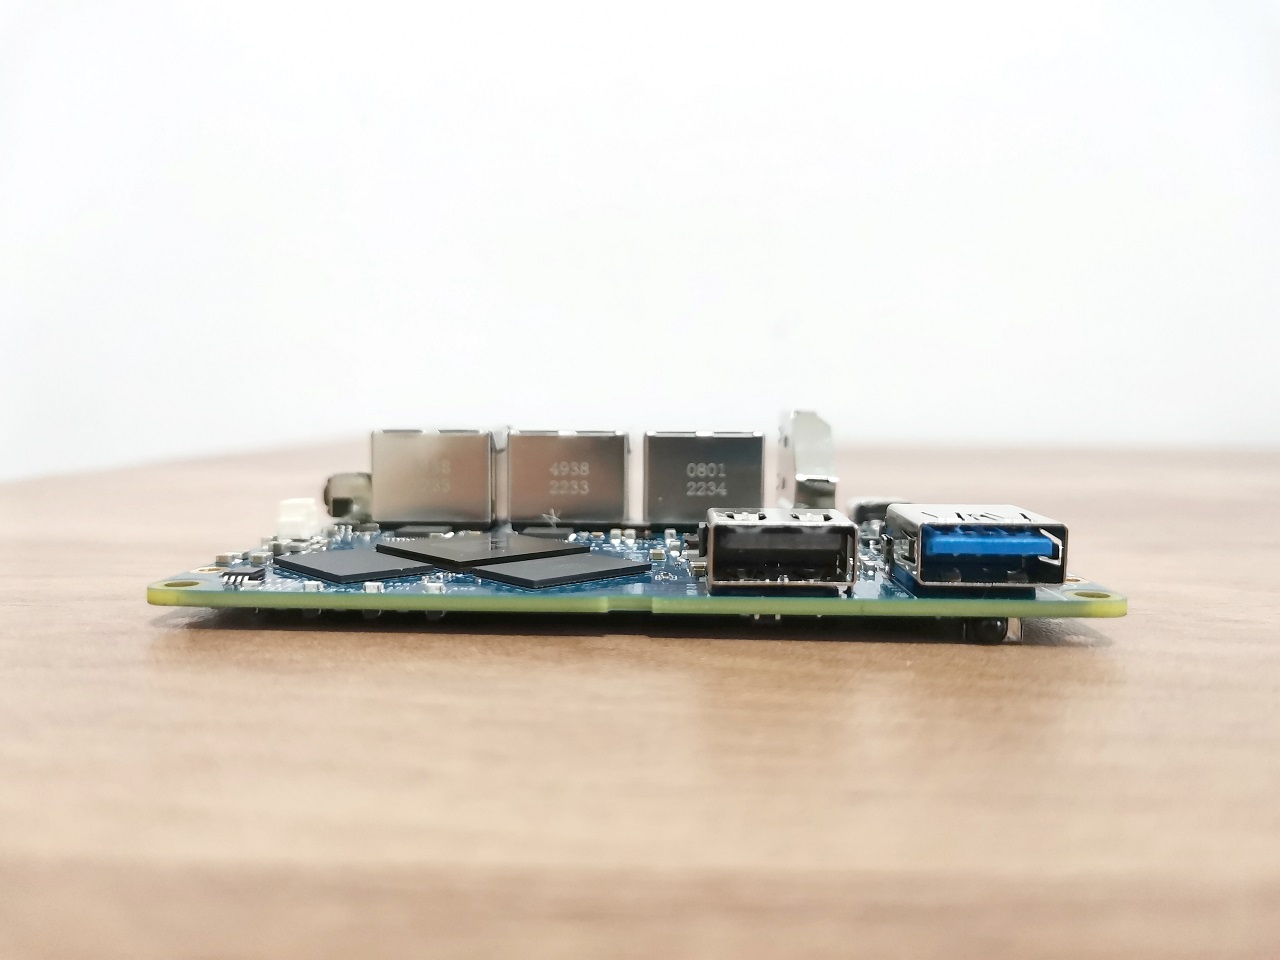
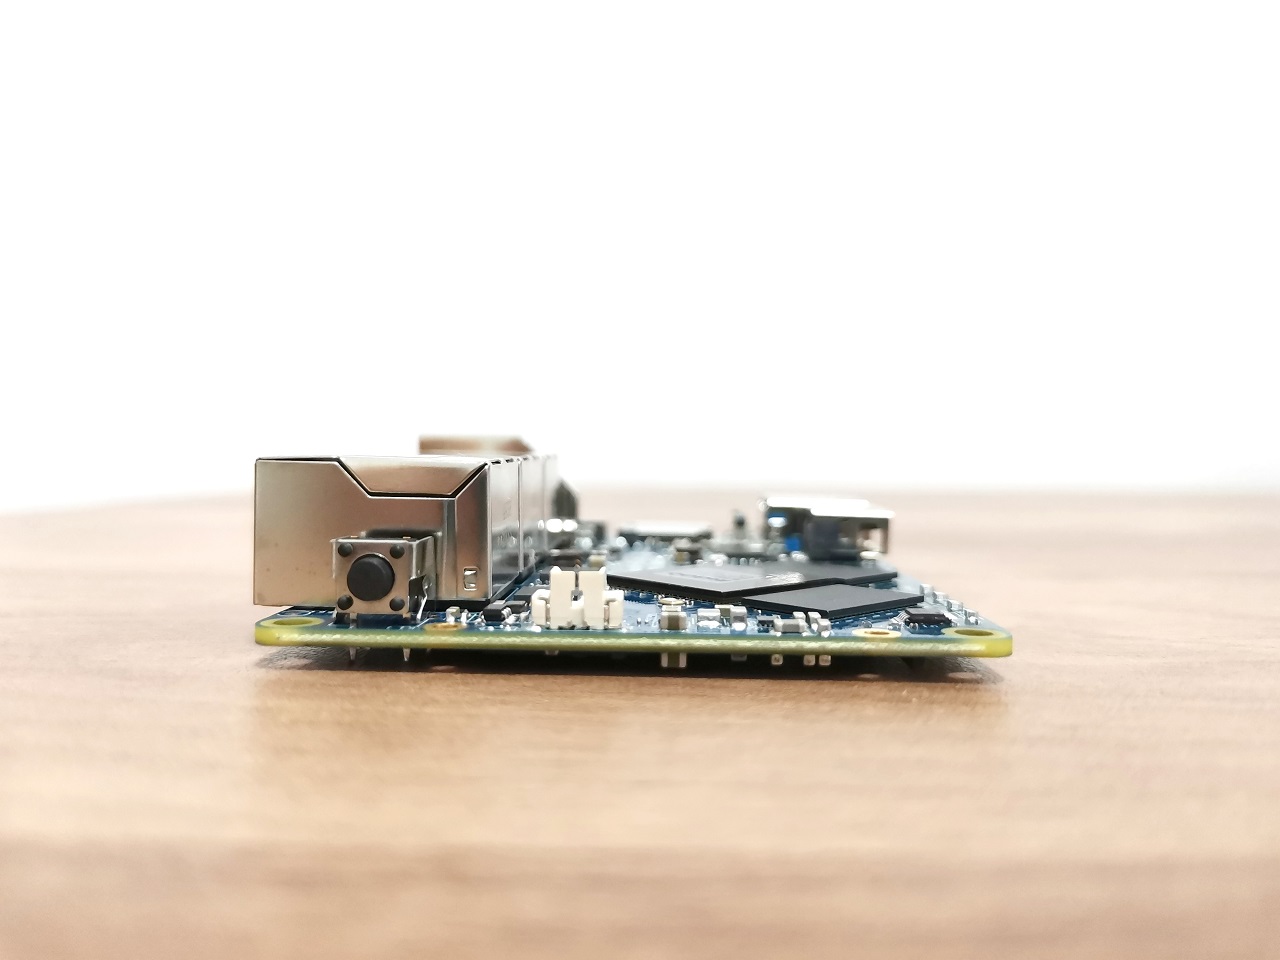
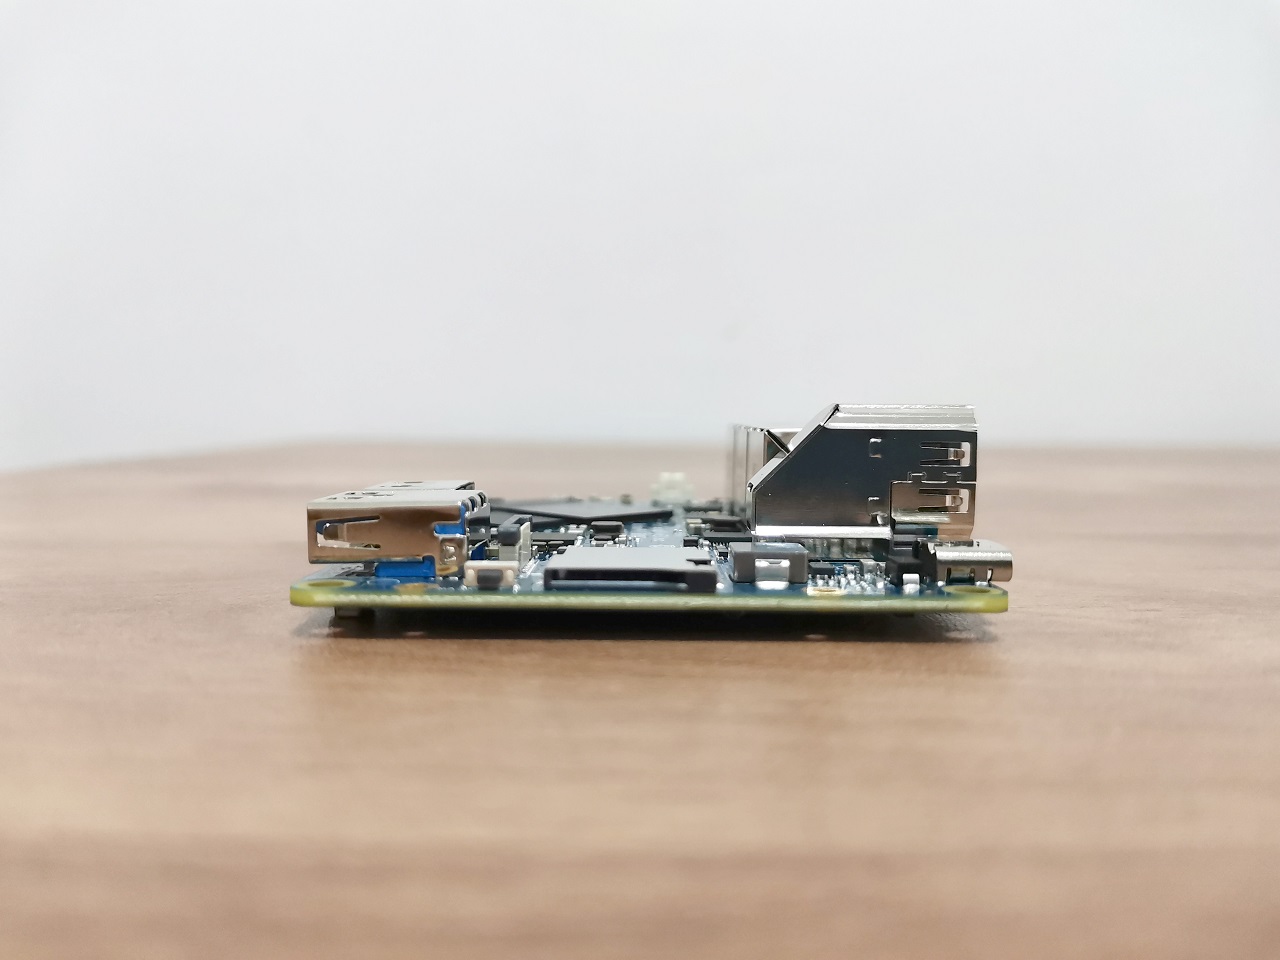
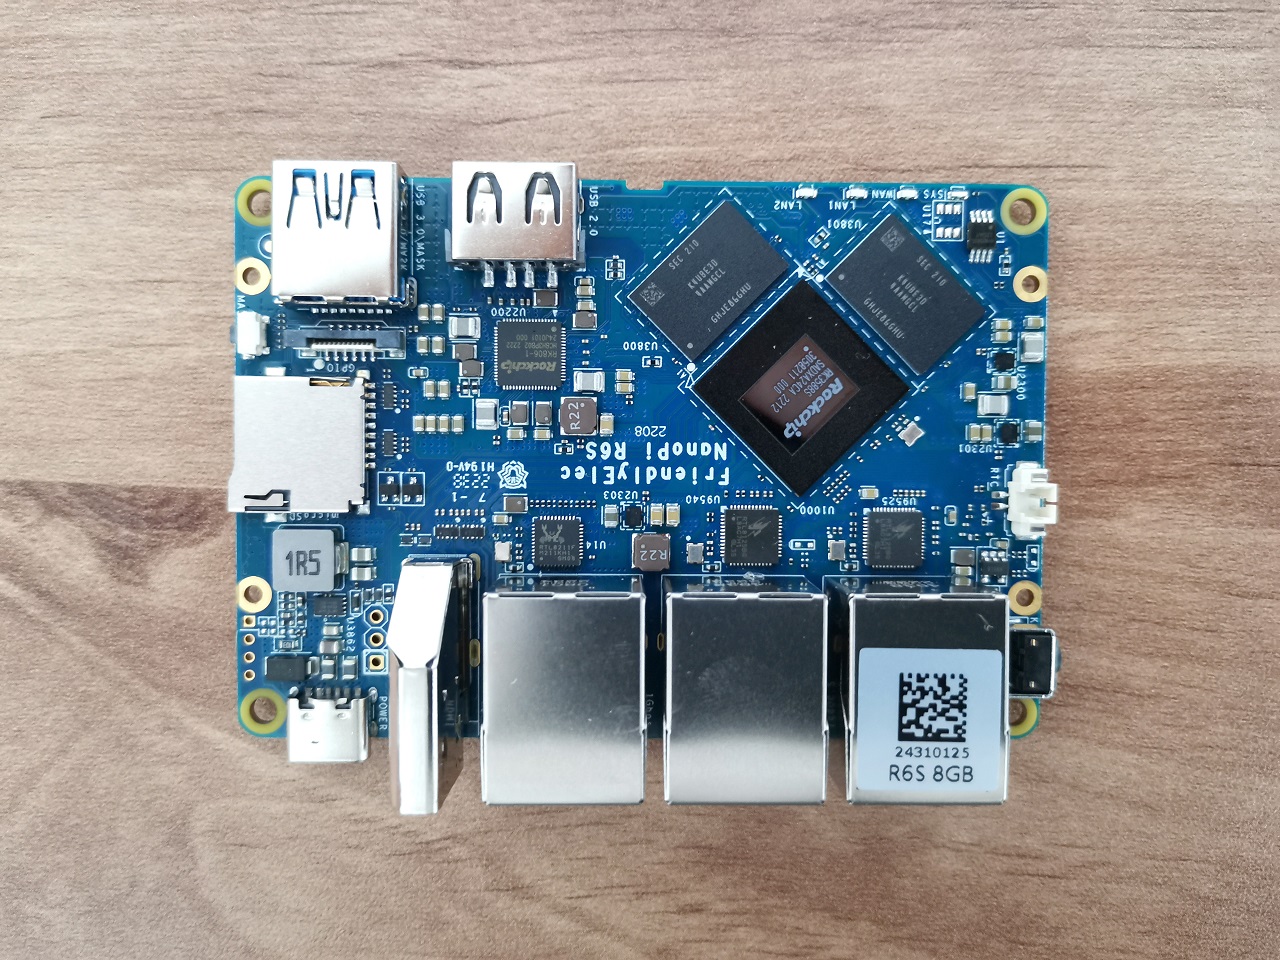
NanoPi R62 (Blue background Image)
Case Design
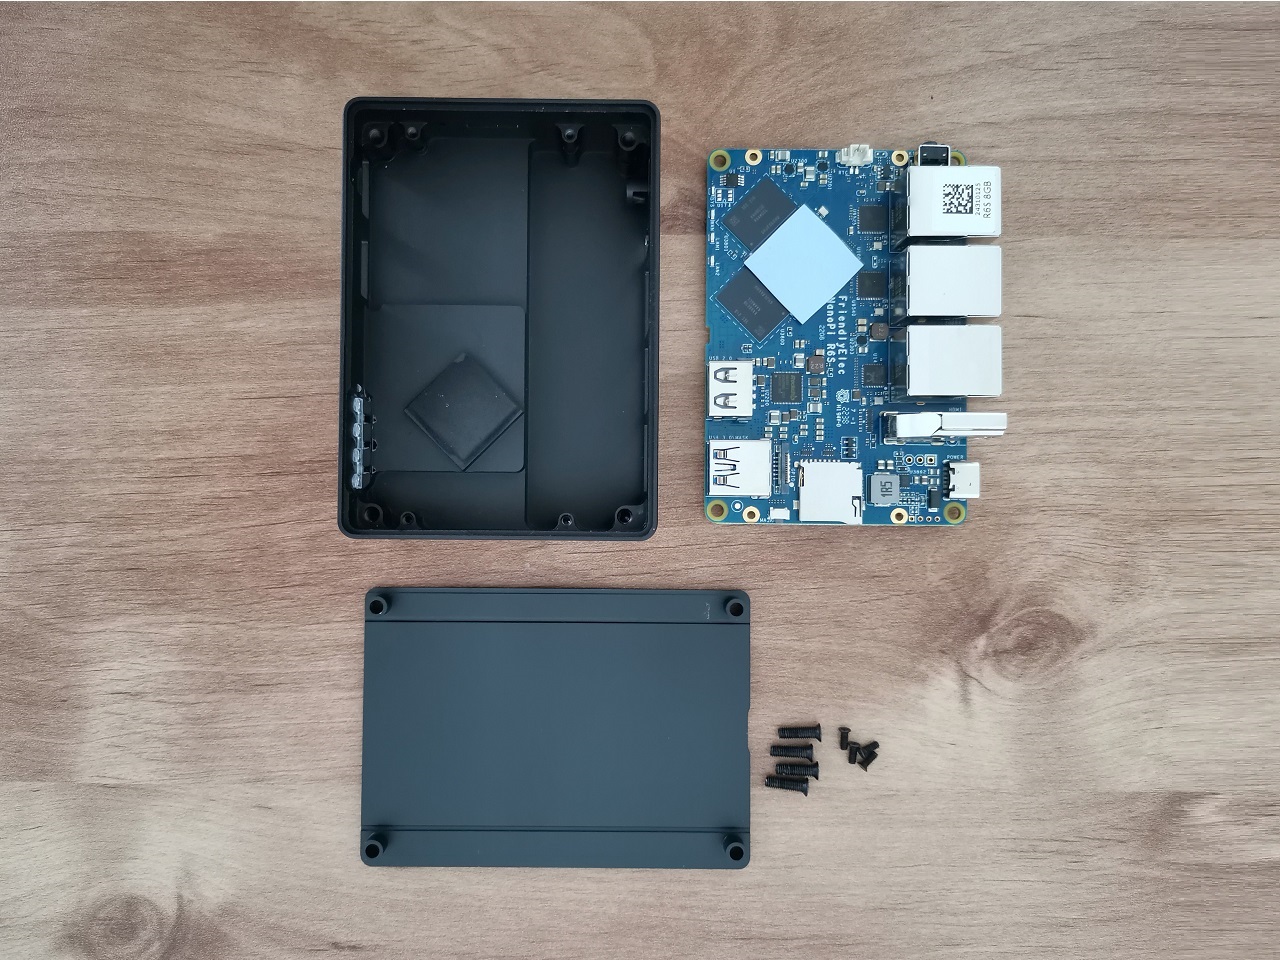
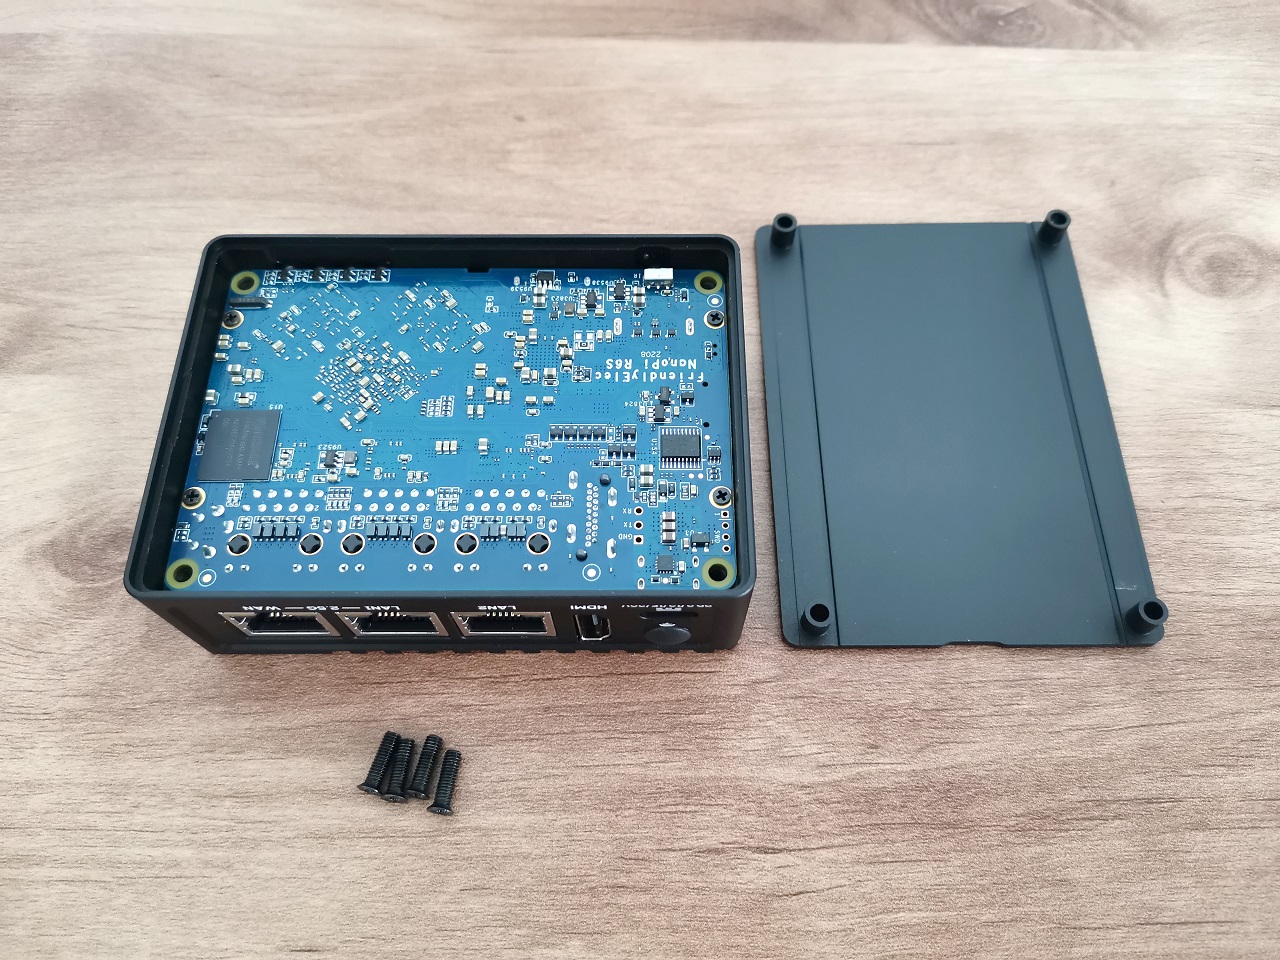
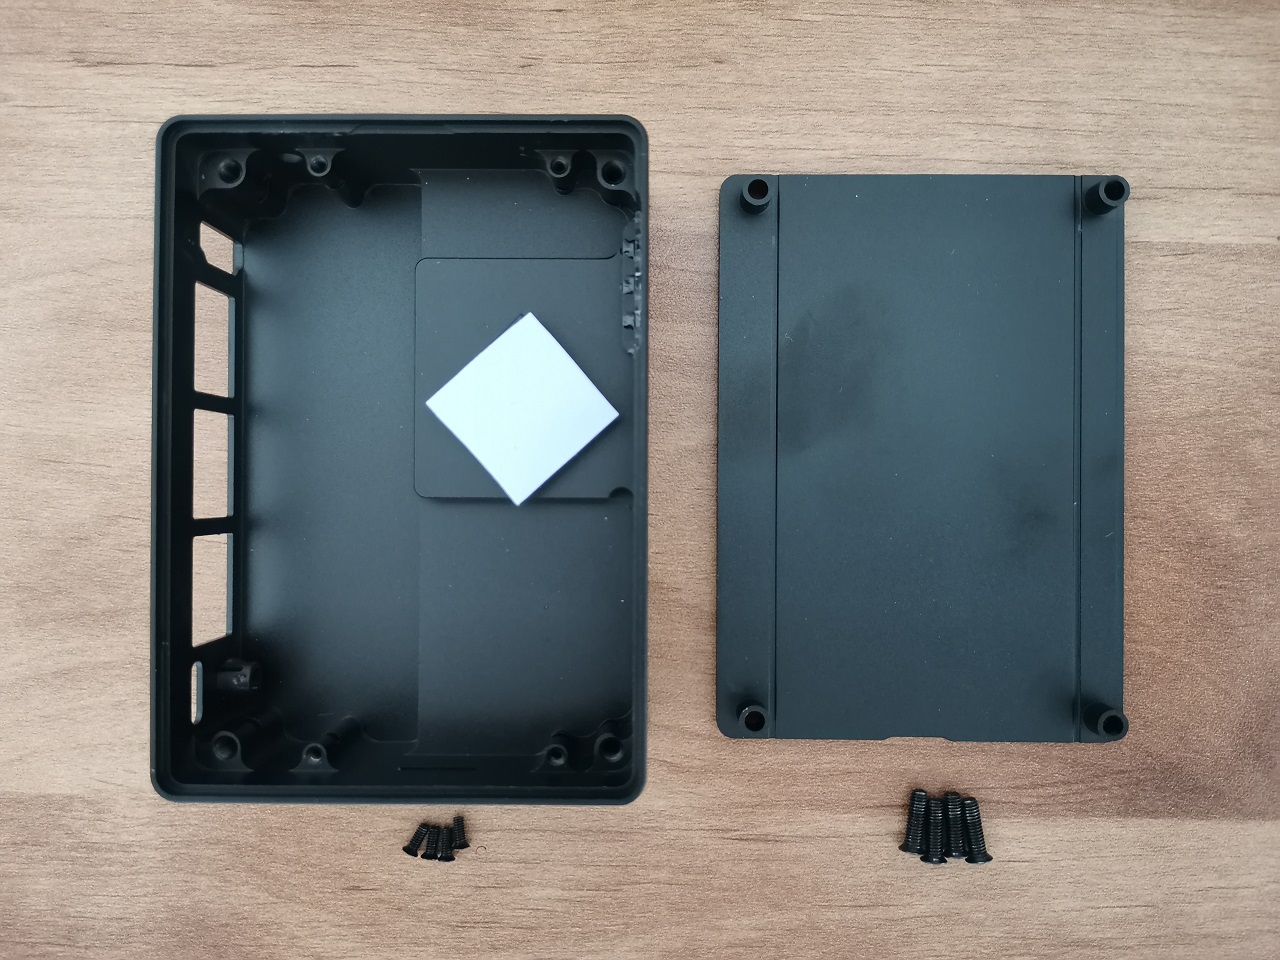
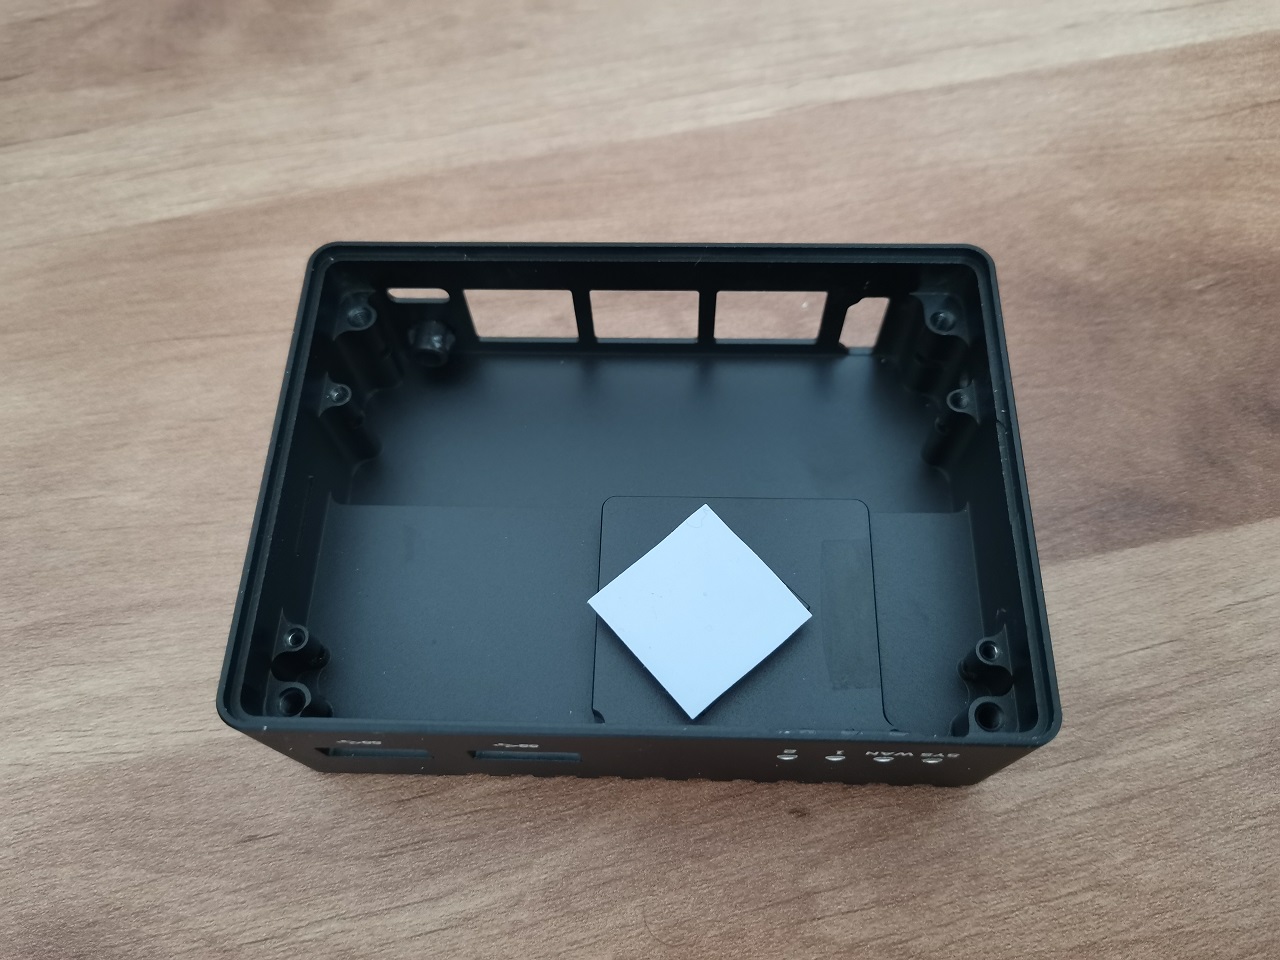
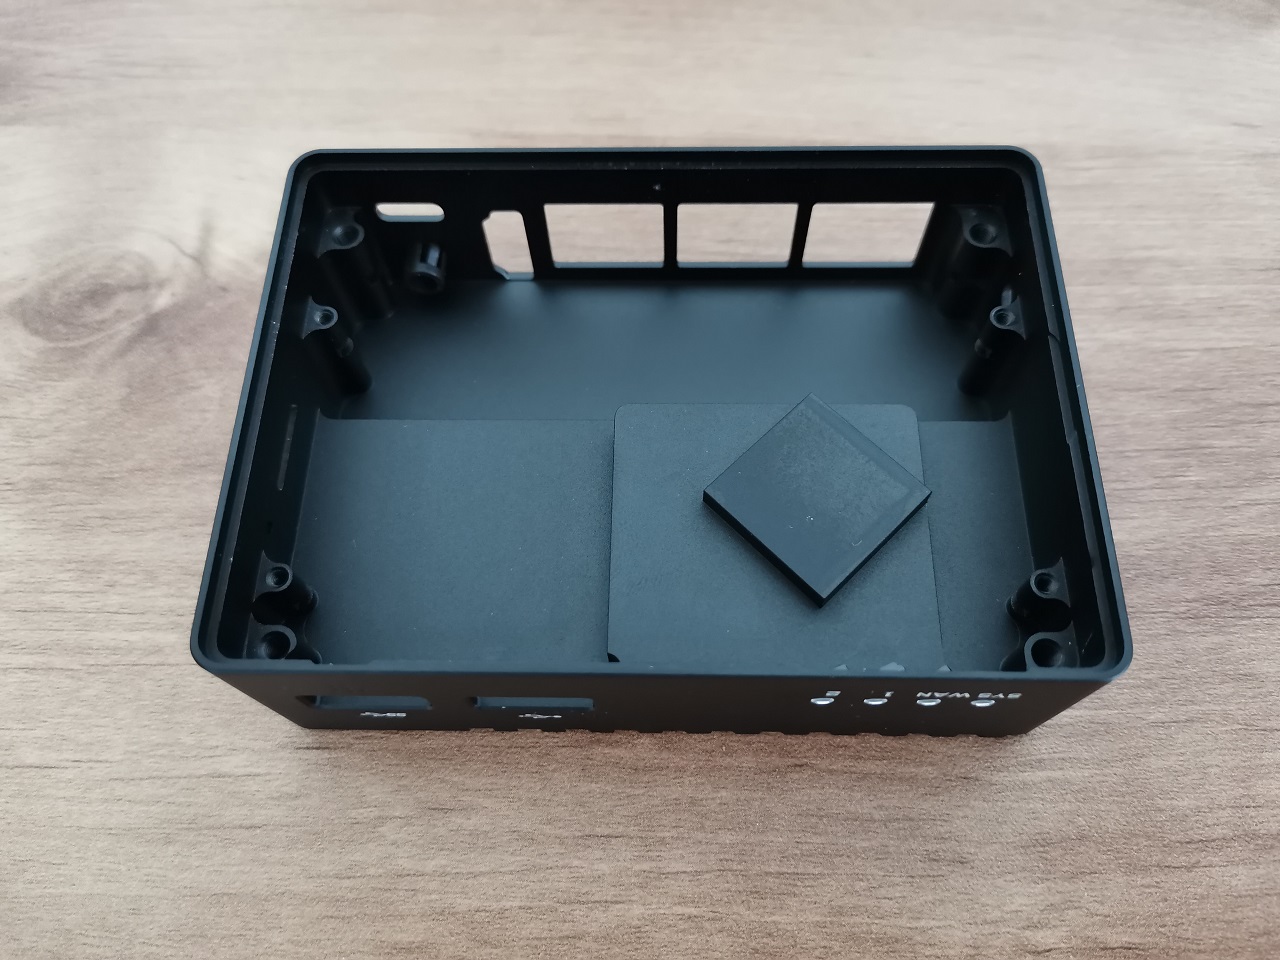
The metal case is optional, but it’s a must-have accessory, especially if you need an excellent passive cooling solution for the board. There are a few minor changes added to the case design. For example, a series of small holes are added in the front for the IR Receiver and a second hole for the user reset button. The case’s internals remains the same with top-notch quality CNC manufacturing.

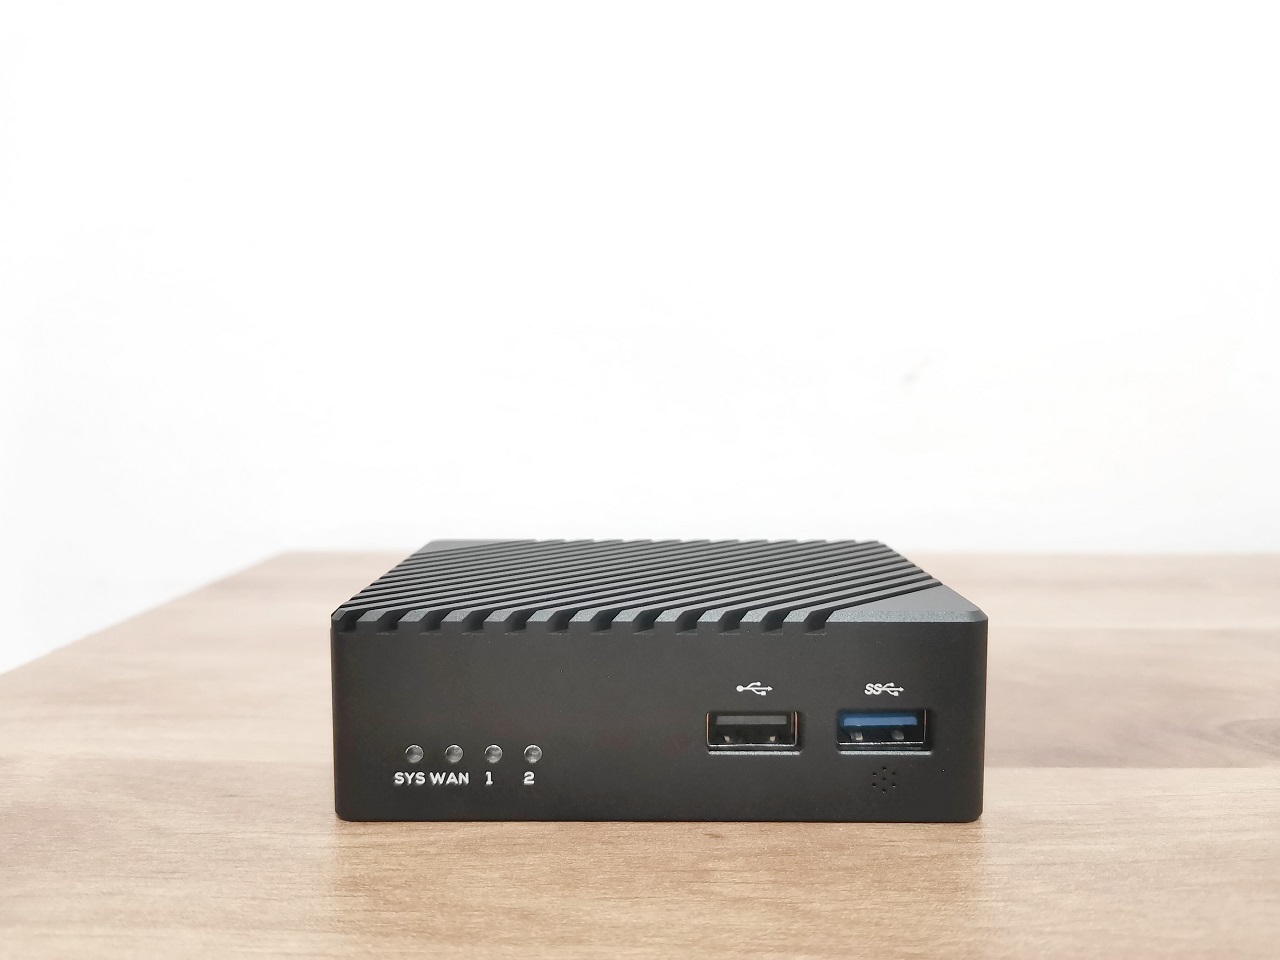
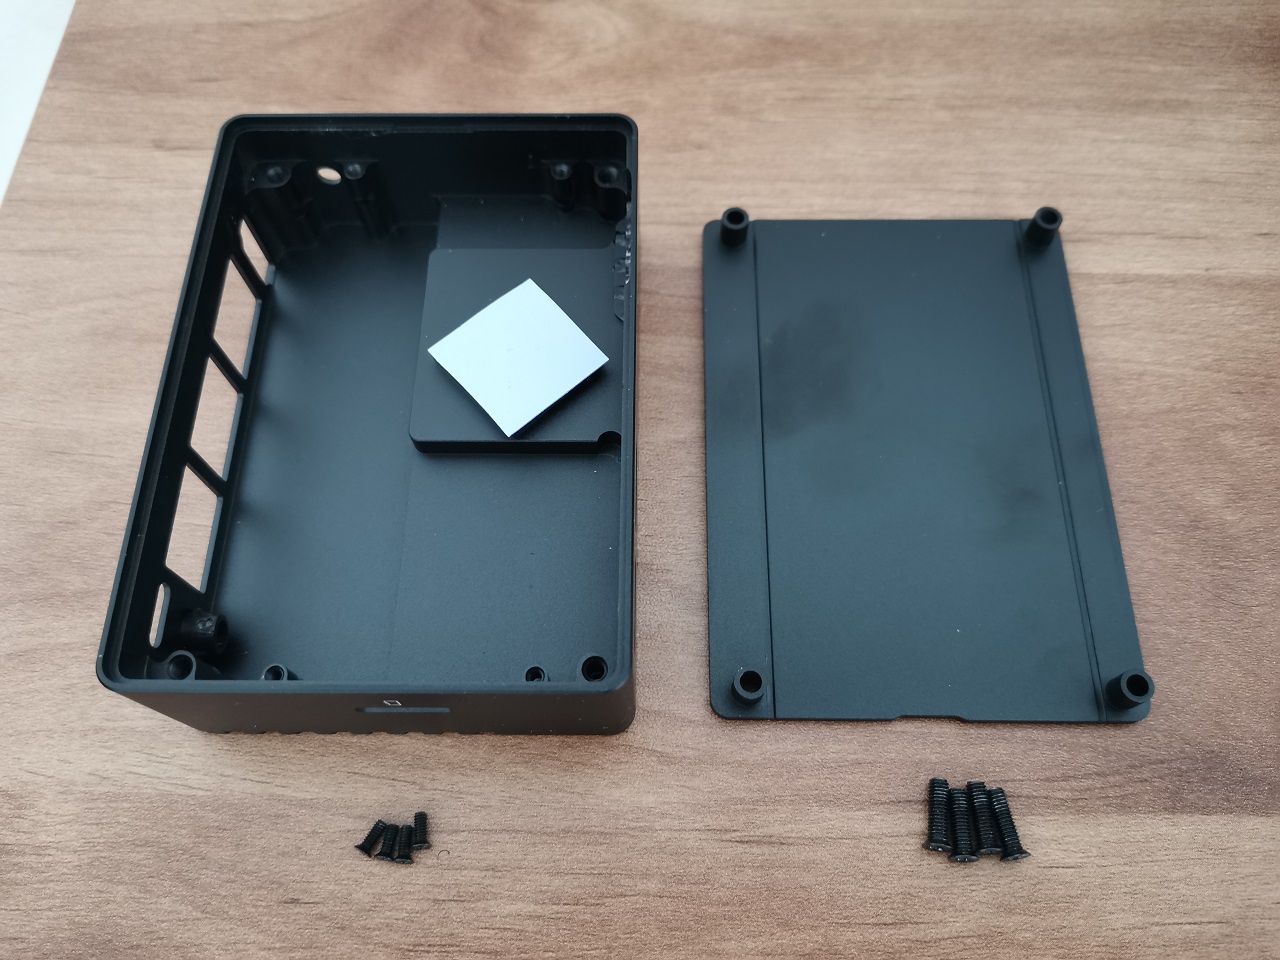
Assembling the NanoPi 6 inside the Case
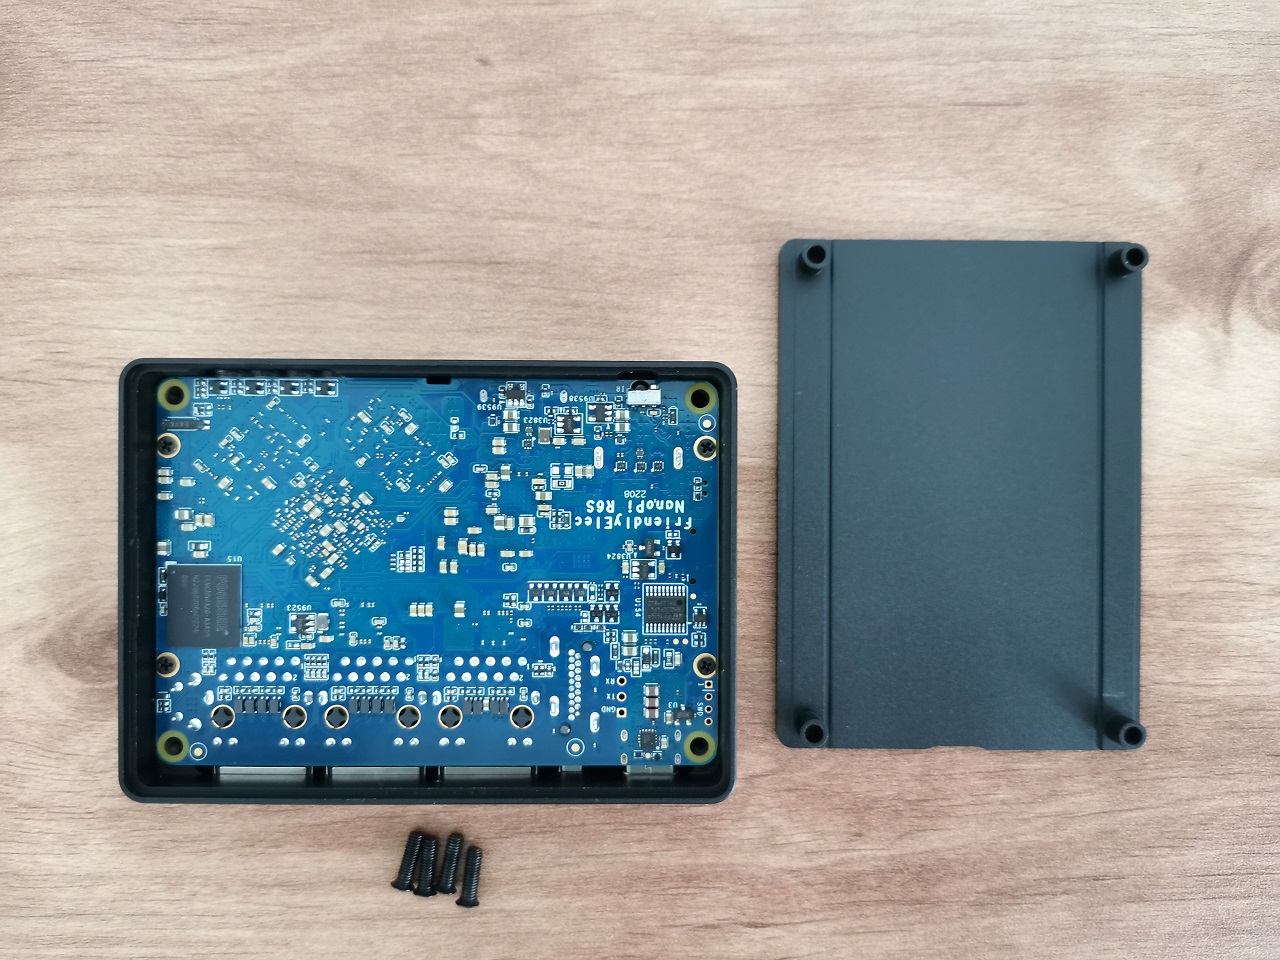
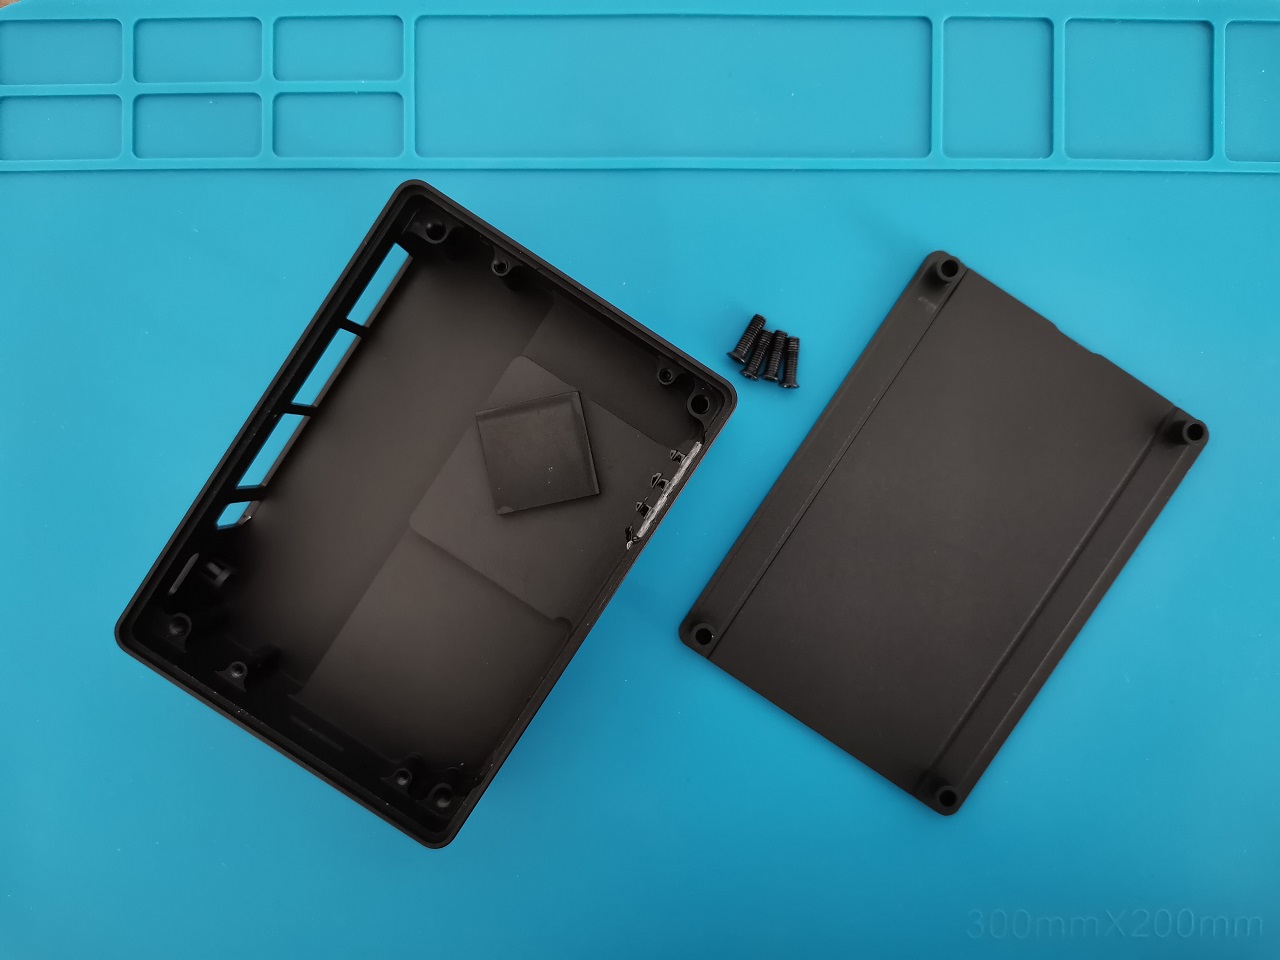
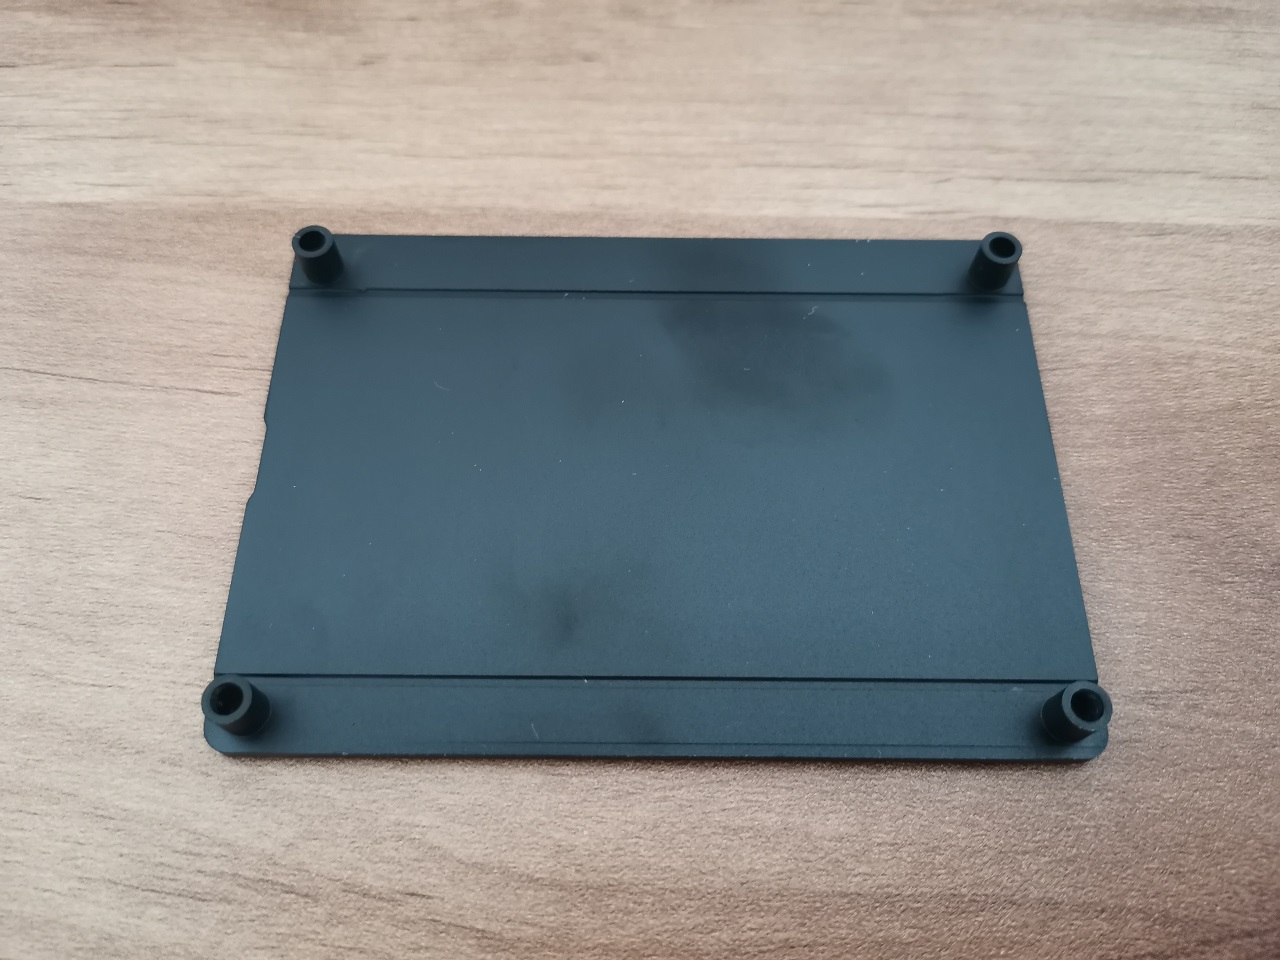
The Assembly method is similar to the NanoPi 5S board. The metal case comprises two main parts: one main case shell and a bottom cover. Board is connected with four tiny Philips-type screws to the Case, and the body also comes with four additional screws inserted through the lid and into threaded inserts.
As part of the case kit, FriendlyElec also provided a square-shaped thermal pad with dimensions of 20mm placed on the CPU Chip and pressed against the case body when the board is assembled, assuring the best heat contact with the main case body and dispersing the heat through the Case 45 degrees fins.
