Design & Build Quality
The MeLE company team truly excelled in both aspects – quality and design. Their attention to detail is evident in the top-notch case, made of high-quality ABS plastic, with carefully placed vent holes on all sides to effectively dissipate heat.
Bottom Cover
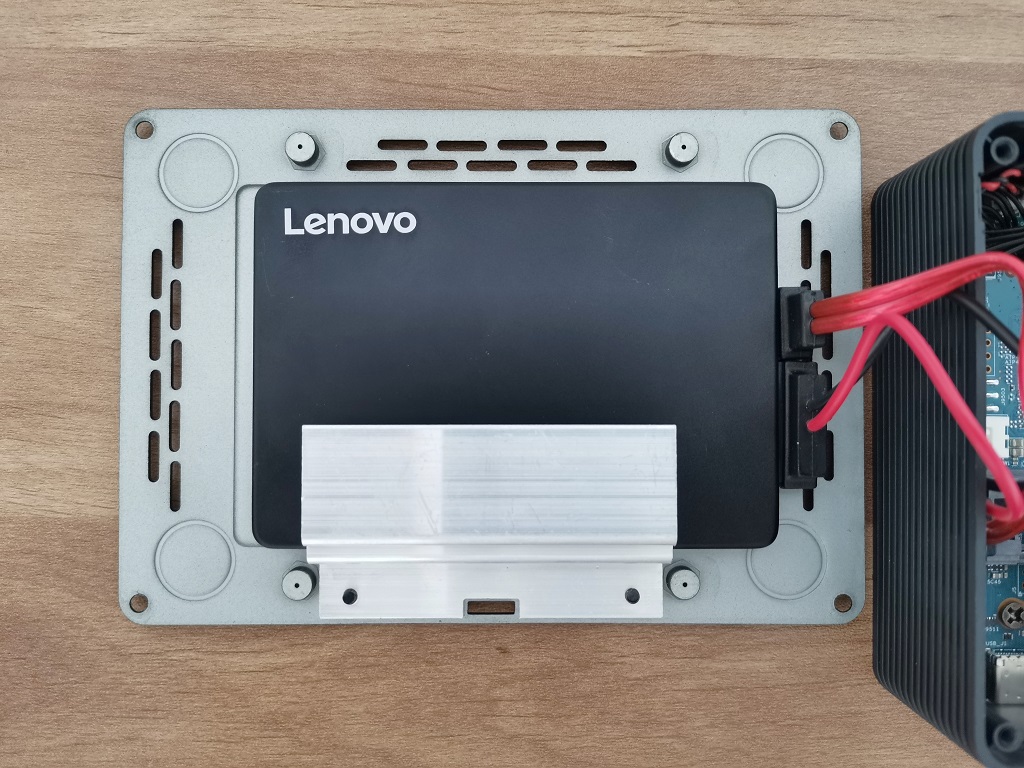
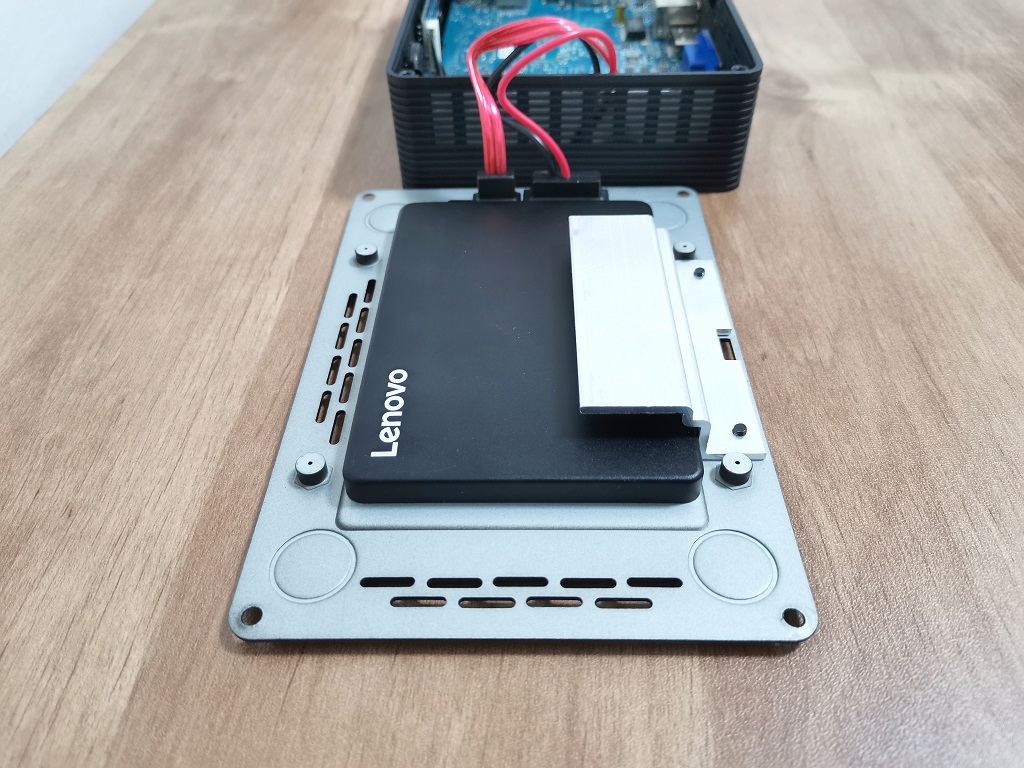
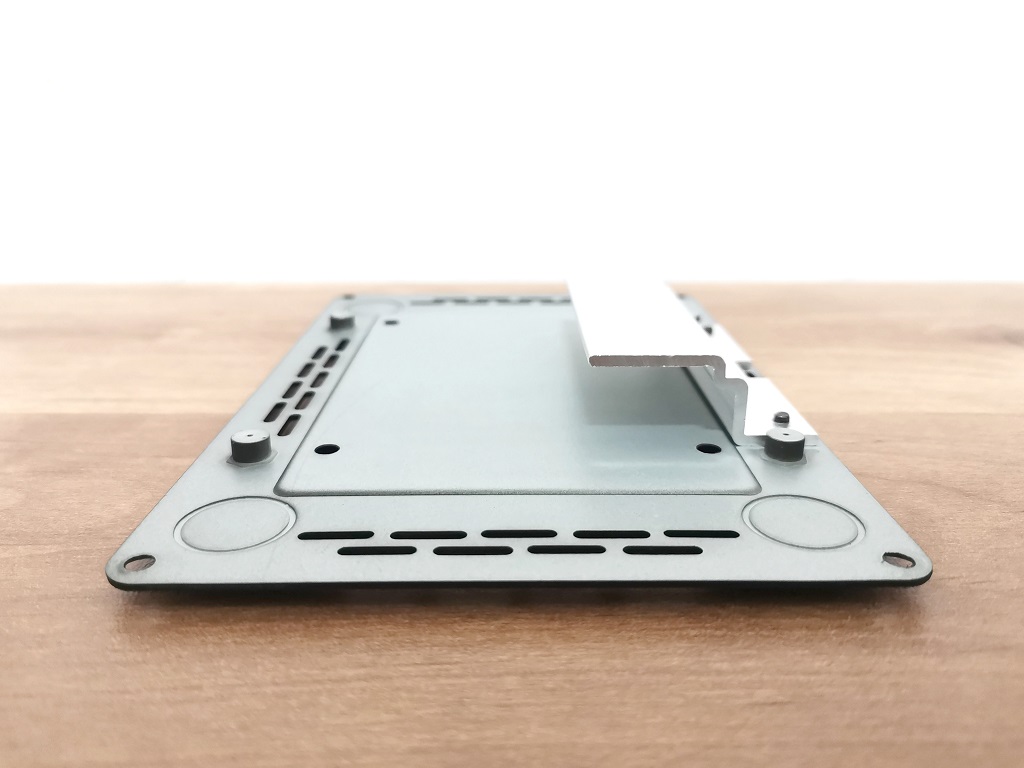
At the bottom of the unit, you will discover a protective cover designed as a cooling plate/heat sink. Its purpose is to greatly enhance heat convection between the M.2 SSD and the 2.5 Inch SSD that can be attached to the cover. As a result, heat will be efficiently dispersed throughout the case cover, ensuring optimal cooling performance.
Top Cooling Plate
While we did not attempt to disassemble the PCB from the case, once you remove the cover, you will find a metal plate securely attached to the top side of the PCB. This ingenious placement serves to offer efficient passive cooling. As the name suggests, we proudly introduce a fanless product. With no fans, the device operates quietly, generating absolutely no noise. This allows for smooth usage during late hours, such as at night, without causing any disturbance to the surrounding environment.
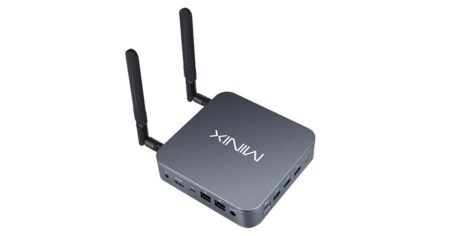
MeLE Quieter HD3Q
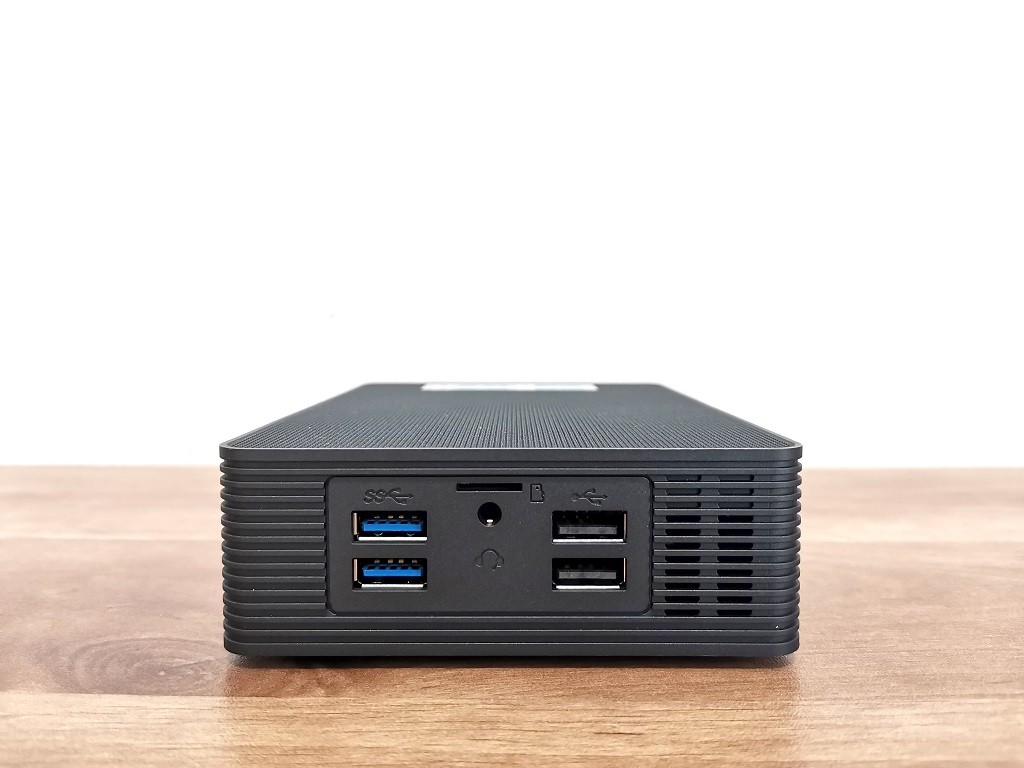


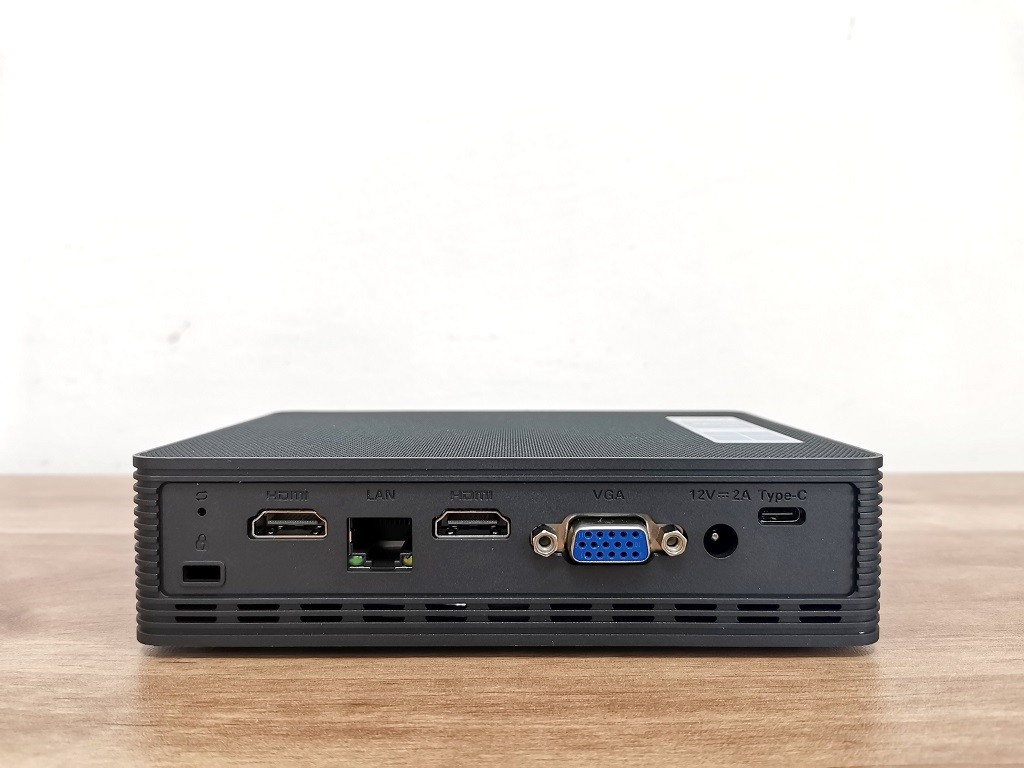
First time installation
Connecting the MeLE Quieter HD3Q to an external monitor
What are the options?
If you have an older computer monitor and want to make the most of it, it’s important to first determine the interfaces it supports. If your monitor has an HDMI port, you’ll only need to purchase a standard HDMI cable.
In certain cases, such as when you have a single VGA port on an older monitor, it becomes necessary to purchase a standard VGA cable. Below, we have compiled a list of cables and adapters that you can utilize.
Maintenance
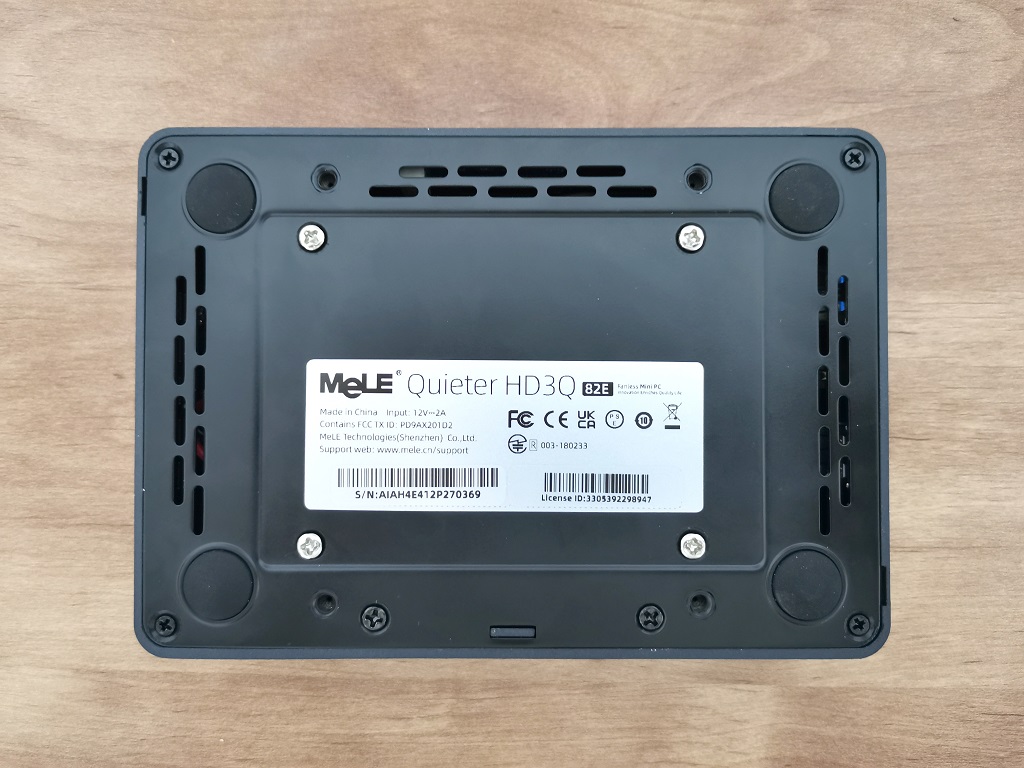
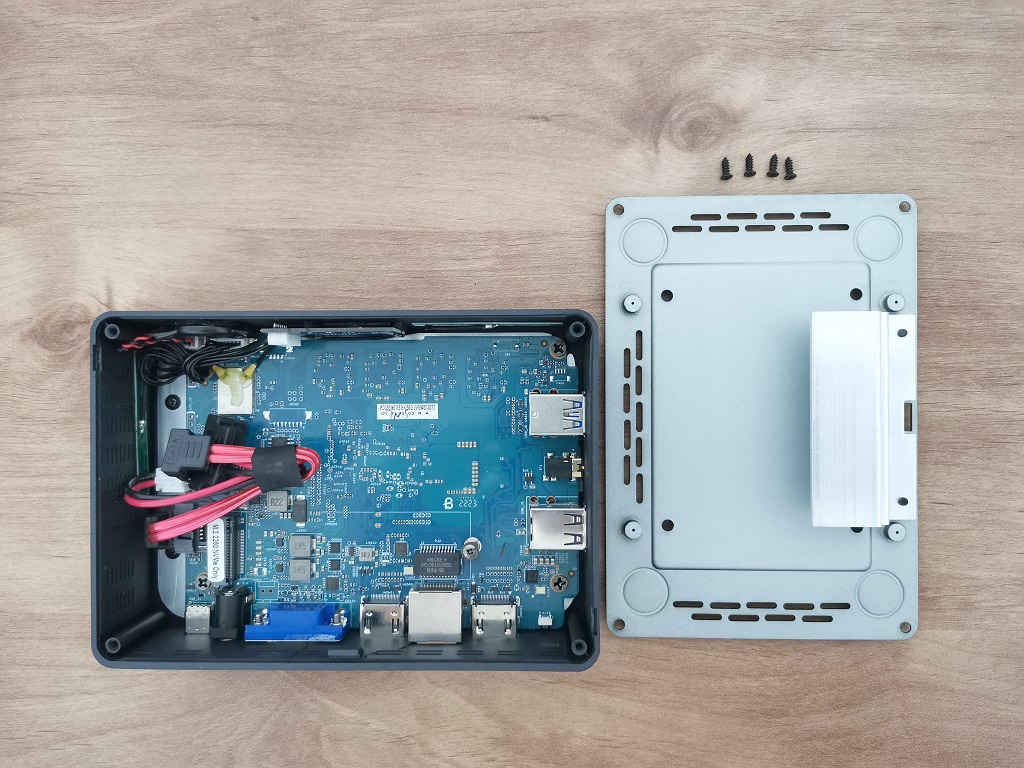
Opening the Mini PC cover is incredibly effortless. Simply grab a Philips screwdriver to loosen four Phillips screws on the button cover, allowing you to effortlessly insert additional storage devices like SSD or M.2 SSD Card. This gives you the flexibility to install both or opt for just one of the two options, catering to your personal preferences.
Opening the MeLE Quieter HD3Q Case (Screwdriver not included)




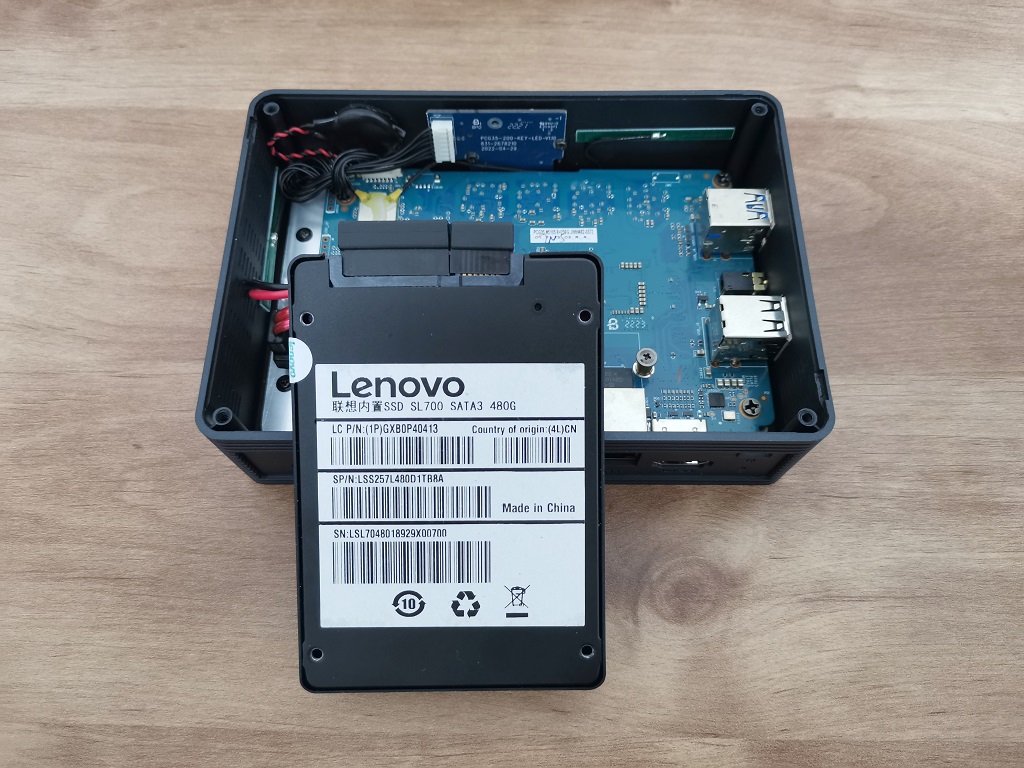
Storage Interfaces: How to Install an SSD
The installation process of the SSD inside the 2.5-inch SATA bay is incredibly easy. By simply removing the bottom cover and unscrewing the four Philips-type screws, you can effortlessly position the SSD drive above the cover holes and securely mount it using screws. It is important to note that the surface of the cover serves the purpose of efficiently transferring the heat generated by the drive. Therefore, we strongly advise purchasing an SSD with a durable metal enclosure, rather than opting for a cheaper plastic alternative.
Cooling The M.2 SSD Card
MeLE company design also includes an L-shaped profile connected to the cover with a set of screws. In addition, MeLE added a thermal pad in the package to improve thermal contact between the cover surface and the SSD card. And finally, solely for general experimentation purposes, you can find a suitable thermal pad on AliExpress according to the drive dimensions to use with the full-size 2.5 Inch SSD.
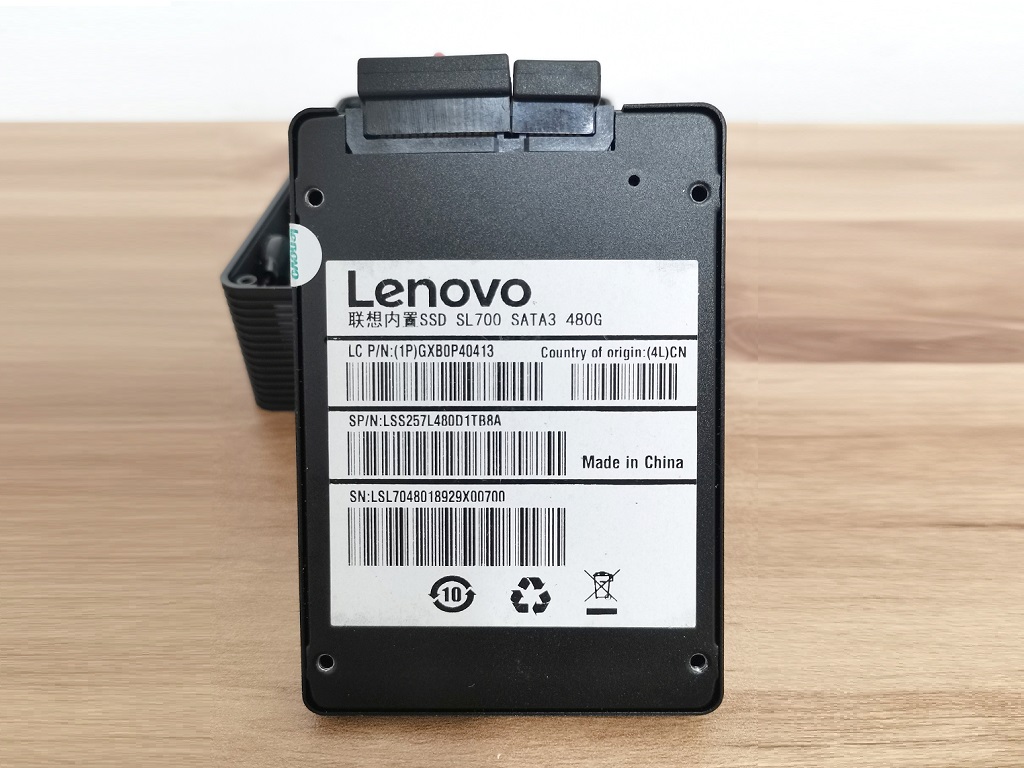
As shown in the photos below, we used a Lenovo 480G S700 SSD to check general performance in our benchmark test.
