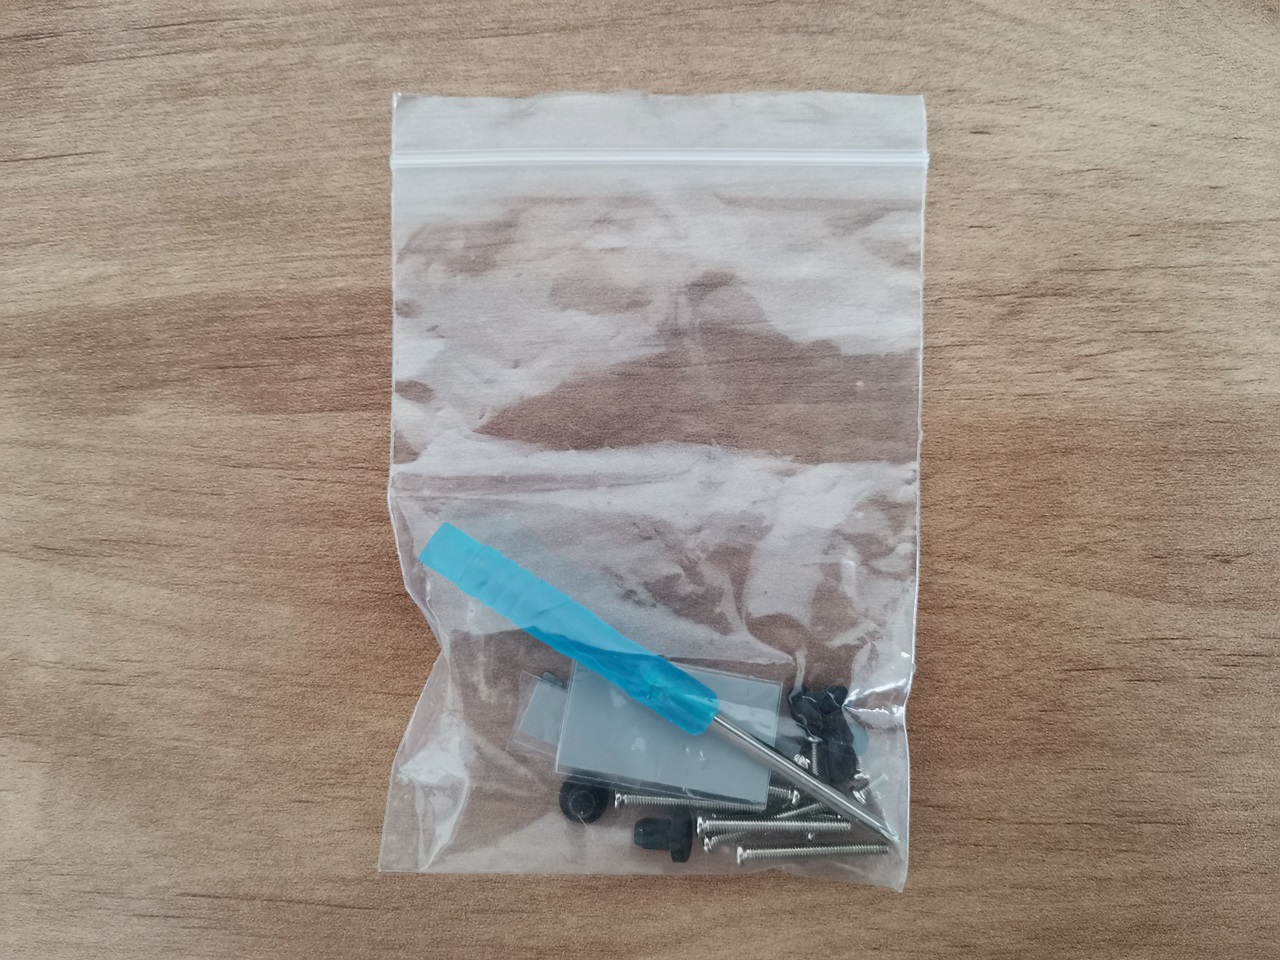
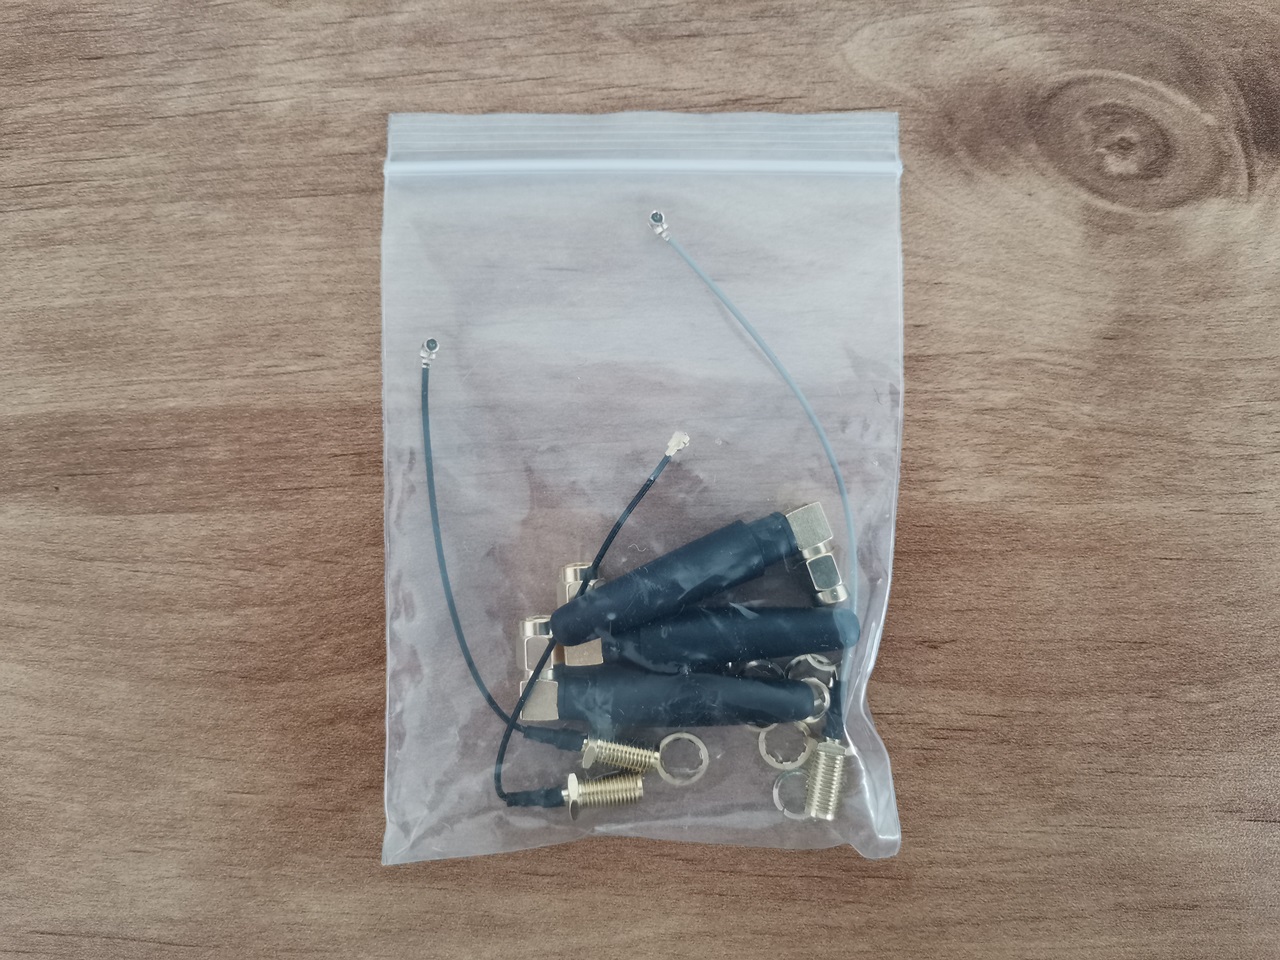
Unpacking all the items from the case kit.
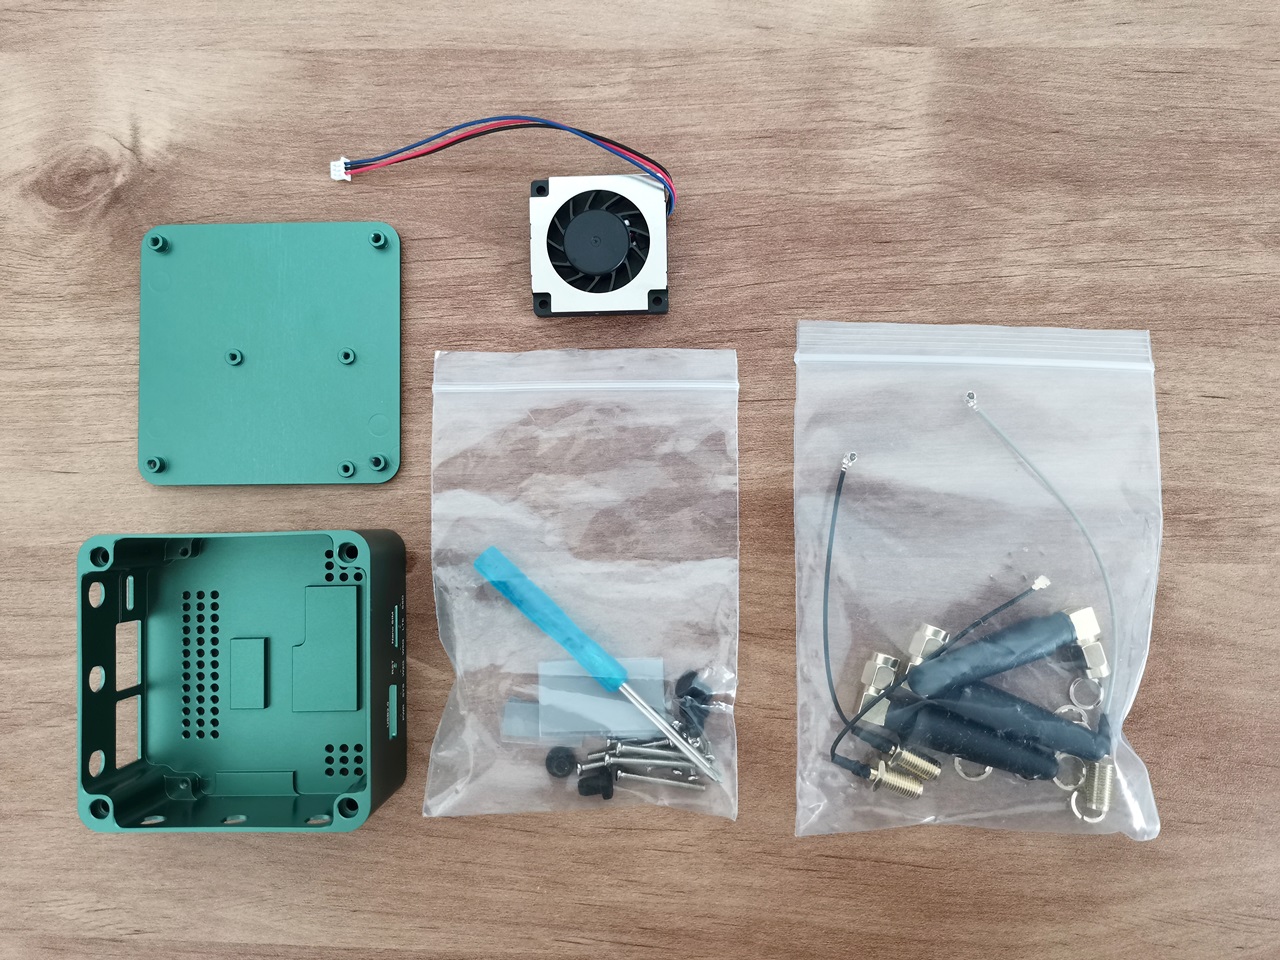
Included in the package:
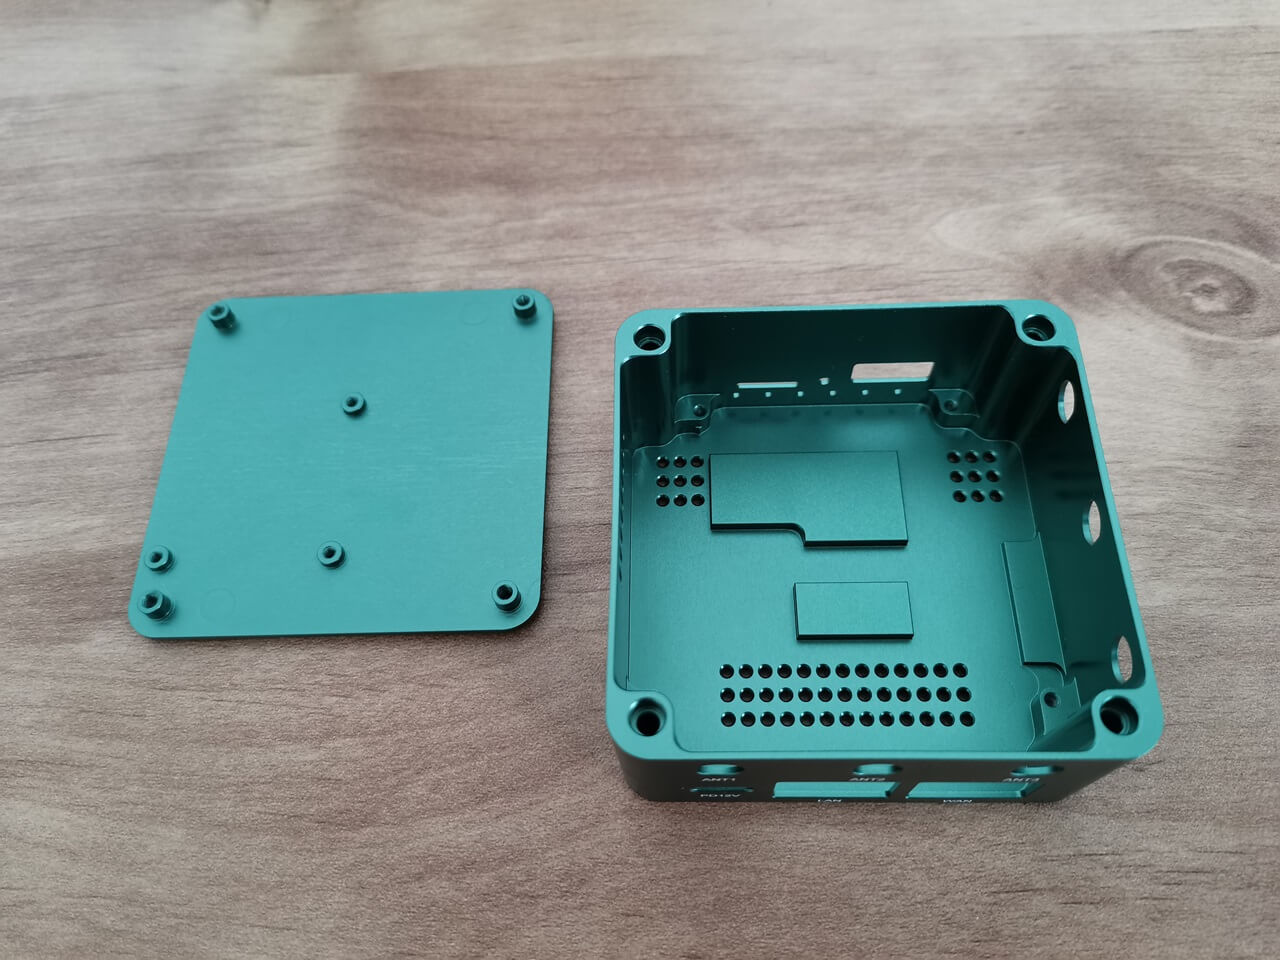
- x1 Metal Case (Consisting of two components).
- x1 Philips screwdriver tool.
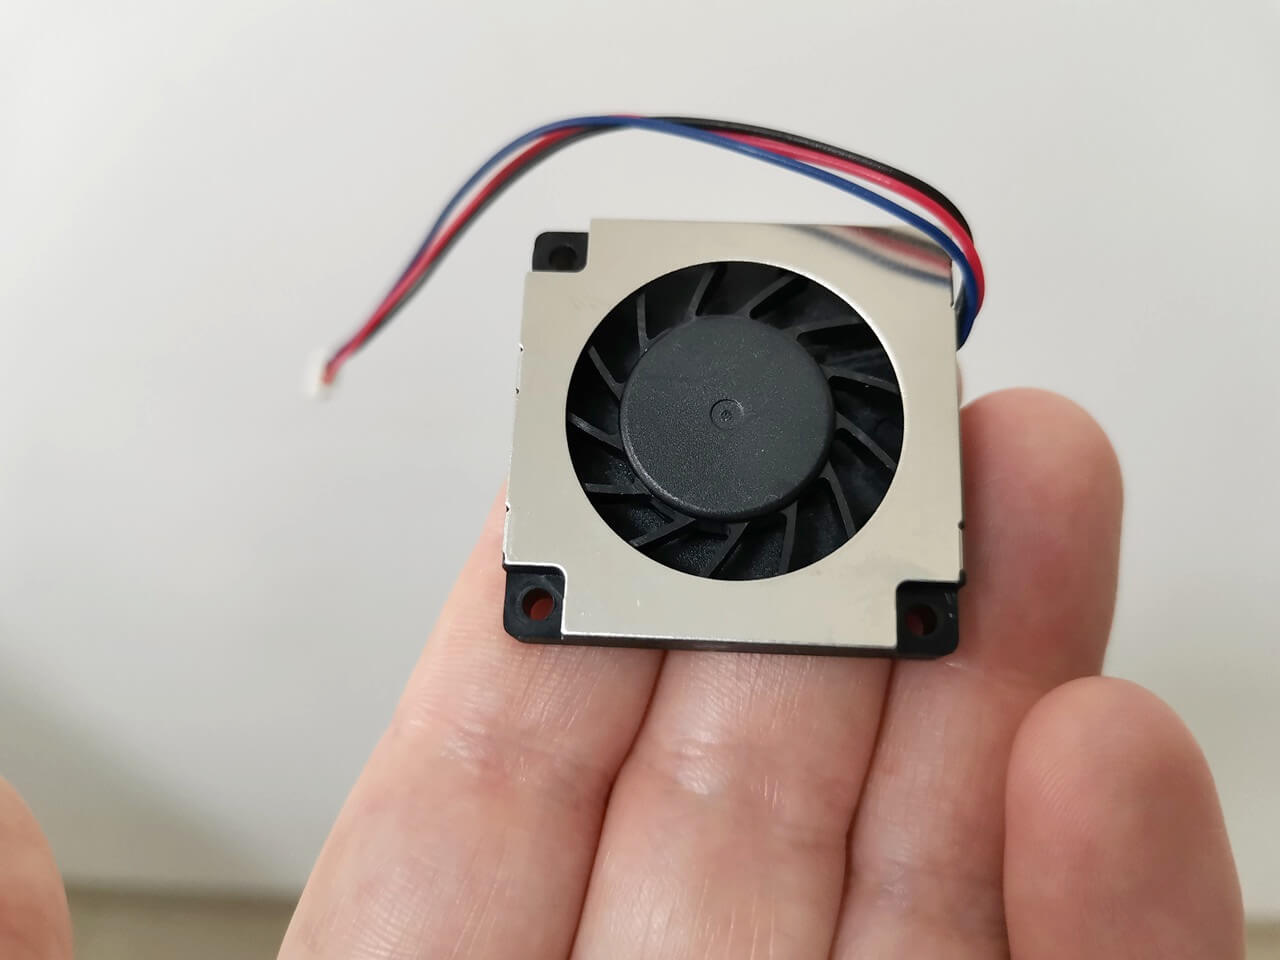
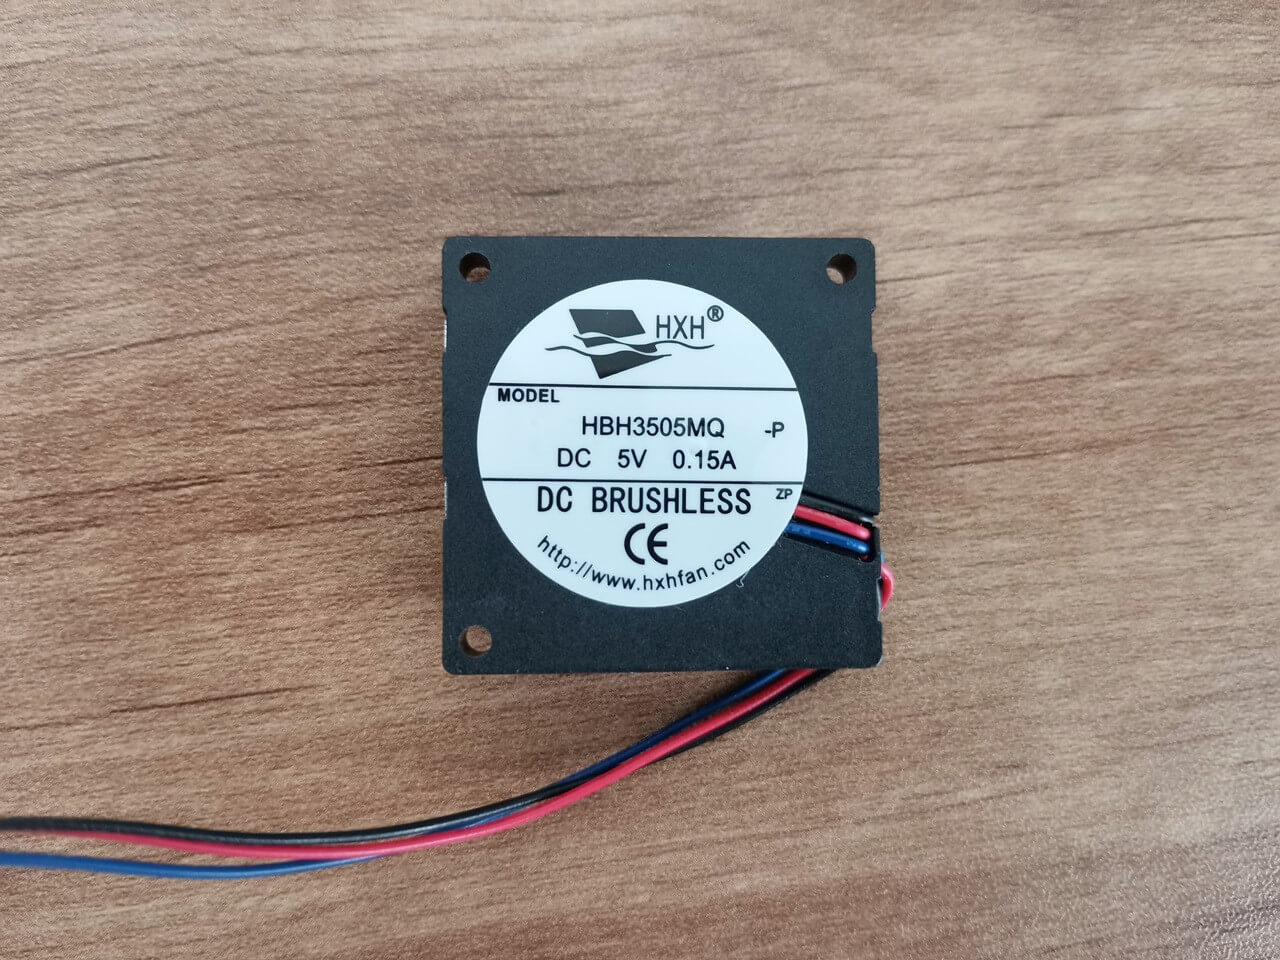
- x1 Exhaust fan (5V-0.15A).
- x3 WiFi Antenna (5CM Elbow, 2.4/5.8GHz).
- 3x Thermal Pads.
- 4x Philips screws (for mounting the PCB/Board).
- 4x sets of case legs (corks).
- 4x Philips screws (for the cover).
A brief overview of all unboxed case items.
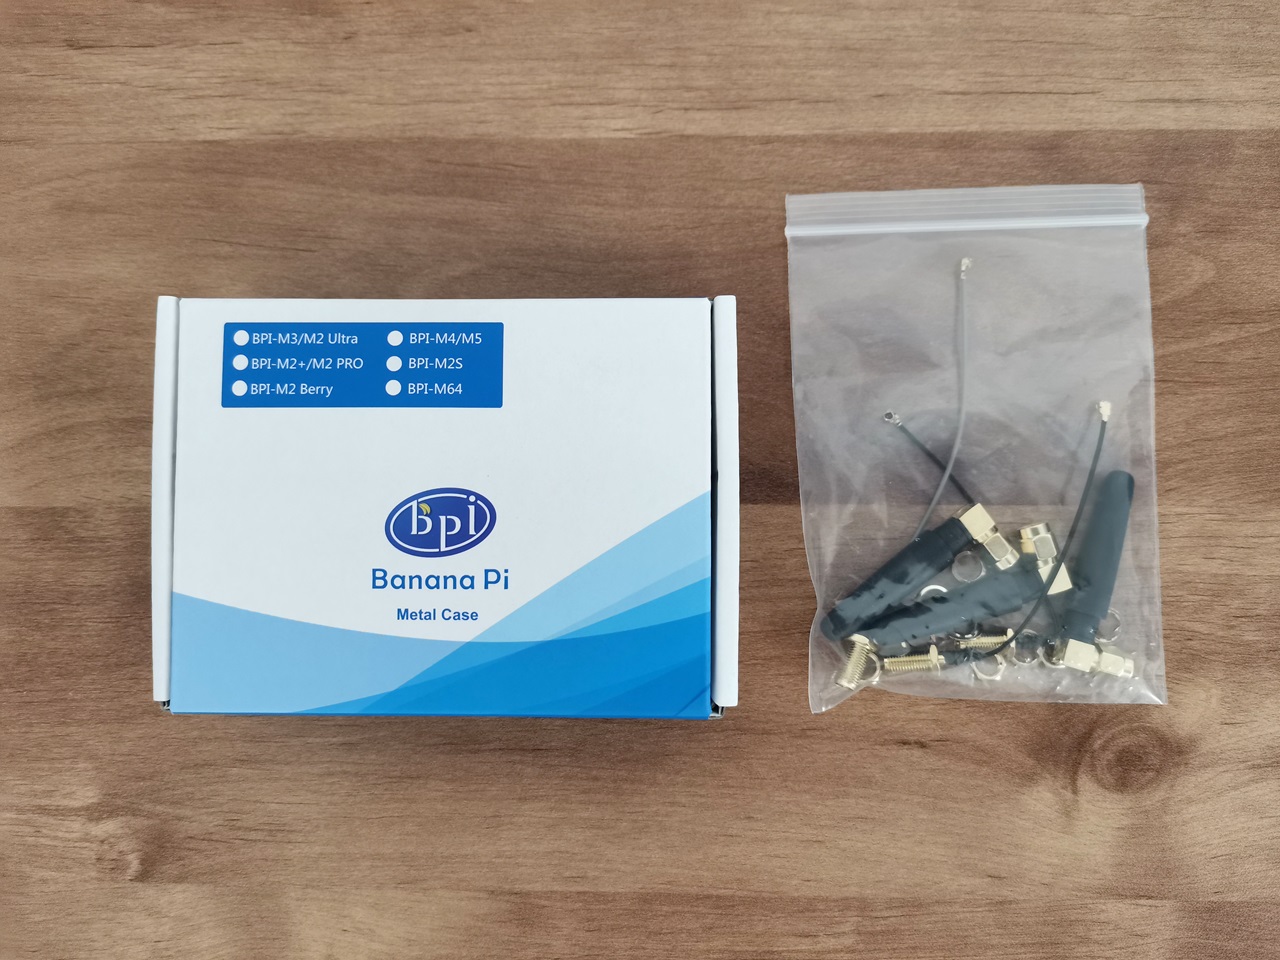
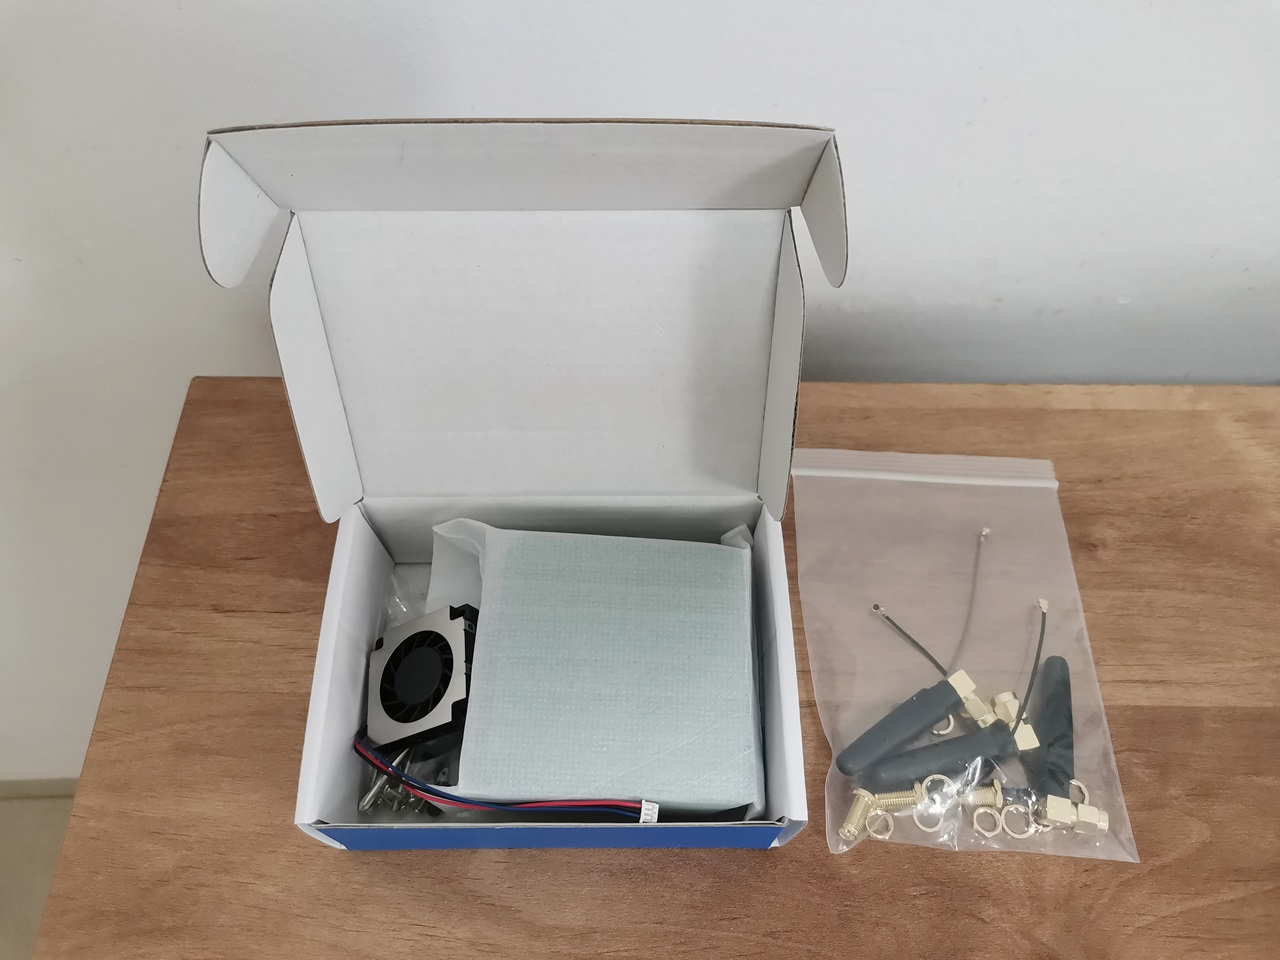
Taking a closer look at the design of the Case.
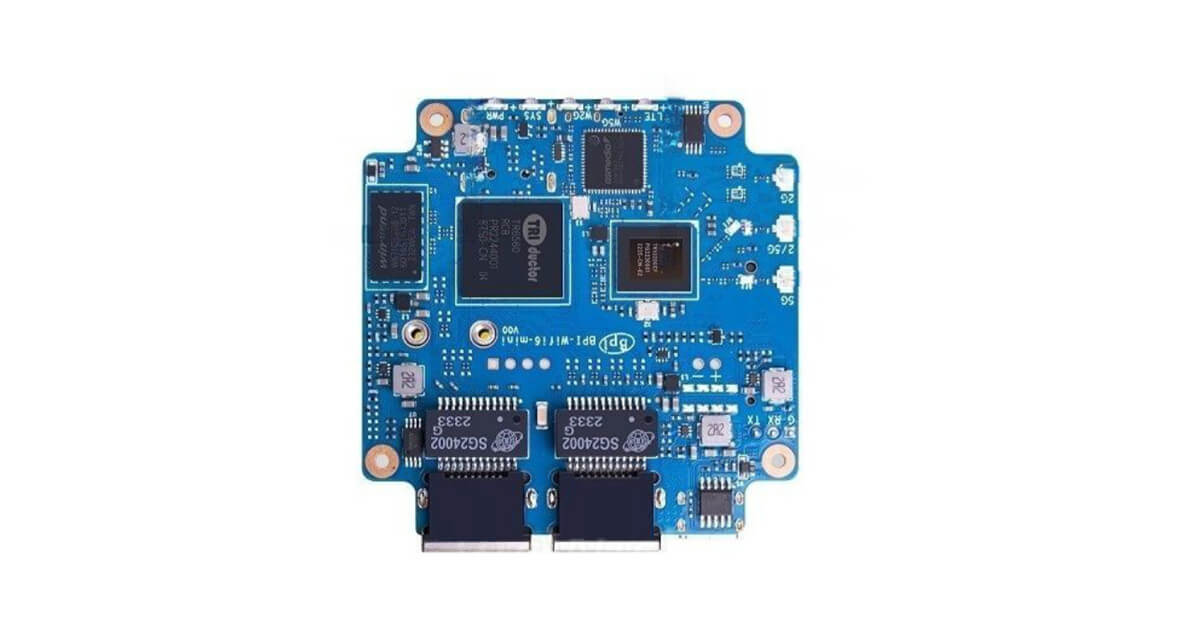
The Banana Pi BPI-WiFi6 maintains the same form factor as the Banana Pi BPI-R3 Mini, so the case design remains unchanged. You can potentially save a significant amount of money in the future by opting for the Banana Pi BPI-R3 Mini. Instead of buying an entirely new package, you can simply reuse the case and only replace the board inside. This clever strategy could lead to savings of $23-25.
That being said, the case is crafted from an aluminum alloy which consists of the main body and the upper cover. Both components are precision machined using state-of-the-art CNC manufacturing processes, and later coated with a high-quality anodized finish. Banana Pi offers a range of case colors, including Grey, Green, and Blue, with the possibility of additional options, and it looks really great.
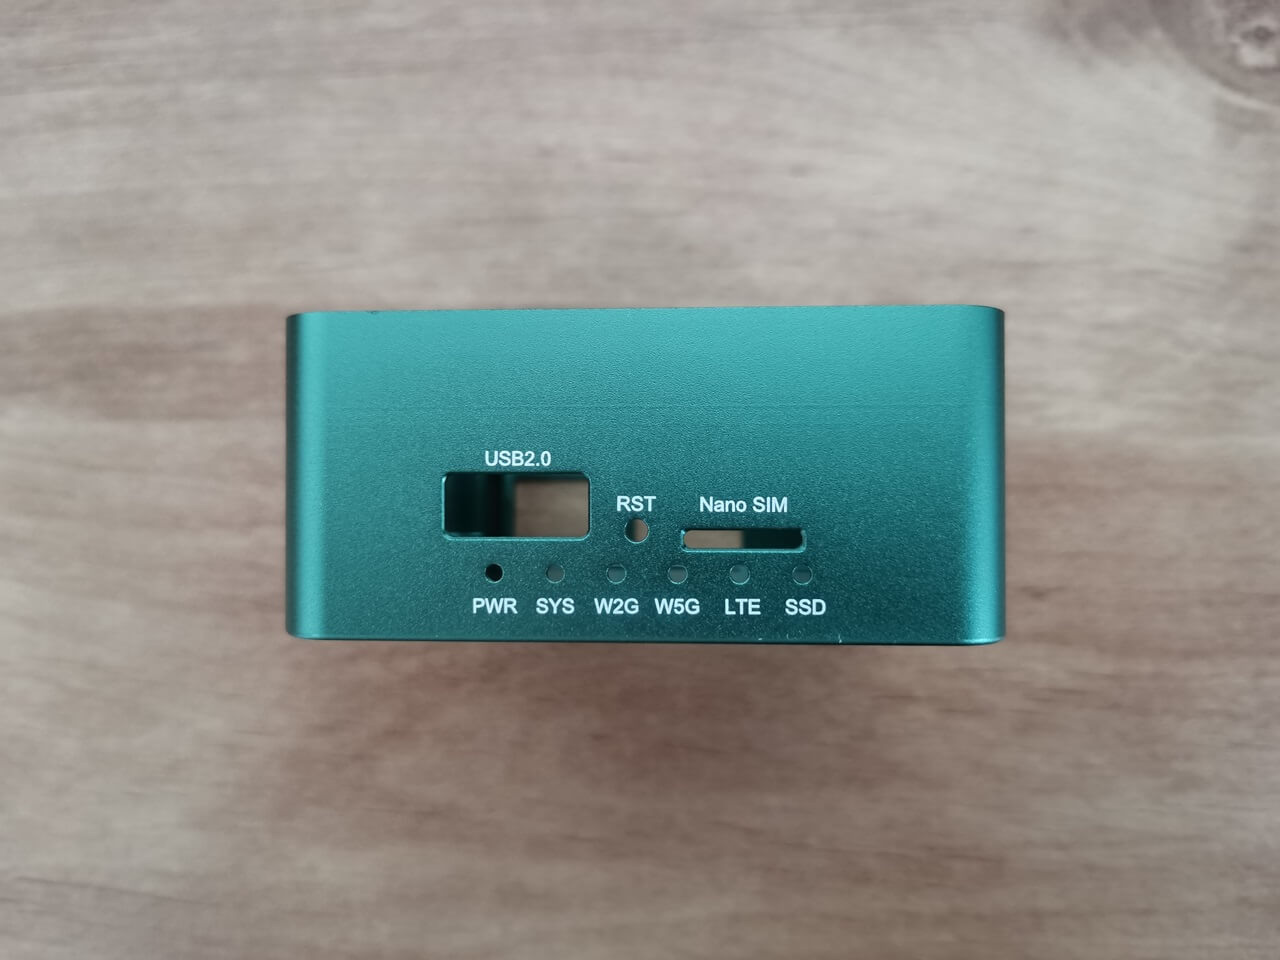
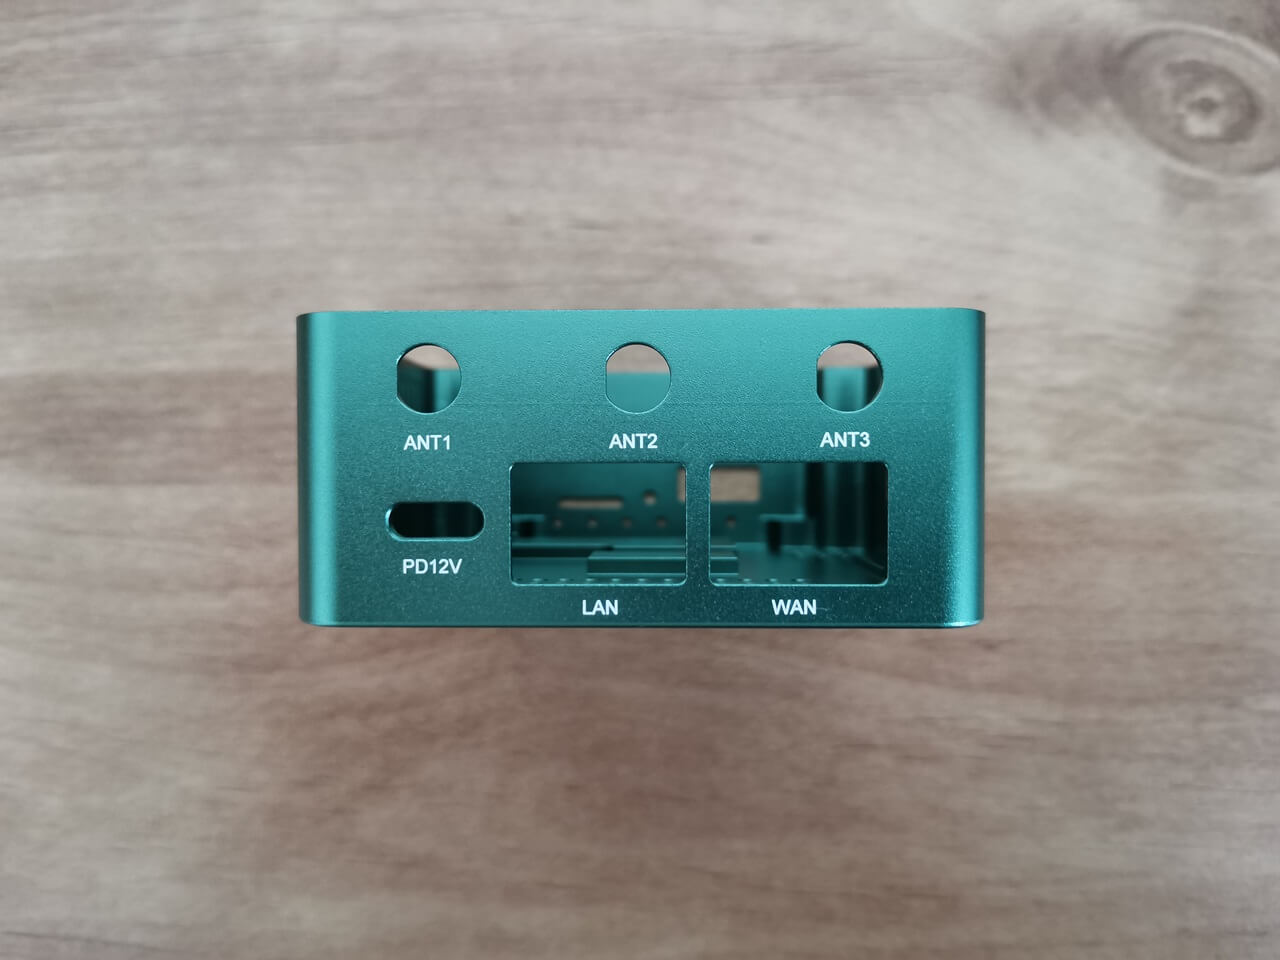
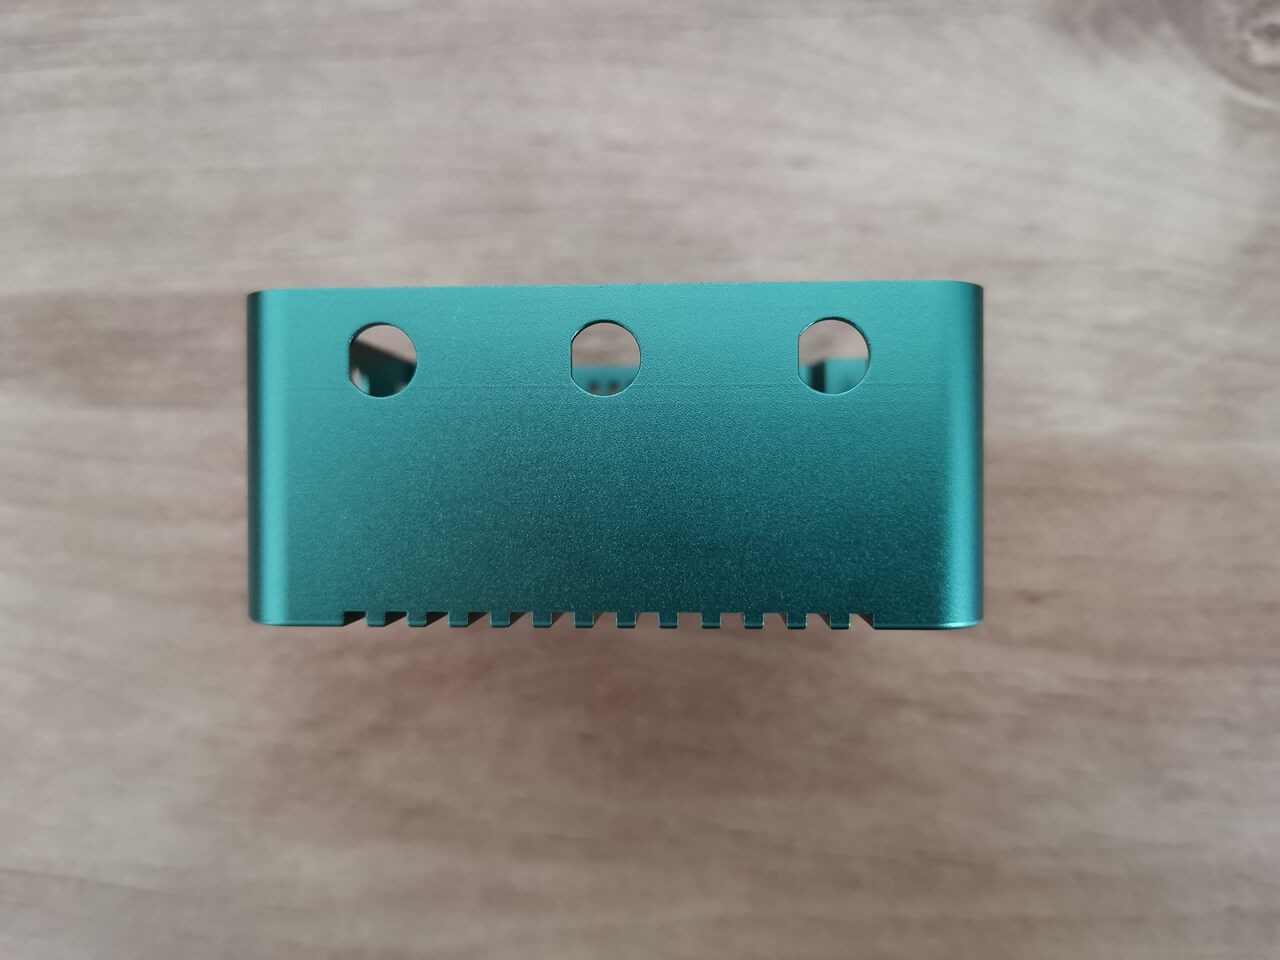
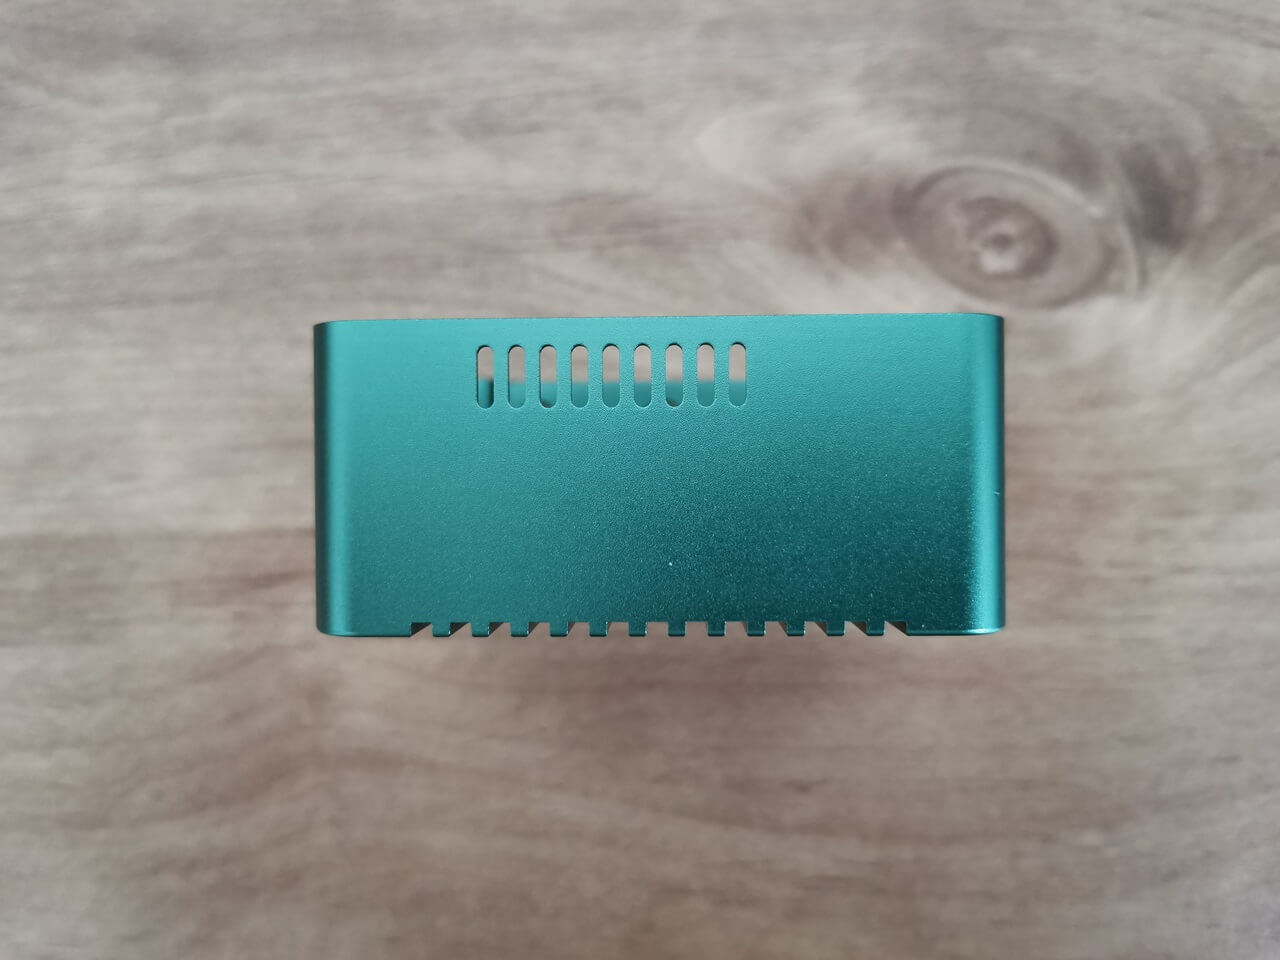
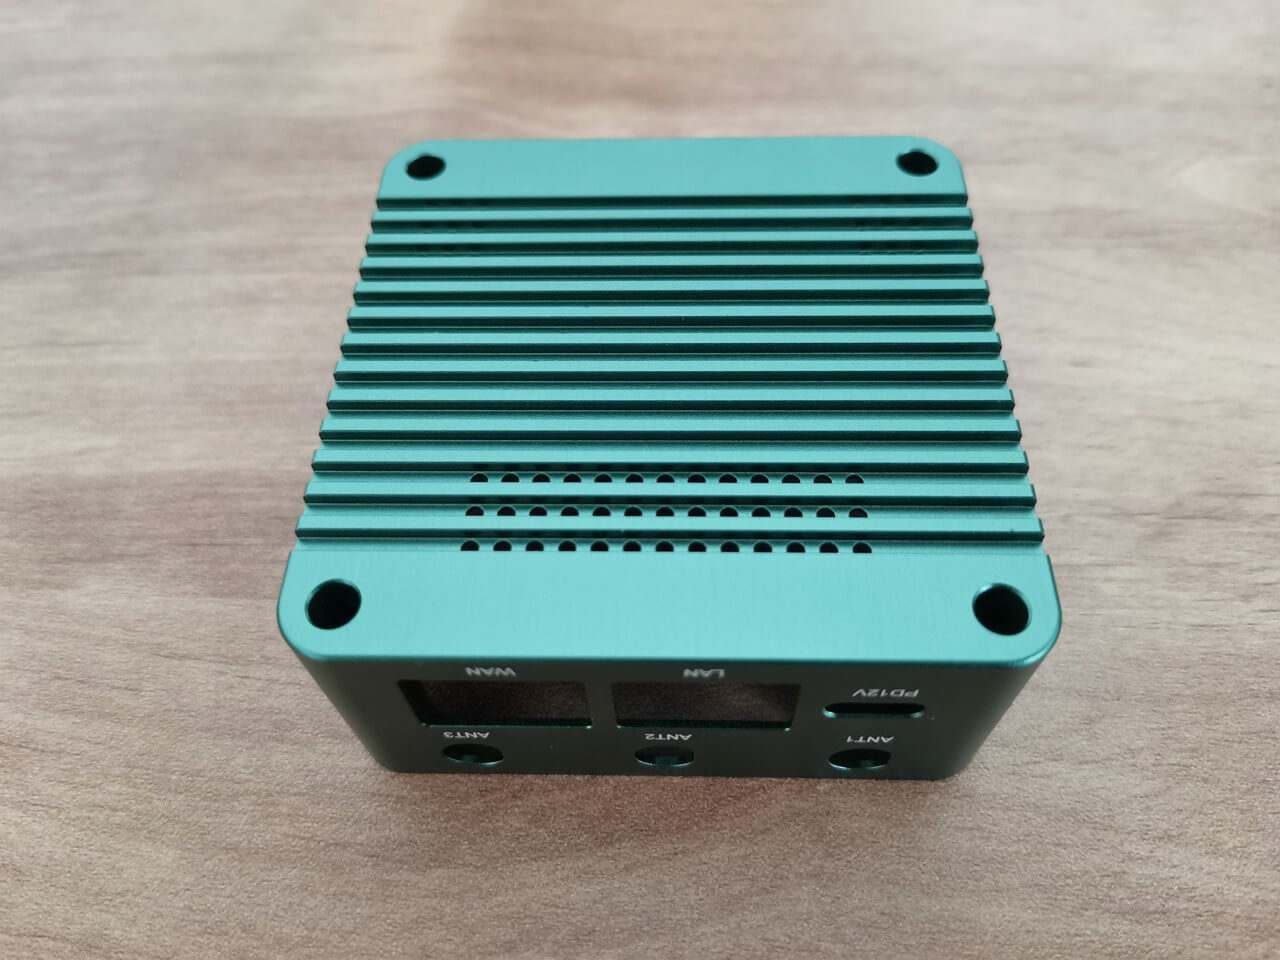

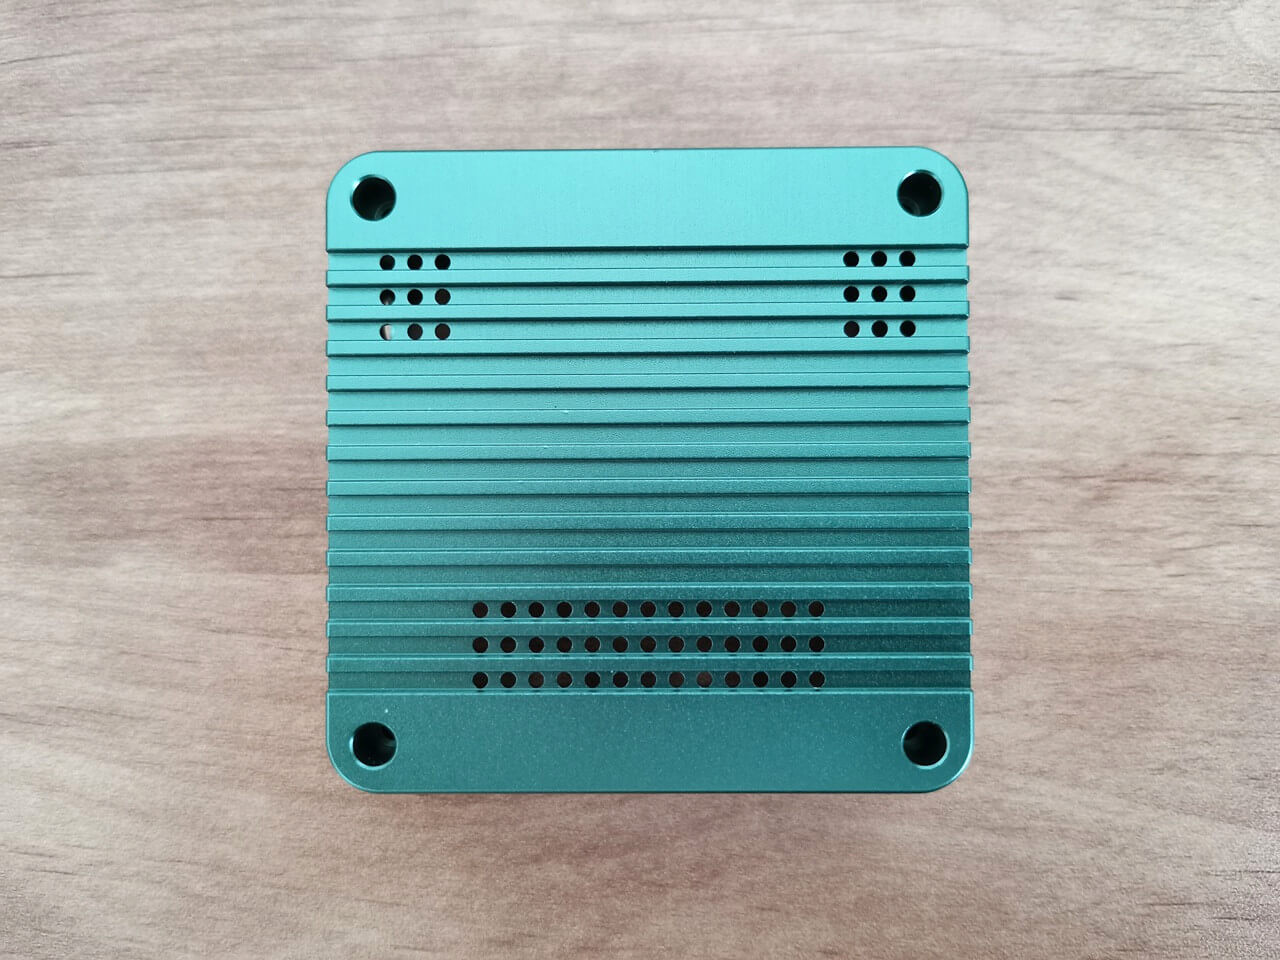


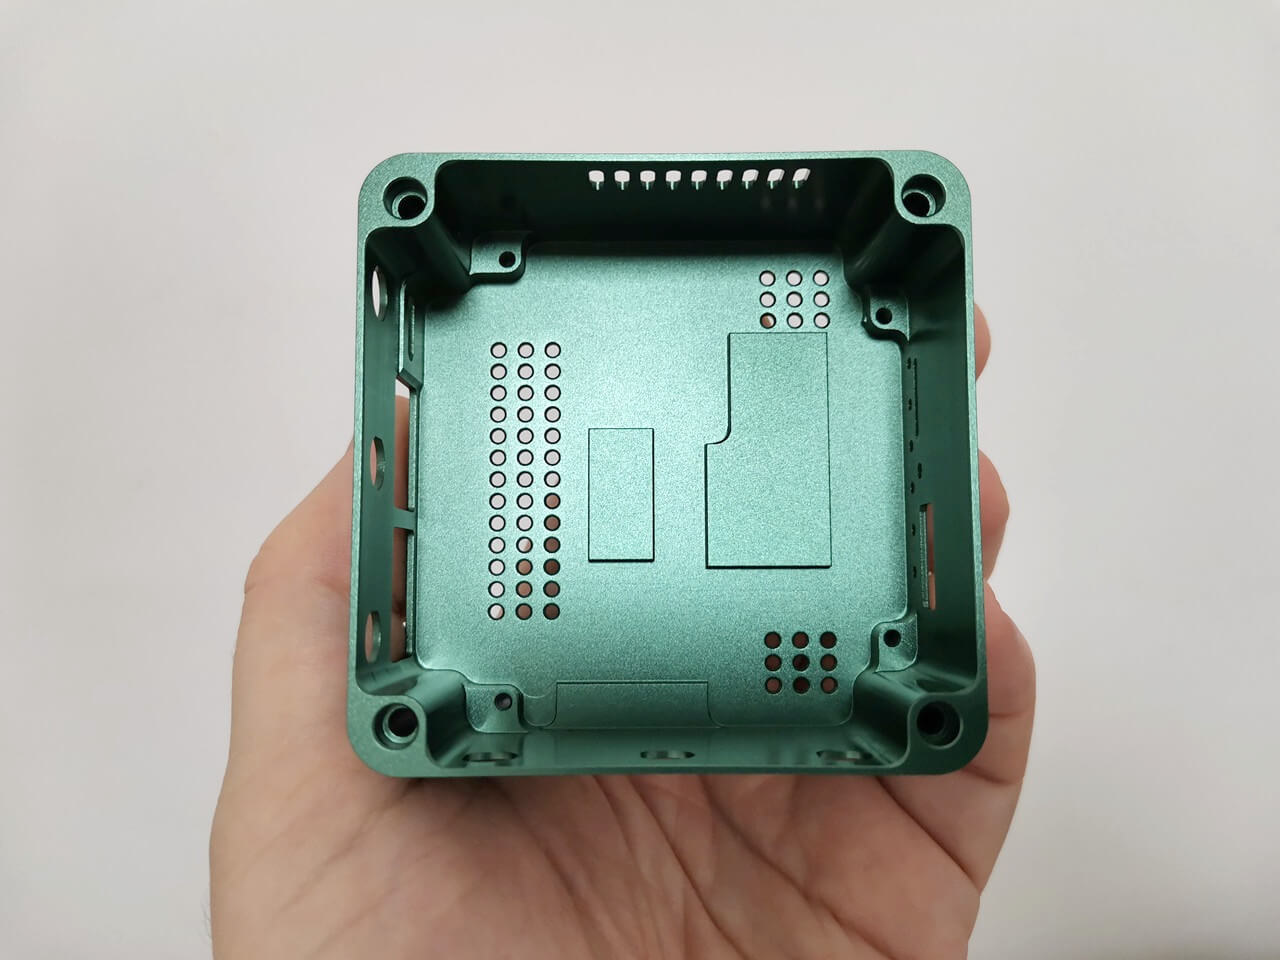
Extra antenna holes for 4G LTE/5G modems.
Apart from the three external WiFi antennas, the Banana Pi team has generously provided an additional three antennas for those interested in installing a 4G LTE/5G modem card. With this type of configuration, including WiFi antennas, you will have a total of 6 antennas. Incorporating a modem card can be extremely practical in situations where internet infrastructure is unreliable or unavailable. From a user’s perspective, this feature is a significant advantage. Having said that, if you want to know which brands are compatible and tested with the Wifi6 Mini, feel free to check the Banana Pi community forum.
Cooling down the hardware components.
PWM Support?
Although the 3-wire fan is physically capable of supporting this feature, the WiFi 6 Mini board currently lacks PWM functionality within the OS kernel. Additionally, the board does not include an integrated thermal sensor for direct temperature monitoring, similar to the R3 Mini model. Additionally, the exhaust fan is always constantly turned on, and is very noisy. Although automatic fan control has several limitations, the good news is that there are solutions available to address these challenges! You can still utilize the GPIO to easily switch the fan on or off according to the desired operation time. For instance, you can select a time interval of 10 minutes or longer for the automatic activation and deactivation of the fan.
Here are the GPIO commands necessary to control the exhaust fan, enabling you to effortlessly switch it on or off. By using the given values below, you can create a bash script with the exact time intervals you wish to have.
echo 499 > /sys/class/gpio/export
echo out > /sys/class/gpio/gpio499/direction
echo 1 > /sys/class/gpio/gpio499/value
Power Consumption
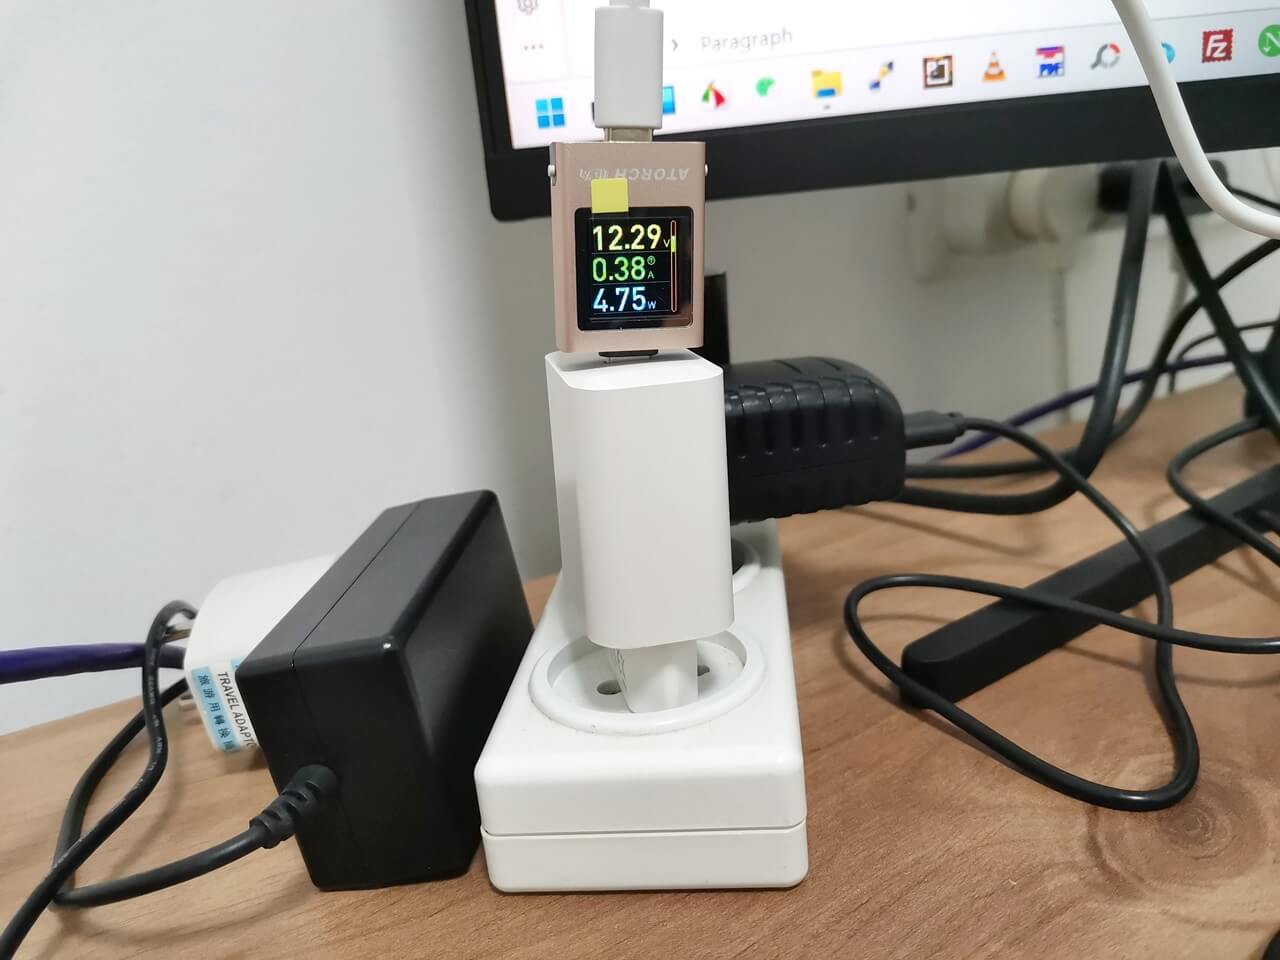
Our tests have shown that the device is highly optimized to deliver exceptional power efficiency. Based on data collected from our power meter USB dongle, even during peak usage, the average power consumption is recorded at 12.29V/0.39Amps, resulting in a total of approximately 4.7W.
If, for example, you decide to connect three devices, based on our simple math, the total power usage would be around 5W x 3 = 15W. It is important to note that these measurements were taken without connecting an external HDD or a 4G/5G modem card, but they are still considered very low. As a result of the low power consumption, the metal case housing remains remarkably cool.
Testing power usage and the case surface temperature.


Useful Applications
This makes the device ideal for use in a variety of environments, such as industrial or outdoor settings, where power efficiency and temperature control are crucial. The exceptional power efficiency and low thermal output also contribute to the long-term reliability and durability of the device.

